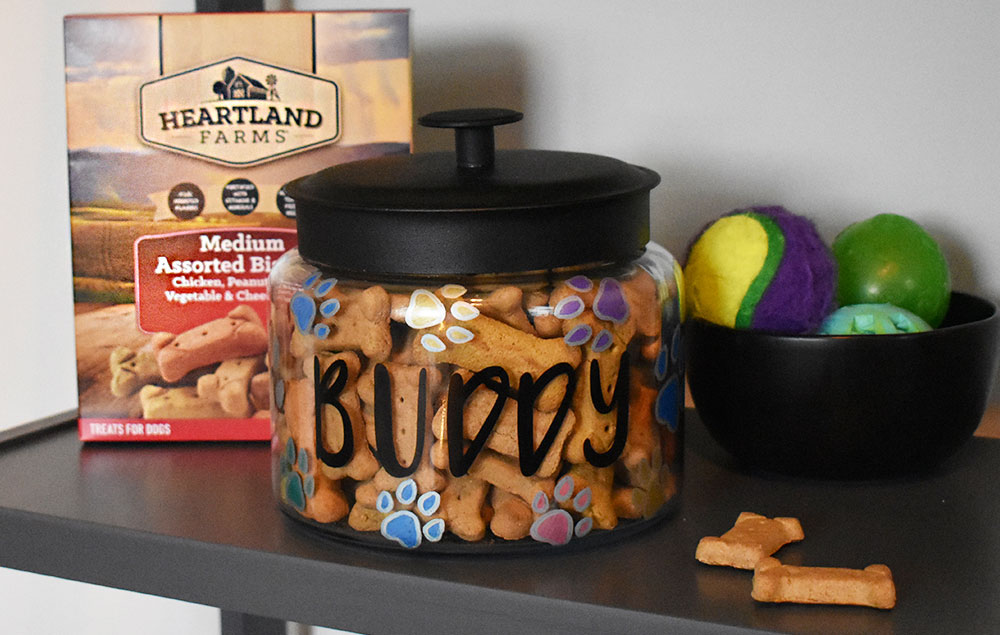
Show your dog they’ve been good with this DIY treat jar! Fill it with your pup’s favorite treats and show off your crafting skills at the same time!
Step 1:
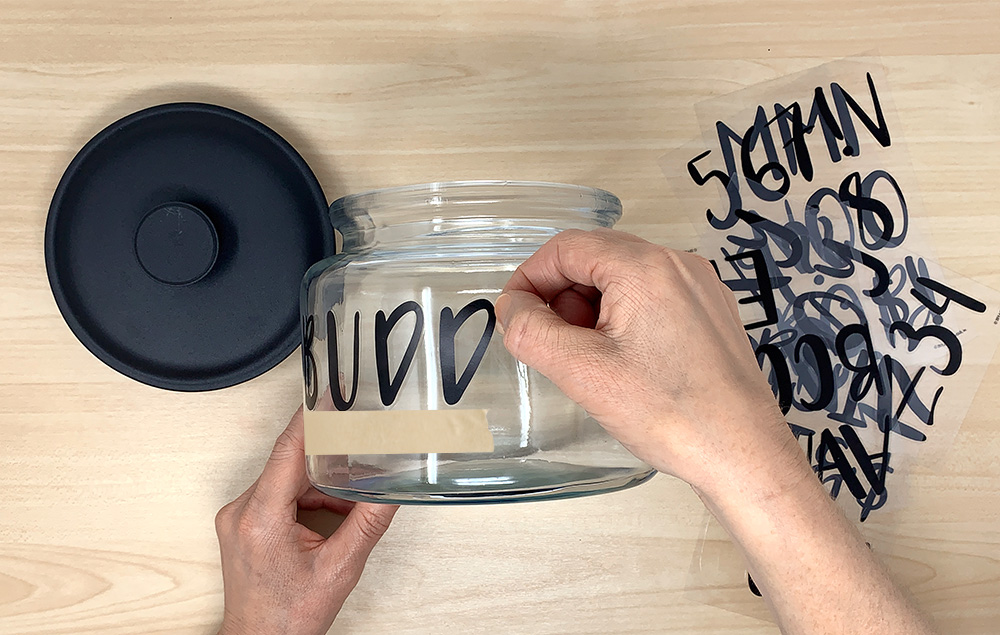
A) Place stickers spelling out pup’s name centered on the jar. Tip: use a piece of masking tape as a guide for the baseline of your stickers for the perfect alignment.
Step 2:
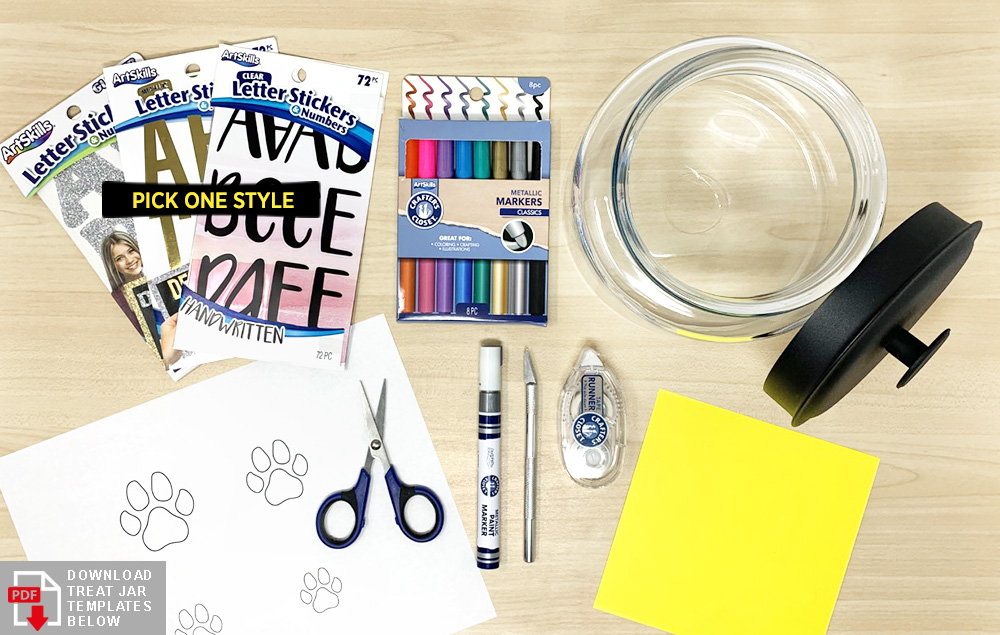
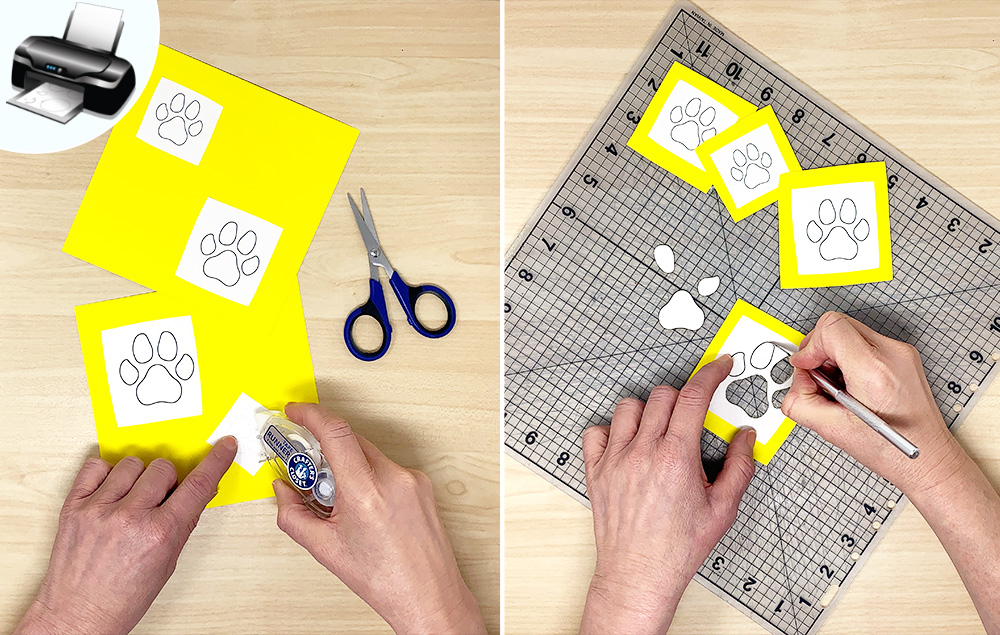
A) Download, print, and cut the paw print template stencils into squares. Adhere the paper squares to cardstock using the tape runner.
B) Carefully use the project knife to cut out the paw prints.
Step 3:
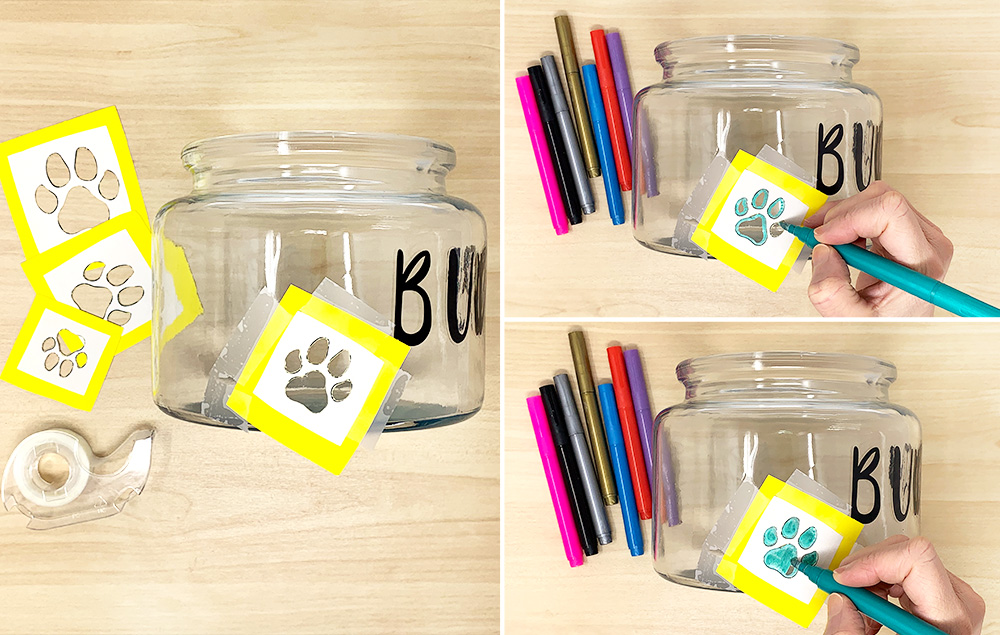
A) Tape the desired sized paw print stencil onto the jar.
B) Trace the edges of the stencil with a metallic marker of your choice.
C) Fill in the paw print with the metallic marker.
Step 4:
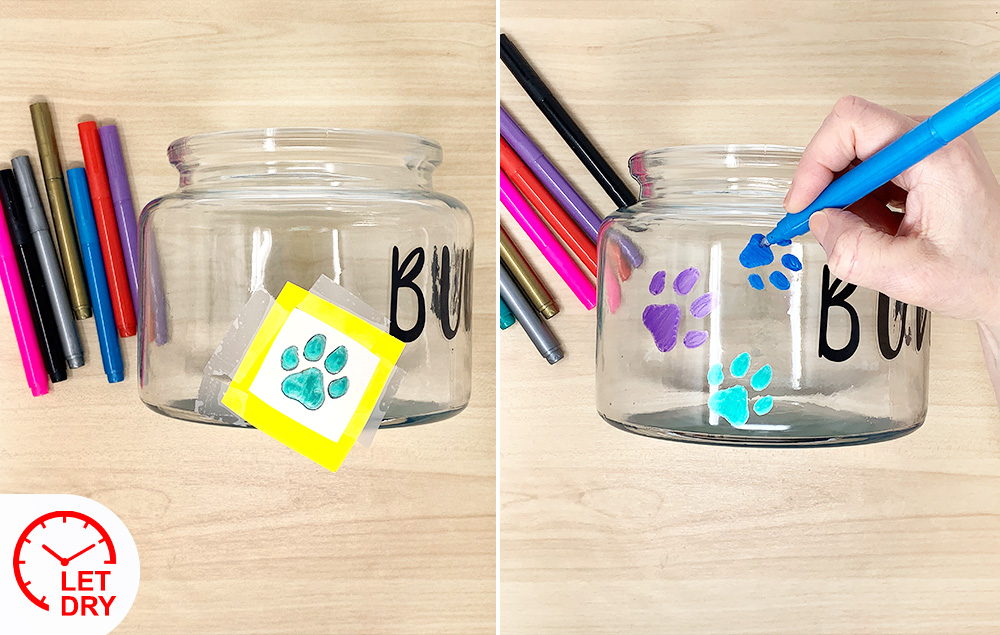
A) Let the marker dry a few minutes before removing the stencil to avoid smudging.
B) Remove stencil and touch up any areas with the marker that need more coverage.
C) Repeat A & B until you have your desired number of paw prints on the jar.
Step 5:
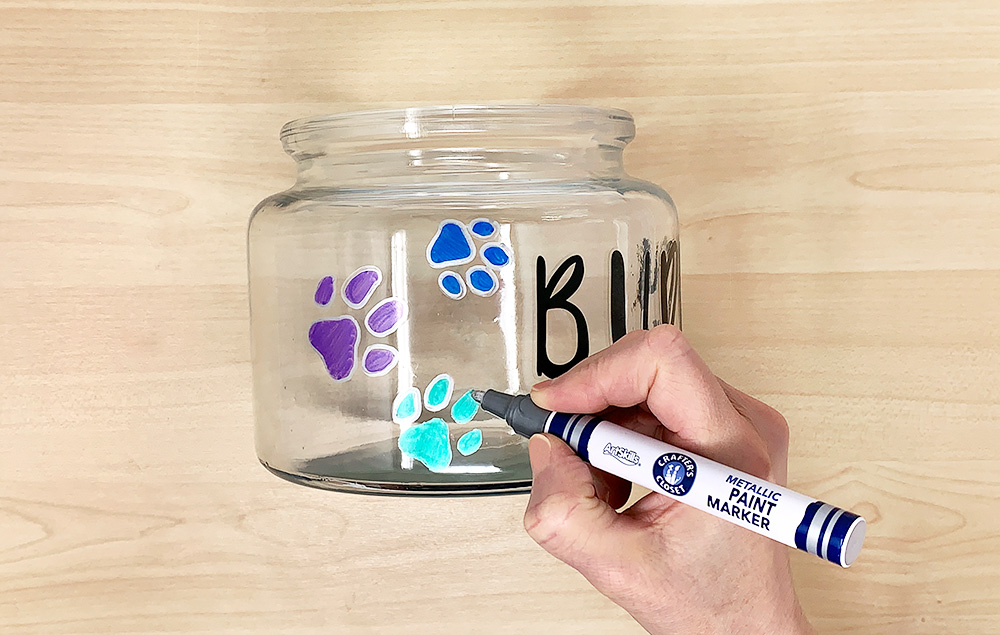
A) Trace the outside of each paw print with silver paint marker. Fill the jar with your dog’s favorite treats. Top with the lid and your treat jar is now complete!
