Display that perfect action picture from this year’s football season in your own DIY Football Picture Frame! This frame is super easy to create and personalize to fit your child’s name! Click to find out how to make this project in 6 easy to follow steps
Step 1:
Mix together green paint with a small amount of black to make it slightly darker. Paint the entire frame, including the sides and let dry 15 minutes. Apply a second coat if needed.
Step 2:
Create the sidelines on the frame:
(A.)Find the center of your frame (it should be approximately 4.25” from the side) and mark the top and bottom lightly with a pencil mark. (B.)Connect the marks to make a vertical line in white puffy paint (C.)Using the width of the ruler as your spacer, paint 3 more lines to the right of your center line. Repeat the process to the left of the center line. (D.) Create 4 short marks in between each vertical line with the white puffy paint. Let dry 30 minutes.
Step 3:
Create some football plays along the right side of the frame by making X’s, O’s and arrows with the black puffy paint.
Step 4:
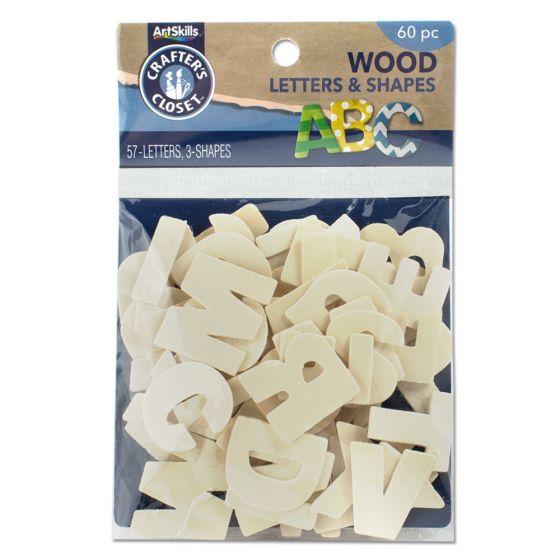
Mix red, yellow and black paint to make a brown color. Select the letters you need to spell out the name you are using and paint all letters brown. The first letter will be the Large Letter and the rest will come from the bag of small wood letters and shapes. Let dry 15 minutes.
Step 5:
Use white puffy paint to create football stitching on the first letter of the name. Outline all letters with white puffy paint if you want letters to pop more.
Step 6:
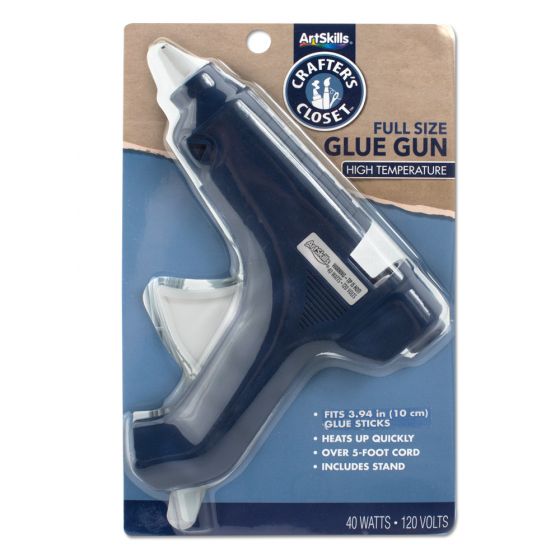
Hot glue name across the bottom of the frame.


