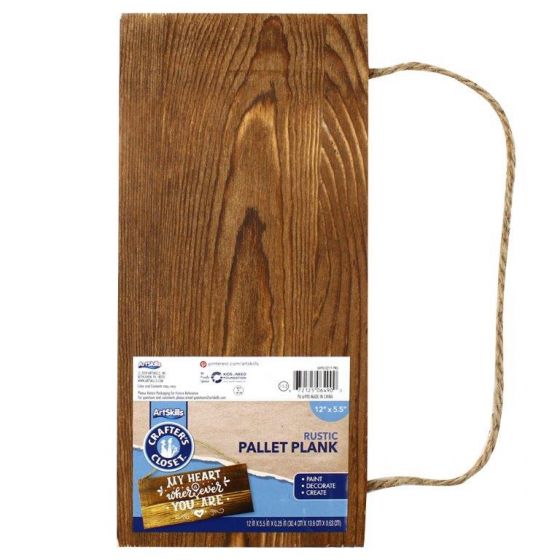
Celebrate your patriotism with this rustic flag plaque! Great for holidays or all year round!
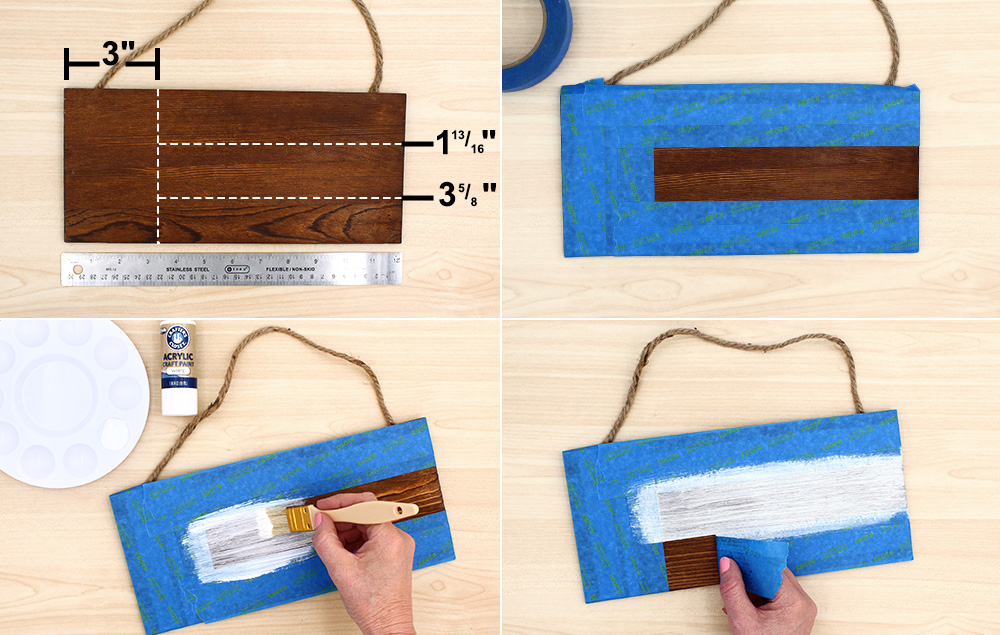
Step 1:
A) Measure in 3" from the left side of the plaque and make a small mark with a pencil at the top and bottom edge. This will be for the blue painted area. Measure down both side edges and make small marks with a pencil at 1 13/16" and 3 5/8". This will be for the red and white stripes.
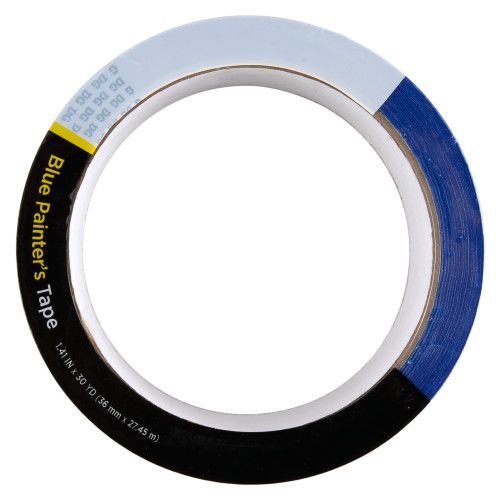
B) Using the pencil marks as guides, first tape off the left 3" edge of the plaque with a painter’s tape. Tape off the top and bottom stripe areas. Be sure to wrap the tape around the side edges.
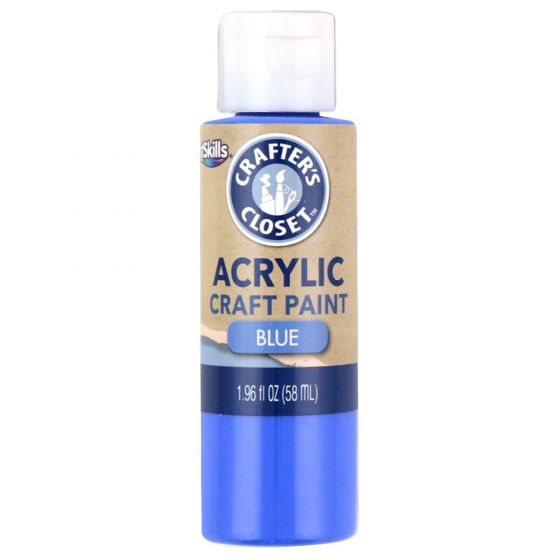
C) Paint the exposed area with white acrylic craft paint. Be sure to paint the side edge. When dry, apply a second coat.
D) Remove the tape from the top and bottom stripe when the paint is completely dry.
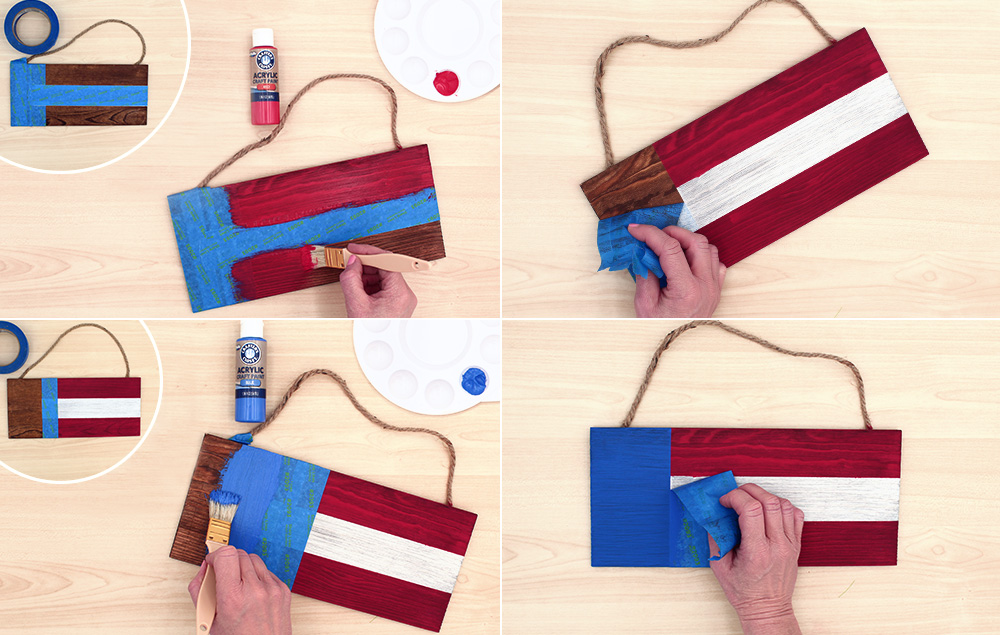
Step 2:
A) Cover the white stripe with painter’s tape. Paint the two exposed areas with one coat of red acrylic craft paint. Let dry.
B) Remove all the tape.
C) Re-tape over the red and white stripes along the edge of the unpainted section. Paint the exposed area with one coat of blue acrylic craft paint. Let dry.
D) Remove all tape.
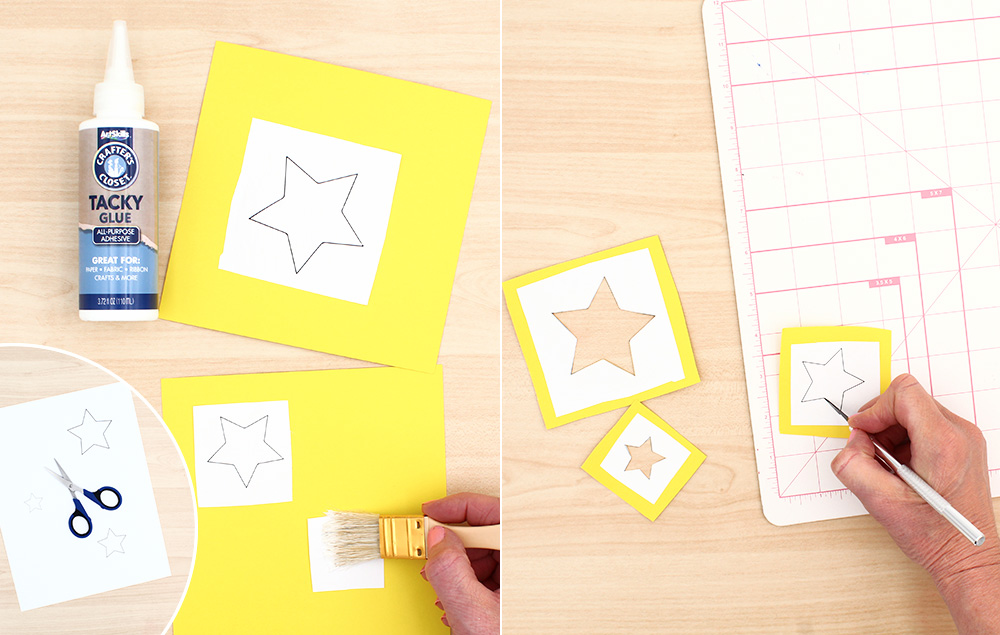
Step 3:
A) Download and print star templates above, located at the bottom of the “What You’ll Need” supply list. Cut around the templates for the stars and adhere them to cardstock with a light layer of tacky glue. Let dry.
B) Cut out the stars using a project knife.
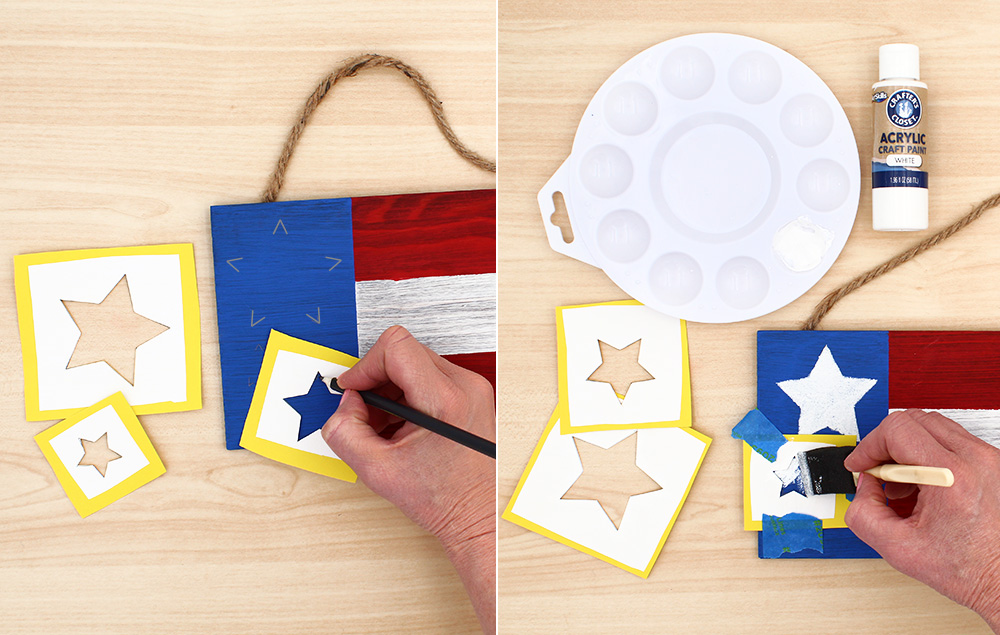
Step 4:
A) Using a pencil, trace stars for placement to assure a proper fit in the space. Erase and retrace if necessary.
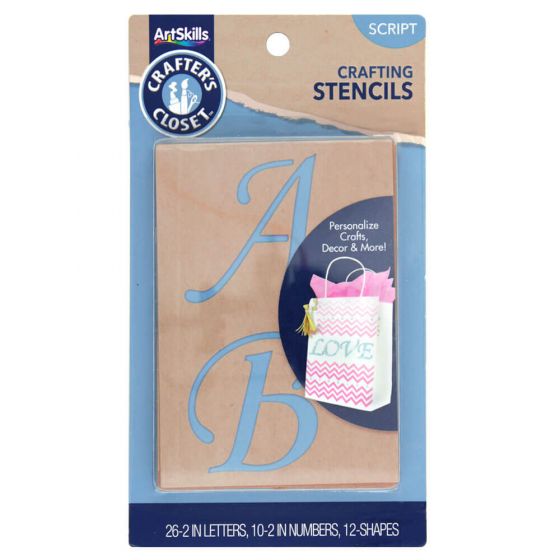
B) Use painter’s tape to secure a star stencil on the plaque, using your pencil lines as a guide. Use the white acrylic craft paint and a foam brush to dab paint on the stencil until star area is completely covered. Let each star dry completely before moving on to the other stars.
Step 5:
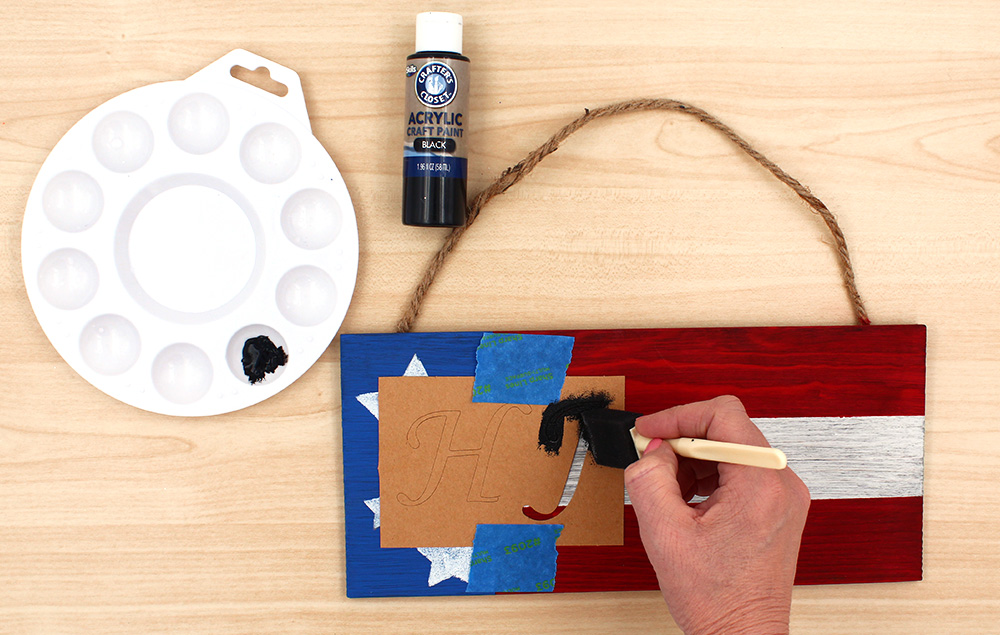
A) Use a letter stencil for the first letter of your name. Center the letter on the white stripe. Hold the stencil in place with painter’s tape. Use the black acrylic craft paint and a foam brush to dab paint on the stencil. Remove stencil and let dry.
Step 6:
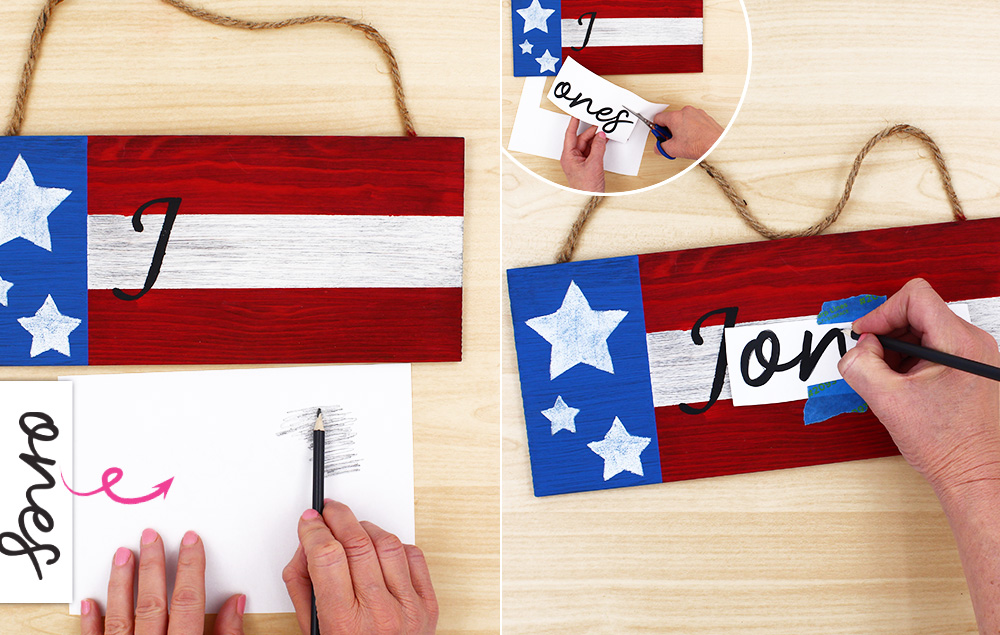
A) Download the font “Photoshoot Regular” from dafont.com. Print out your name, minus the first letter. The “ones” in Jones is at a 160 pt. font for our project. The size of your font will differ based on the length of your name.
Step 7:
A) Once your name is printed, turn the paper over and run a pencil over the area where the letters are to create a graphite transfer.
B) Turn the paper back over and trim close to the name for easier placement. Center the name on the white stripe and hold in place with painter’s tape. Use a pencil to trace the outline of the name. Remove the paper.
Step 8:
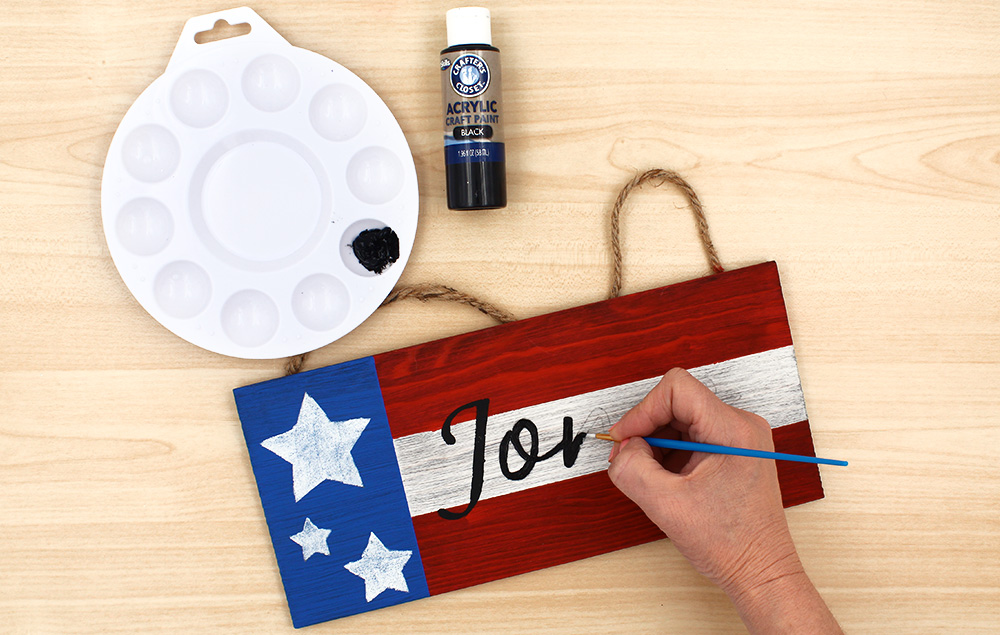
A) Using the pencil lines you made as a guide, use a detail brush and black acrylic craft paint to paint the rest of the letters of the name.
Step 9:
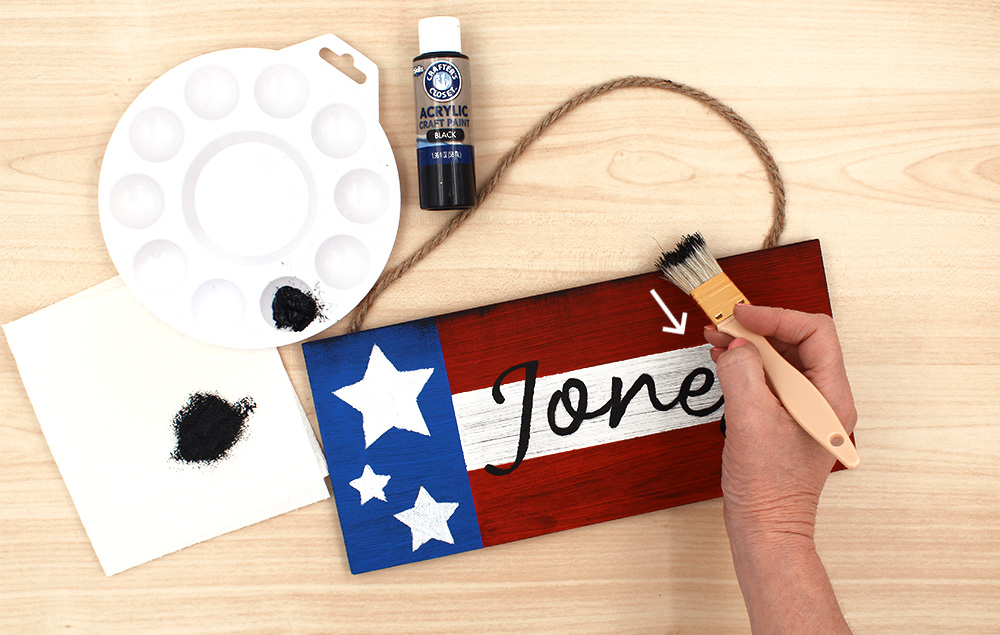
A) Using a dry bristle brush, dip it into black acrylic craft paint and dab off excess on a paper towel. Lightly brush paint on the edges of the plaque using inward strokes. Apply this ‘dry brush’ technique around all four sides of the plaque.
Tip: If black goes on too heavy, use a paper damp towel to dab off some of the paint.