Need some motivation this summer? This Summer Jobs chart will give your child a fun way to earn some extra cash. Use the colorful pockets to place jobs that range in difficulty. The completed jobs get placed in your child’s designated pocket at the top of the chart. The harder the job, the bigger the reward!
Step 1:
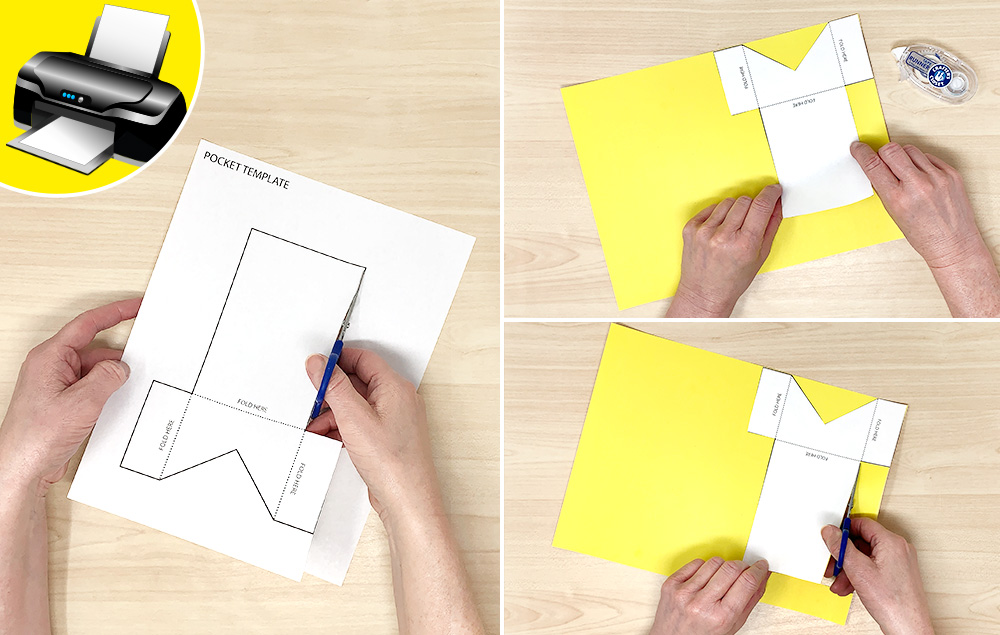
A) Download and print the summer job pocket inserts, job reward key, pocket template, and poster visual printout, located at the bottom of the “What You’ll Need” supply list.
B) Cut out the templates, setting aside the job inserts and reward key for later. The poster visual printout is a guide for the poster layout, which includes measurements and placement.
C) Glue the templates onto construction paper to create a sturdy, traceable template.
D) Cut out the templates.
Step 2:
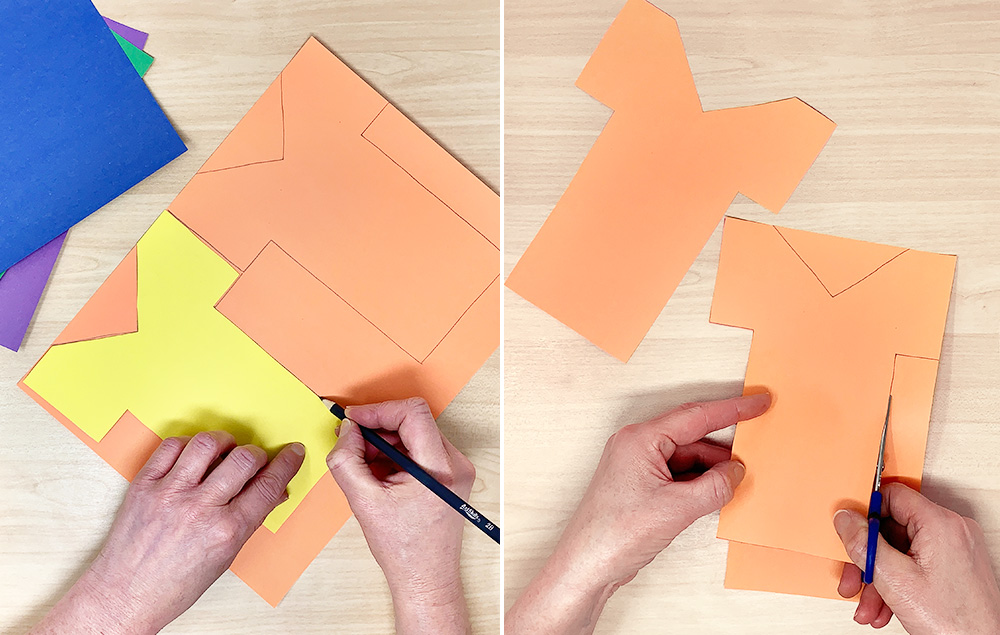
A) Trace the pocket template onto construction paper. Repeat for all pocket pieces needed. Our design features five orange pockets, five blue pockets, five green pockets, and three purple pockets. Tip: Adjust the number of orange, blue and green pockets to the number of jobs; adjust the number of purple pockets to the number of children.
B) Cut out all the traced pieces.
Step 3:
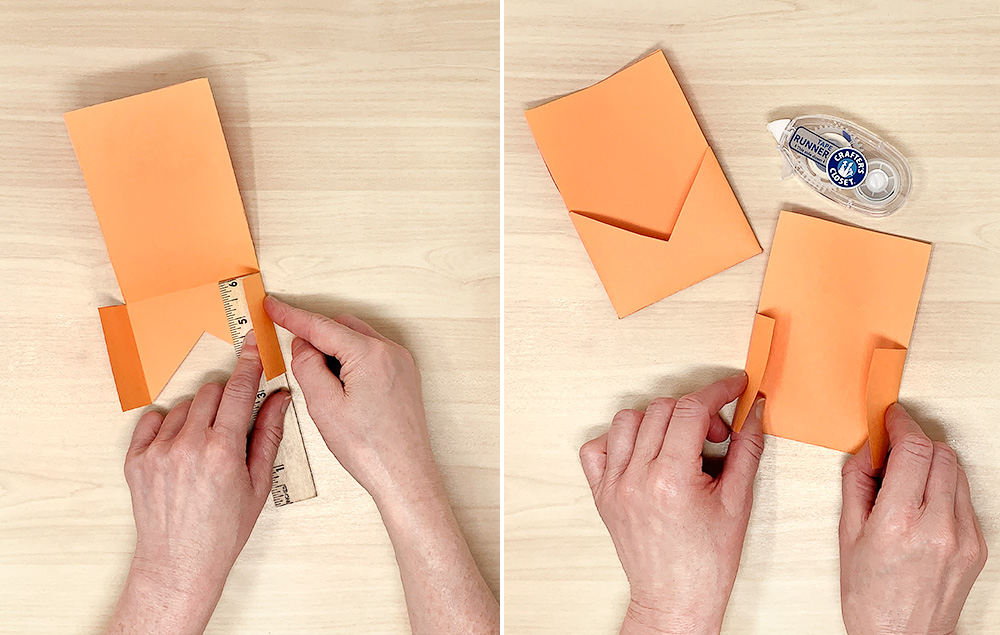
A) To assemble the pocket, fold the pocket flap upward, folding where the arms of the pocket tabs begin. Tip: Use a ruler to get a crisp fold.
B) Next, fold the pocket tabs back and behind.
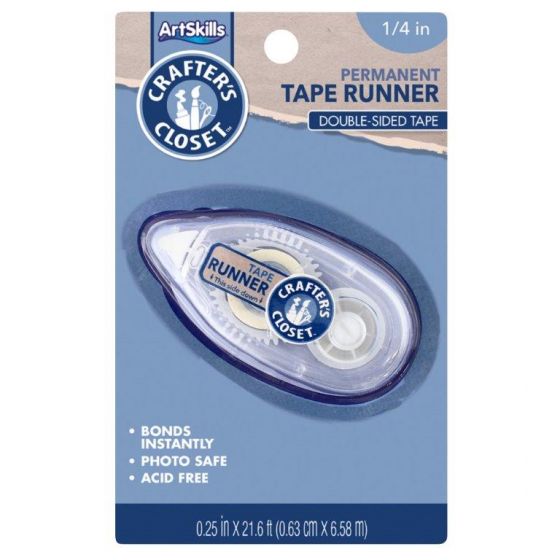
C) Adhere with the tape runner. Repeat this step for remaining pockets.
Step 4:
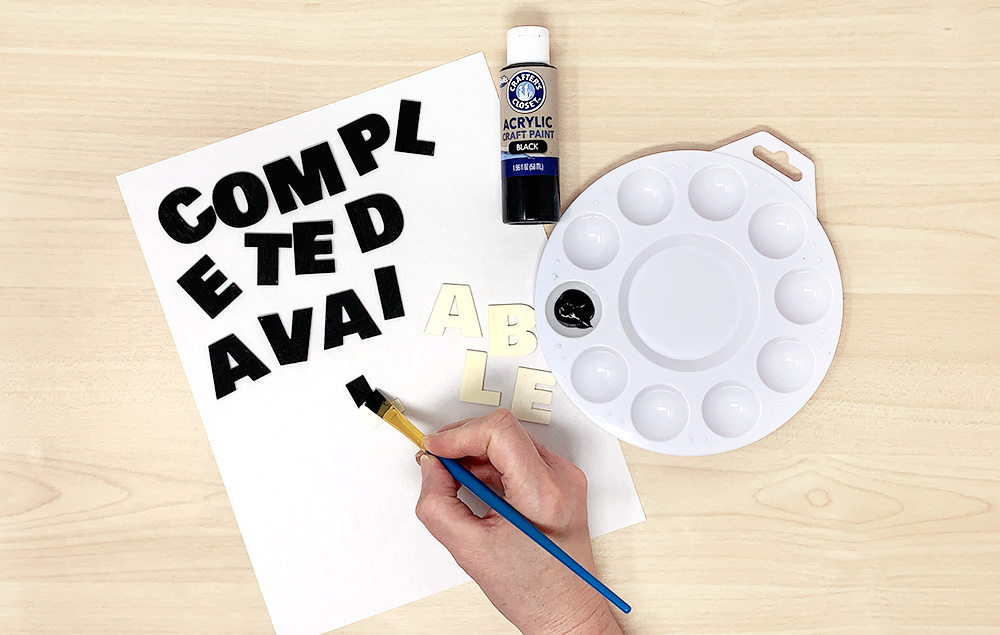
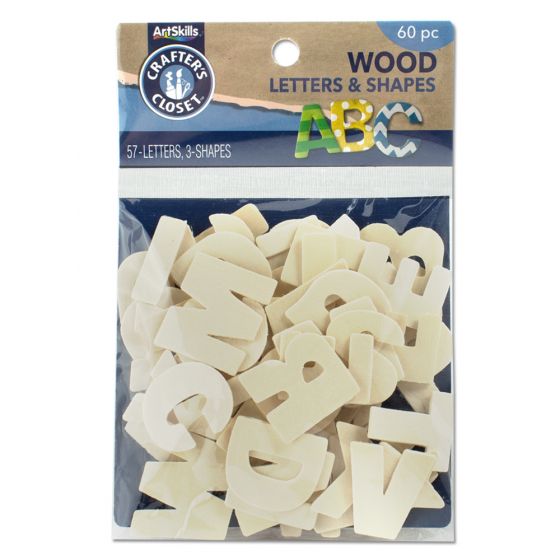
A) Use black craft paint to paint the wooden letters needed to spell out “completed” and “available”. Let dry.
Step 5:
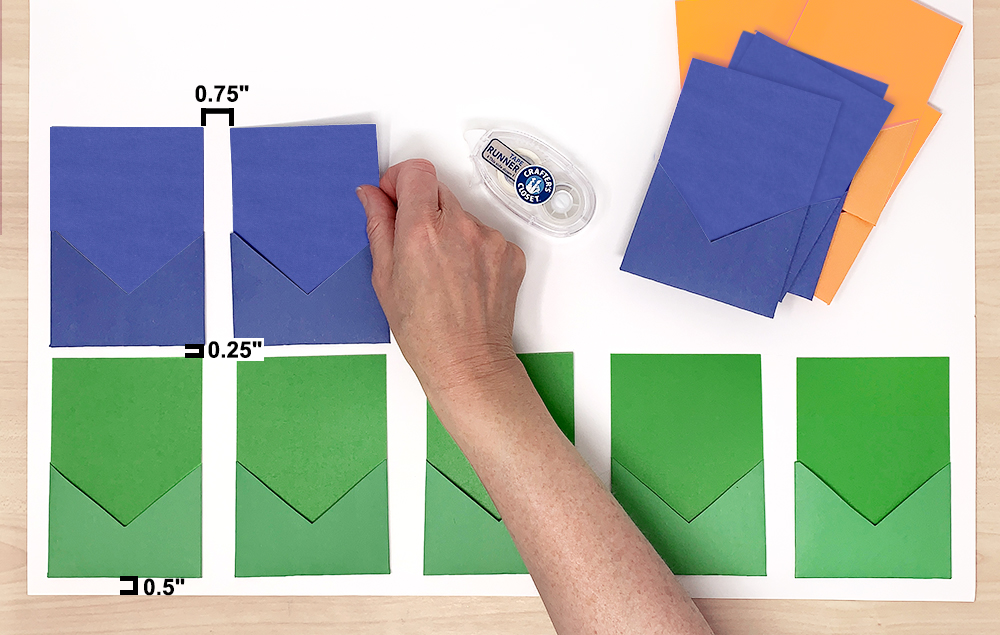
A) Starting at the bottom of the poster, attach the pockets to the poster using the tape runner. For perfect placement, align the pockets 0.5" inches inward from the poster edges. Measure 0.75" horizontally between each pocket and 0.25" between each pocket vertically. Reference the visual printout for additional guidance.
Step 6:
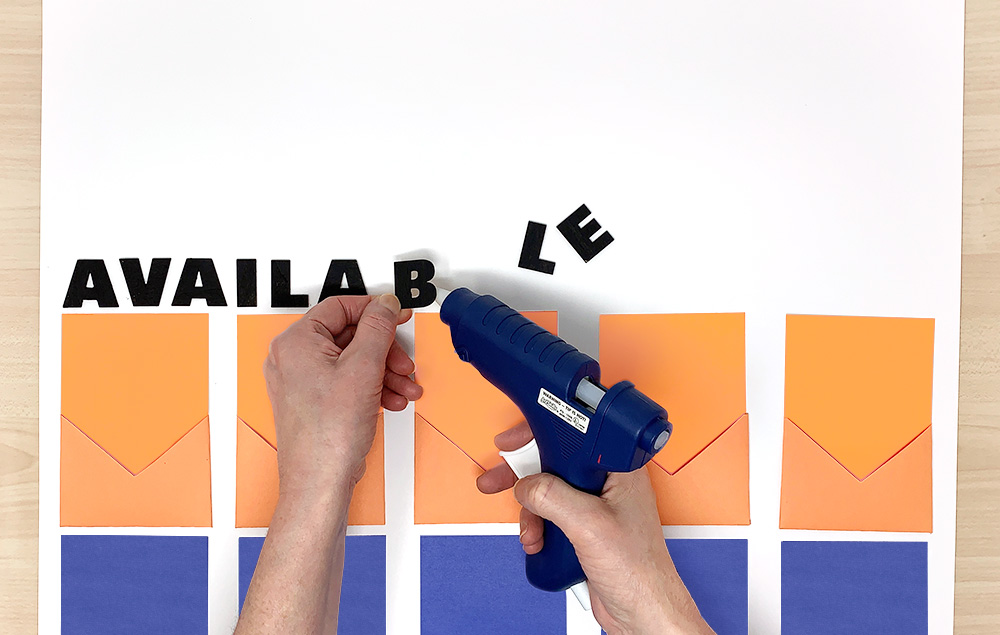
A) Hot glue the painted “available” wood letters above the three rows (orange, blue, and green) of five pockets.
Step 7:
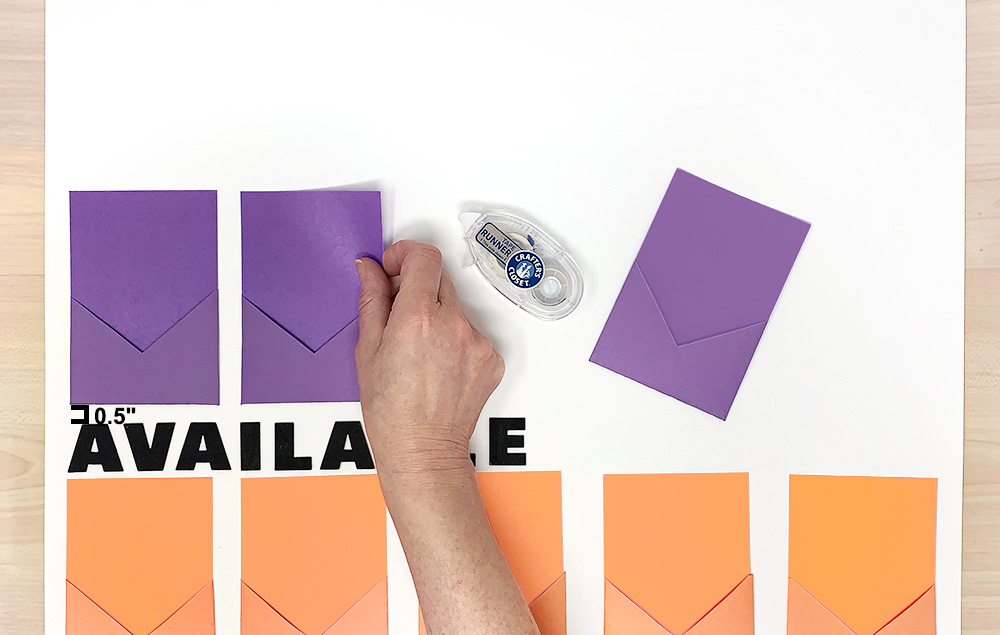
A) Attached the remaining purple pockets with the tape runner. For perfect placement, adhere these pockets 0.5" above the “available” wood letters.
Step 8:
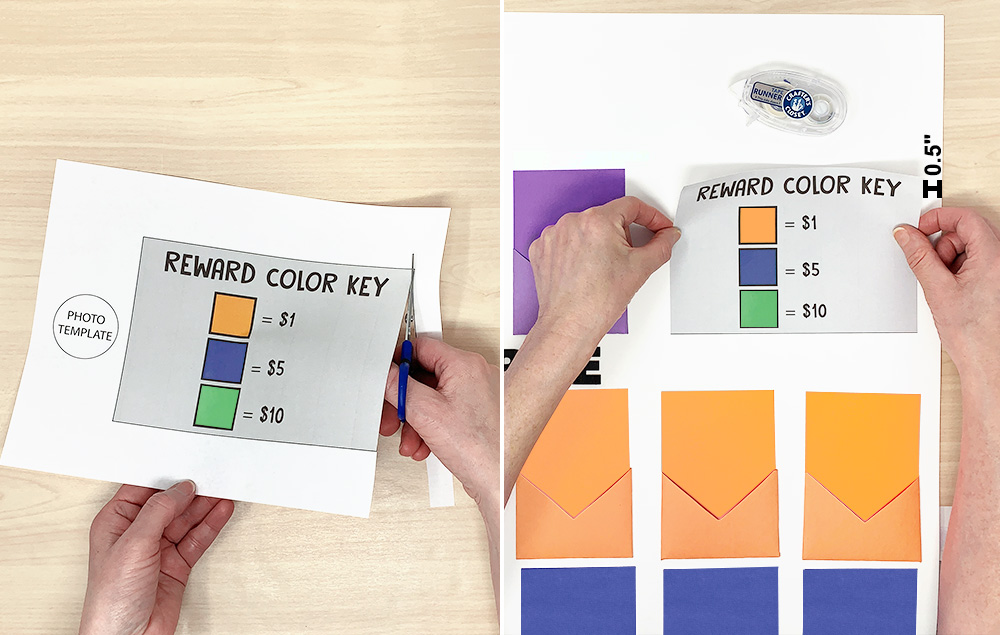
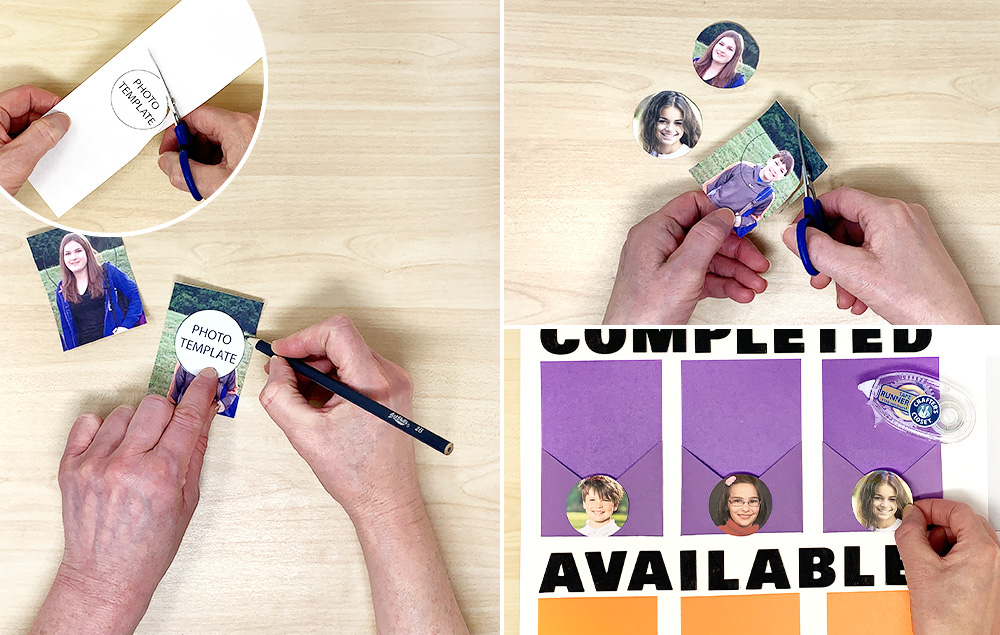
A) Cut out the reward key print out. Save the photo circle template for a later step.
B) Adhere the reward key to the right of the purple pockets, using tape runner. For perfect placement, measure 0.5" inward from the right poster edge. Tip: If you used different colors for your pockets, cut out construction paper squares of the colors used and place them over the colors on the reward key.
Step 9:
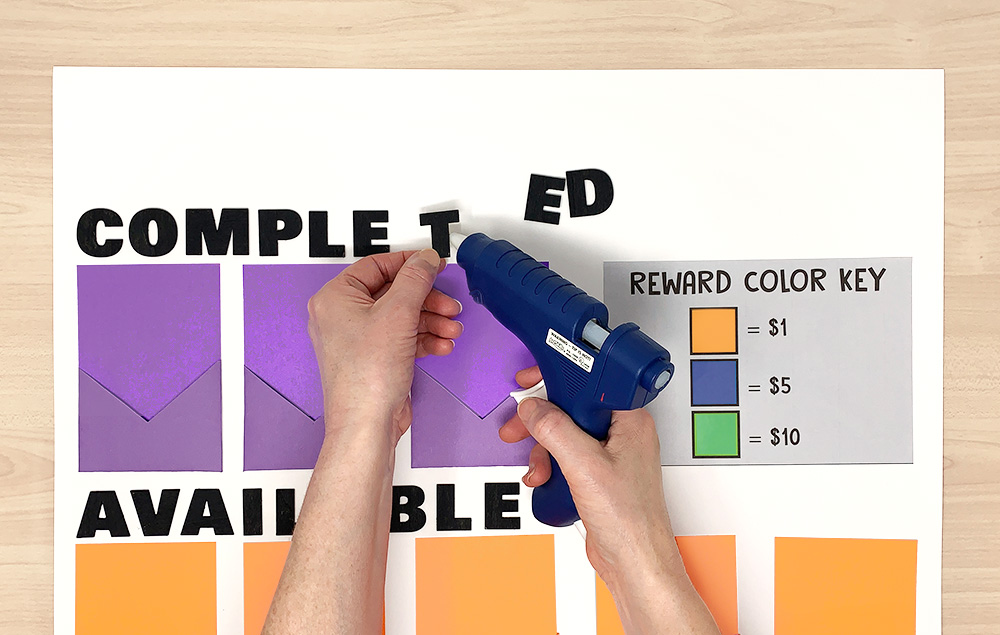
A) Hot glue the painted “completed” wood letters above the row of purple pockets.
Step 10:
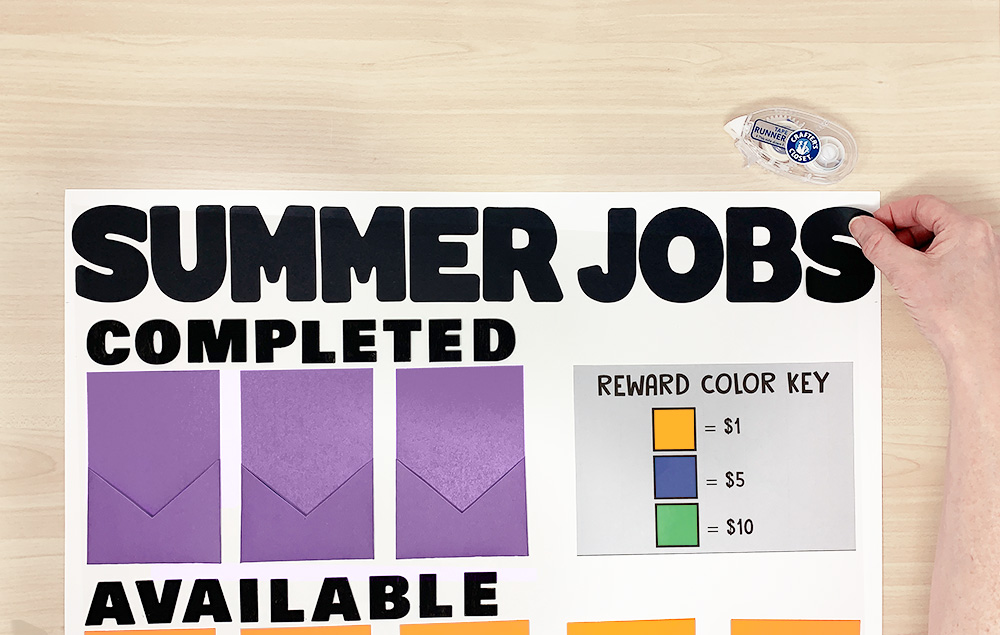
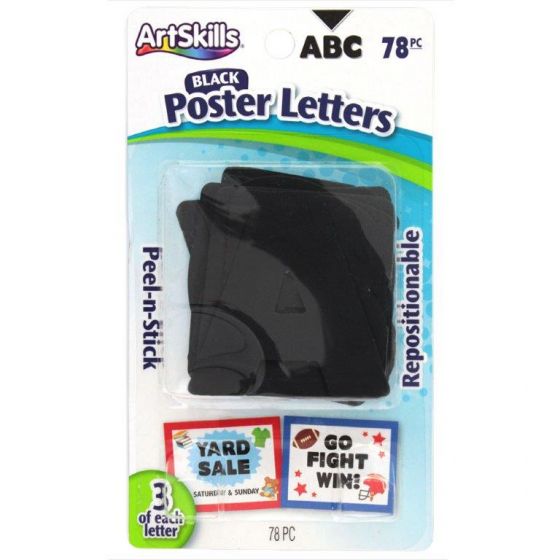
A) Use the poster letters to spell out “summer jobs”. For perfect placement, stick the letters 0.75" above the “completed” wood letters. Once satisfied with the poster letter placement, permanently attached the letters with the tape runner.
Step 11:
A) To customize your child’s purple pocket, use the photo template provided on the reward key sheet. Trace the photo circle over a photo of your child’s face. Tip: A wallet sized school photo works great!
B) Cut out the photo circle.
C) Tape the photo circle to the front pocket.
Step 12:
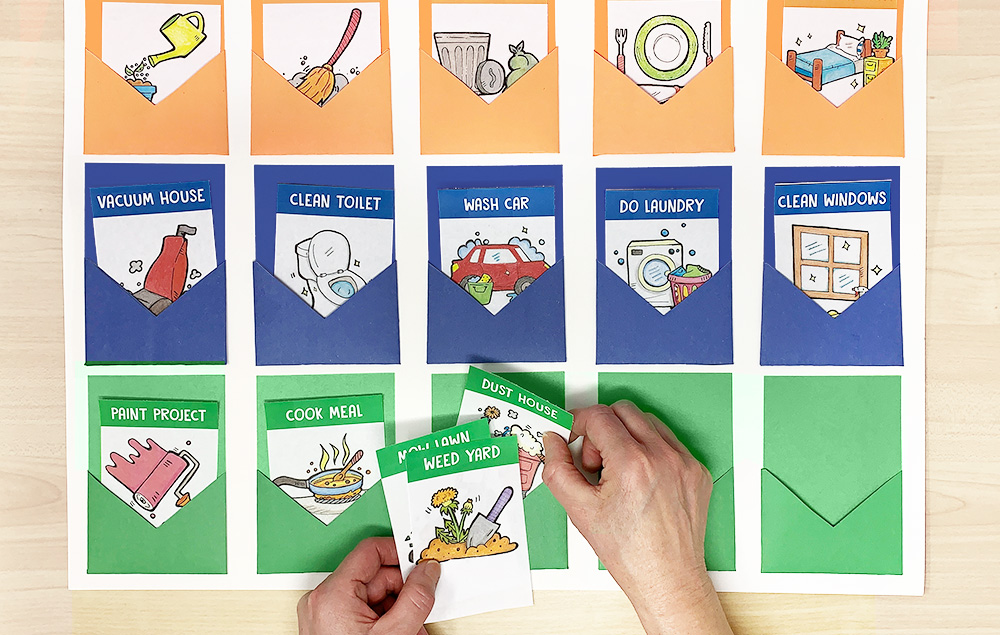
A) Place the job inserts into the designated pockets, matching the color of the job
with the color of the pocket.