Rustic acorns will add a homemade touch to your fall décor. Select your favorite style, or craft all three styles for a fun mix! Display them in a bowl or scattered around on a tabletop.
To make Burlap Acorns with Jute Tops:
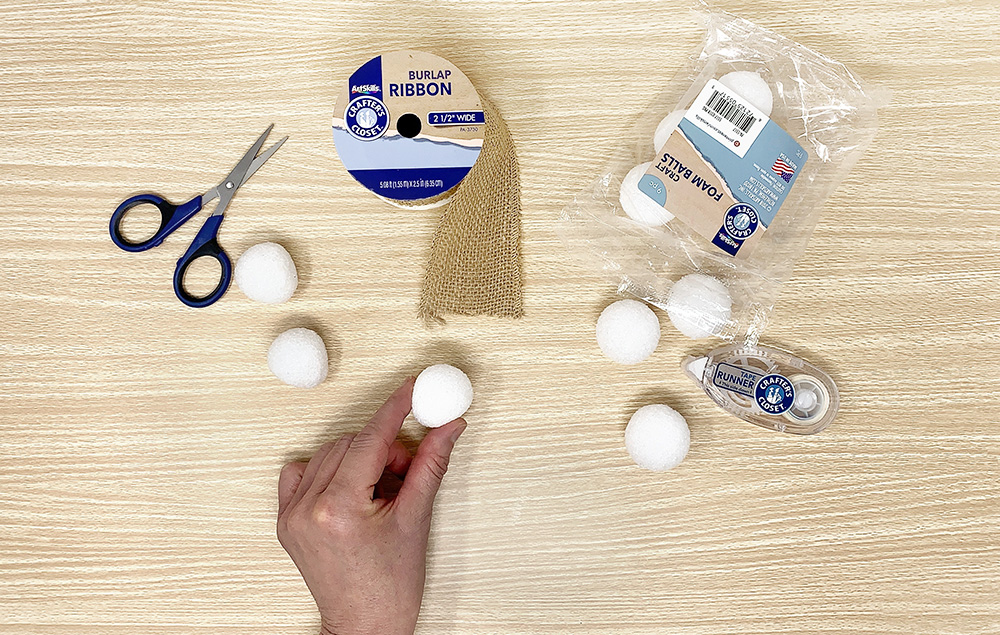
Step 1:
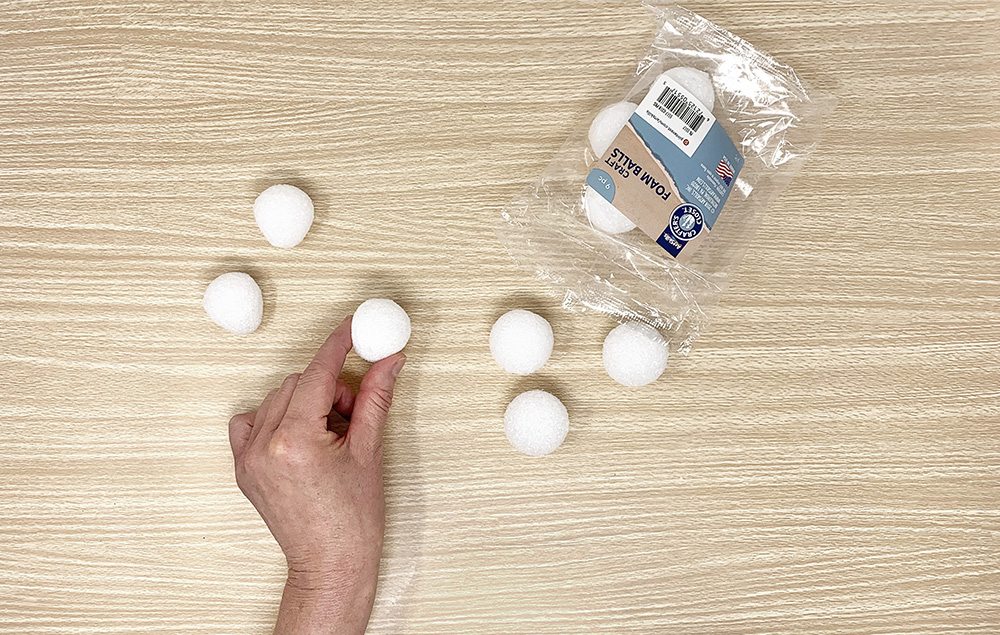
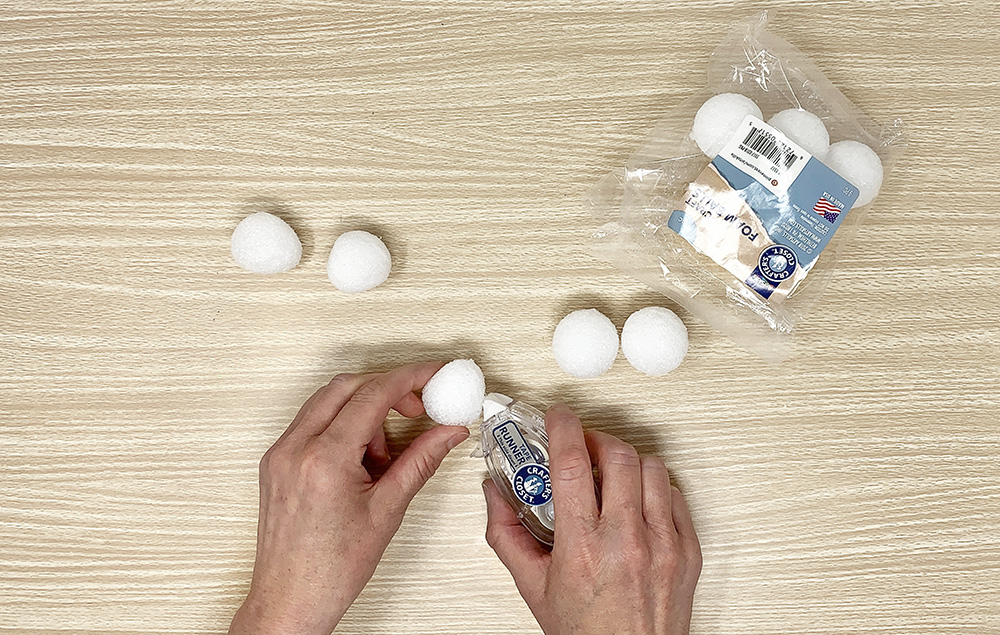
Squeeze and shape foam ball into a softly pointed shape on one end. You can roll the pointed end on a flat surface to smooth it out.
Step 2:
Cover the pointed end of the foam ball with double-sided tape. Run the tape up to the crown of the ball. Leave a bit of foam exposed on the very top.
Step 3:
Cut a 3" length piece of burlap ribbon.
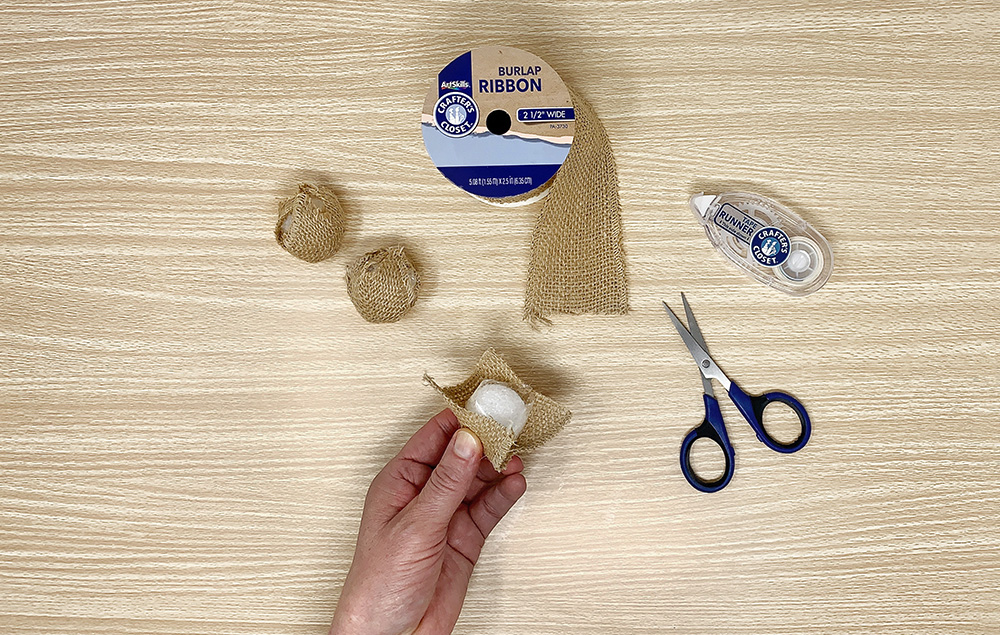
Step 4:
Center the foam shape on the burlap piece and fold the burlap up the sides, pressing into the tape to secure. Try to close the gaps on the sides as best you can. Snip off any extra burlap points that stick up on the top.
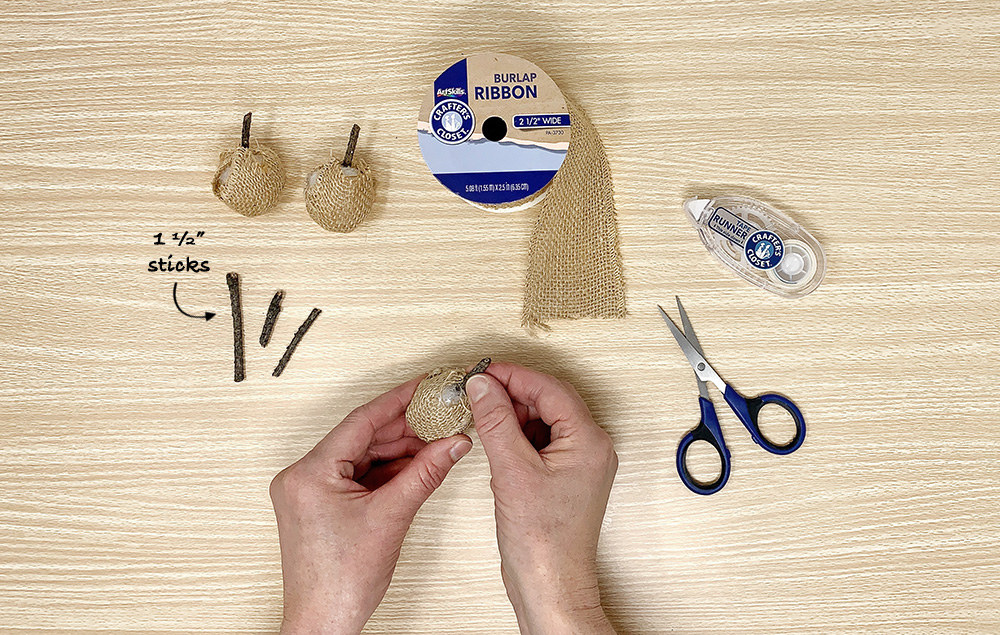
Step 5:
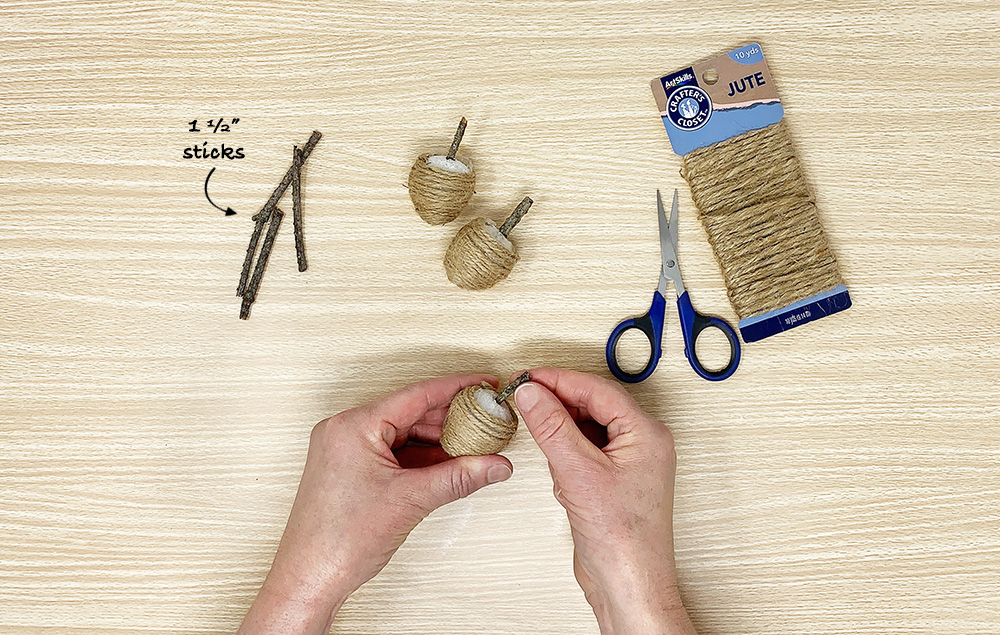
Insert a small 1 ½" stick into the foam at the top of the acorn to create a stem.
Step 6:
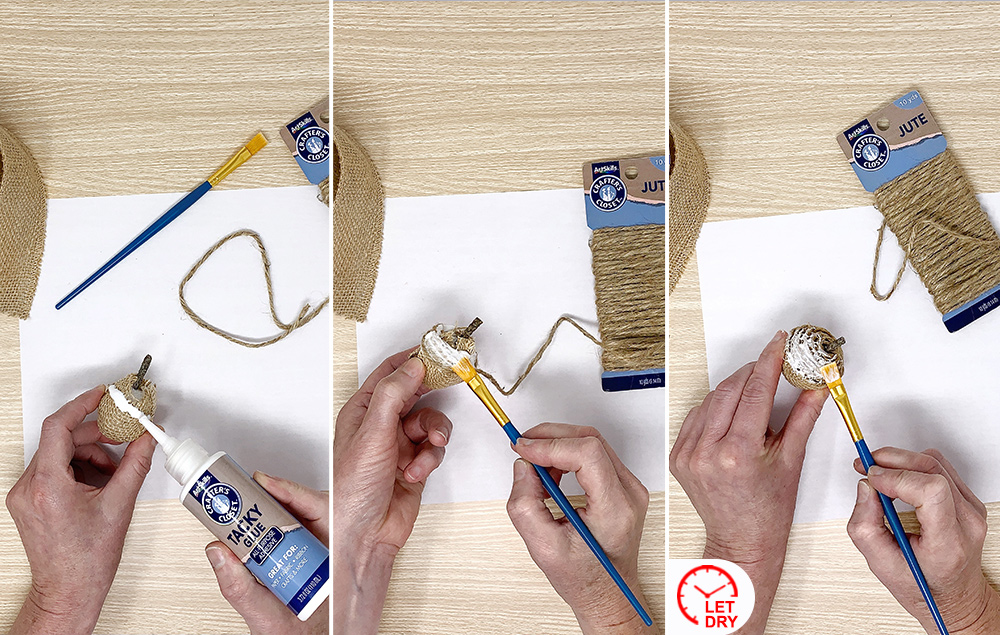
Liberally apply Tacky Glue around the top of the acorn, where the jute “cap” will sit.
Press jute into the glue and wind around the top of the acorn to make the cap. Apply more glue as you wind the jute. You may want to make several passes around the top to add dimension. Make sure the jute goes up to meet the stem.
Using a paint brush, cover the whole jute cap with Tacky Glue to hold everything in place. Let dry.
To make Jute Acorns with Cardboard Tops:
Step 1:
Squeeze and shape foam ball into a softly pointed shape on one end. You can roll the pointed end on a flat surface to smooth it out.
Step 2:
Cover the pointed end of the foam ball with double-sided tape. Run the tape up to the crown of the ball. Leave a bit of foam exposed on the very top.
Step 3:
Start at the pointed end of the foam shape and wrap the jute in a circle. Press jute into the double-sided tape to secure. Keep wrapping in a circle around the shape until you reach the top. Snip jute and secure loose end to the tape. You’ve made the acorn body!
Step 4:
Insert a small 1 ½" stick into the foam at the top of the acorn to create a stem.
Step 5:
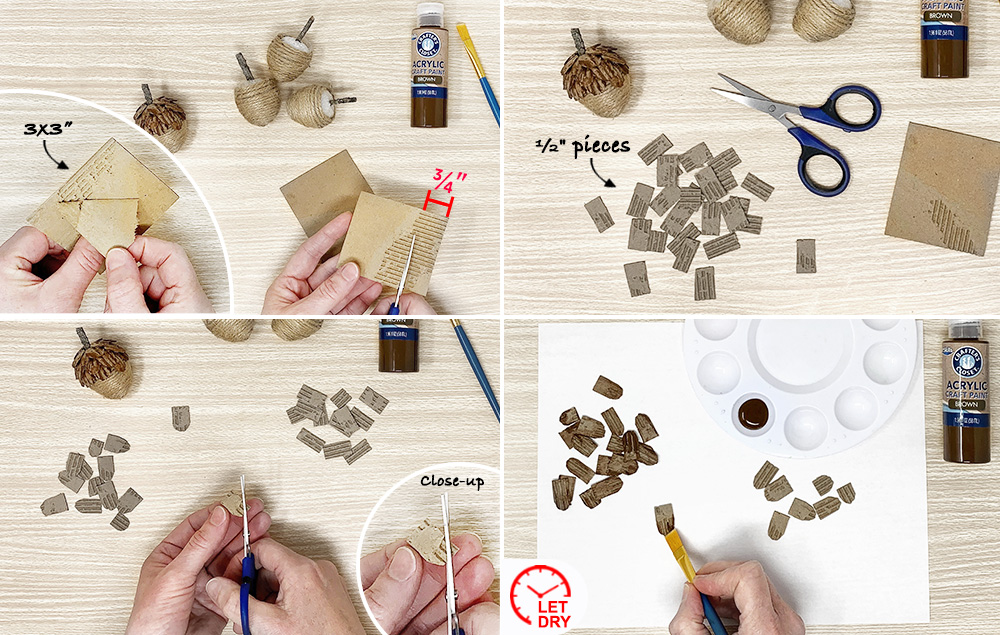
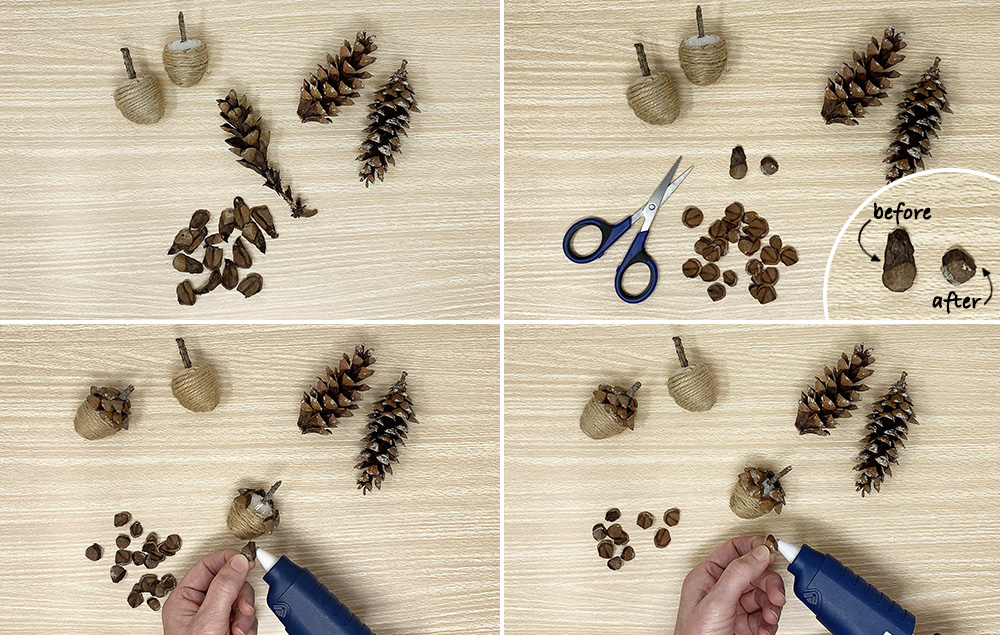
Tear one side off of a 3"x3" piece of cardboard to expose the fluted corrugated piece. Cut 3/4" high strips from the cardboard.
Cut small ½" pieces from the strips to make the faux pinecone scales.
Use scissors to round the corners on one end of the faux pinecone scales.
Lightly brush brown paint across the top and sides of the faux pinecone scales. You just want to highlight the ridges on the fluted corrugation. Let dry.
Step 6:
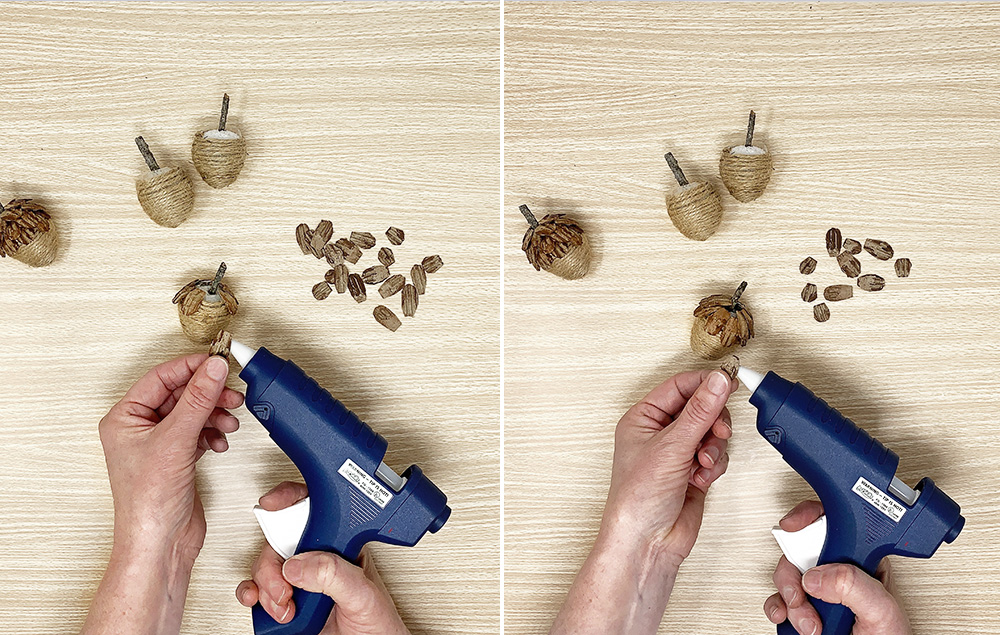
Hot glue a row of faux pinecone scales around the top of the jute acorn. Cover the seam where the jute ends and the foam is exposed. You can mold the faux pinecone scales to the shape of the acorn.
Hot glue a second row of faux pinecone scales above the first, placing them like shingles as they overlap. You may also have to make a third row of faux pinecone scales so that they nestle up around the stem. You can trim and shape as needed so they fit nicely.
To make Jute Acorns with Pinecone Tops:
Step 1:
Squeeze and shape foam ball into a softly pointed shape on one end. You can roll the pointed end on a flat surface to smooth it out.
Step 2:
Cover the pointed end of the foam ball with double-sided tape. Run the tape up to the crown of the ball. Leave a bit of foam exposed on the very top.
Step 3:
Start at the pointed end of the foam shape and wrap the jute in a circle. Press jute into the double-sided tape to secure. Keep wrapping in a circle around the shape until you reach the top. Snip jute and secure loose end to the tape. You’ve made the acorn body!
Step 4:
Insert a small 1 ½" stick into the foam at the top of the acorn to create a stem.
Step 5:
Peel scales from a pinecone.
Trim the tops of the scales so they are shorter and rounder.
Hot glue pinecone scales around the top of the jute acorn. Cover the seam where the jute ends and the foam is exposed.
Hot glue a second row of pinecone scales above the first, placing them like shingles as they overlap. You may also have to make a third row of pinecone scales so that they nestle up around the stem. You can trim and shape as needed.