Help your socks find their solemates! This handy DIY sock caddy will be just what your laundry room needs.
Step 1:
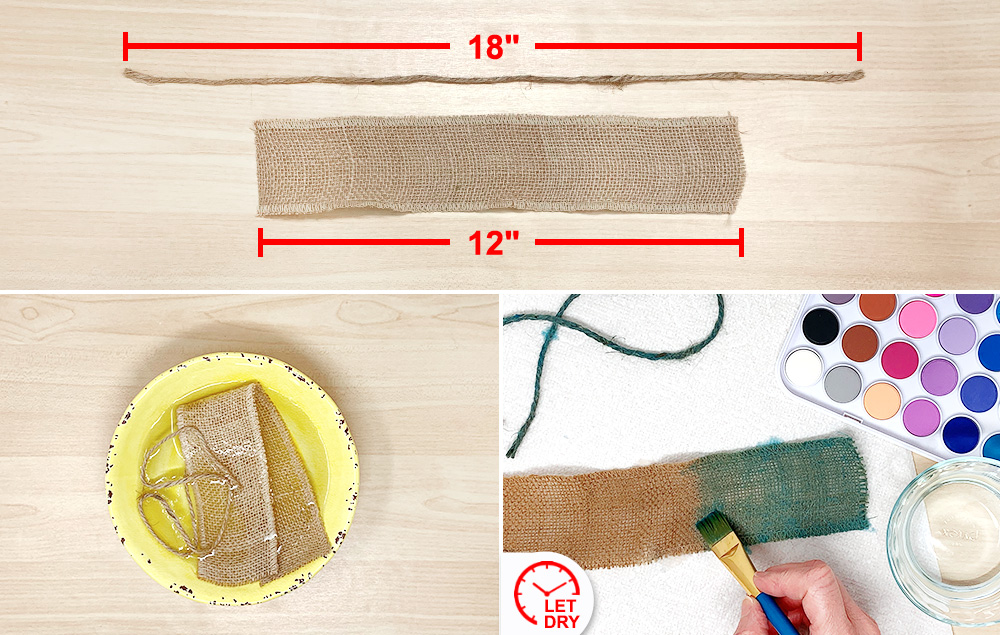
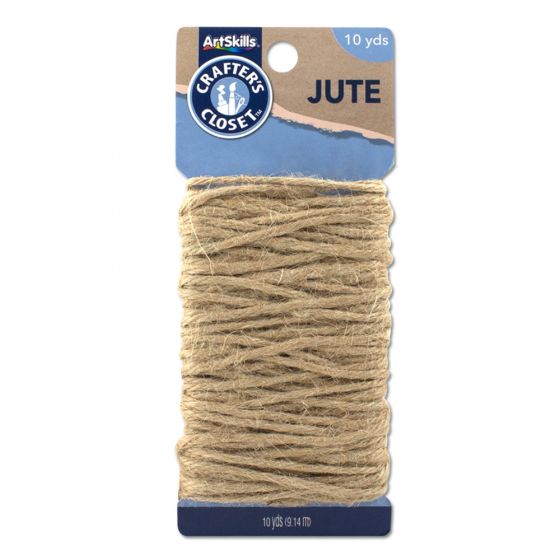
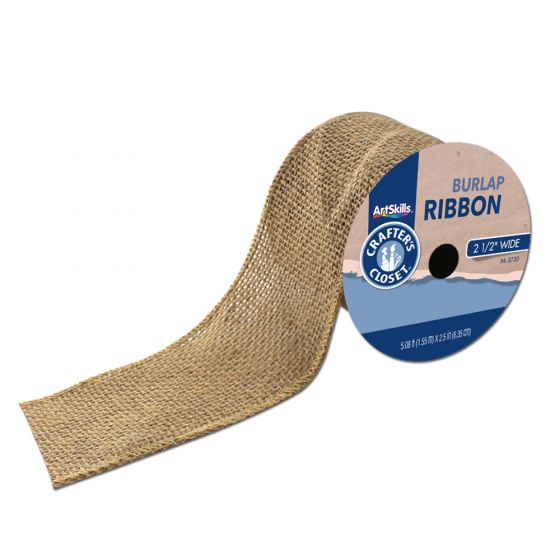
A) Cut a 12" length of burlap and an 18" length of jute.
B) Soak the burlap and jute in water. Fully submerge.
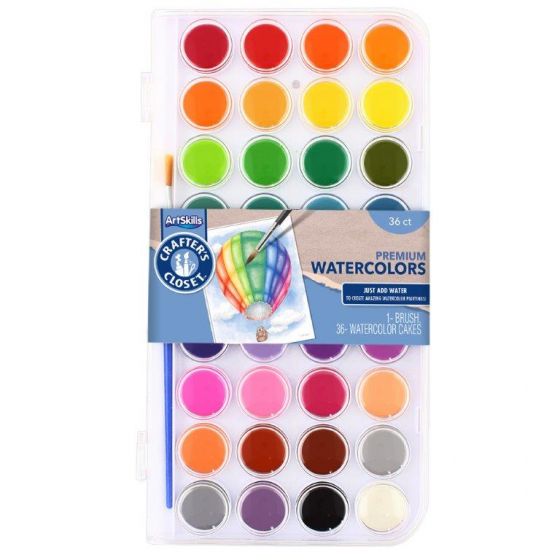
C) Remove from water. Place on a paper towel to protect surfaces. Dab watercolor paint onto both. This will dye the material to the color of choice. Let dry.
Step 2:
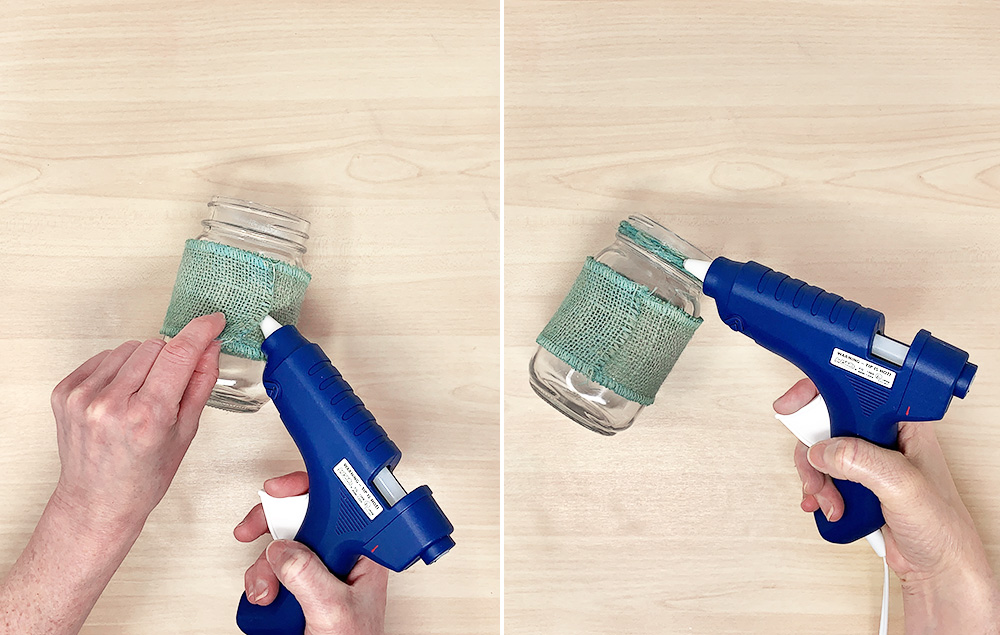
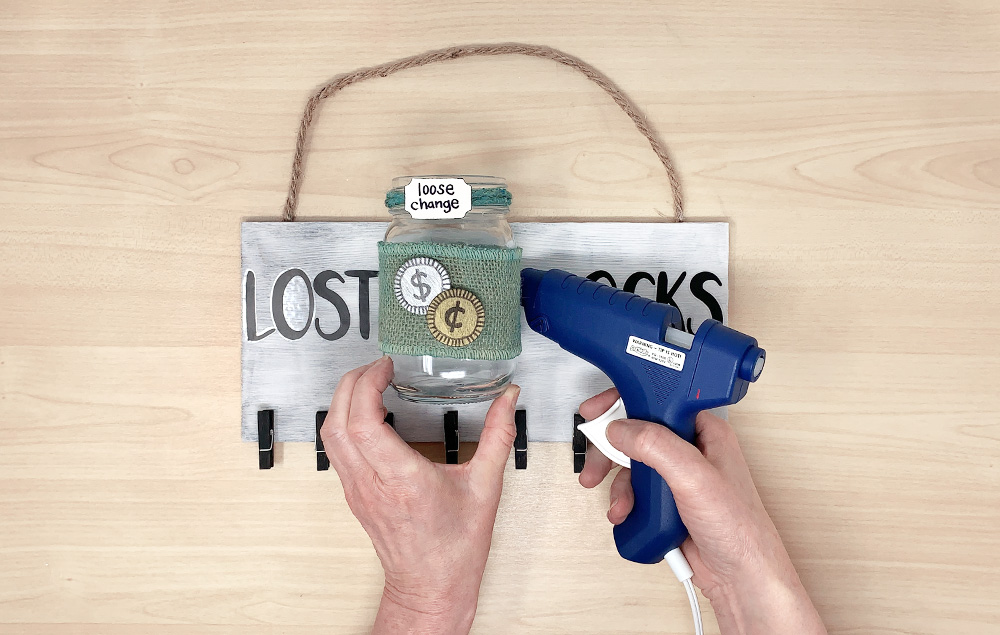
A) Wrap burlap around center of jar. Apply hot glue to the seam, securing the burlap to the jar.
B) Wrap jute twice around jar neck and adhere with hot glue. Tip: Keep the glued burlap and jute seams on the same side of the jar.
Step 3:
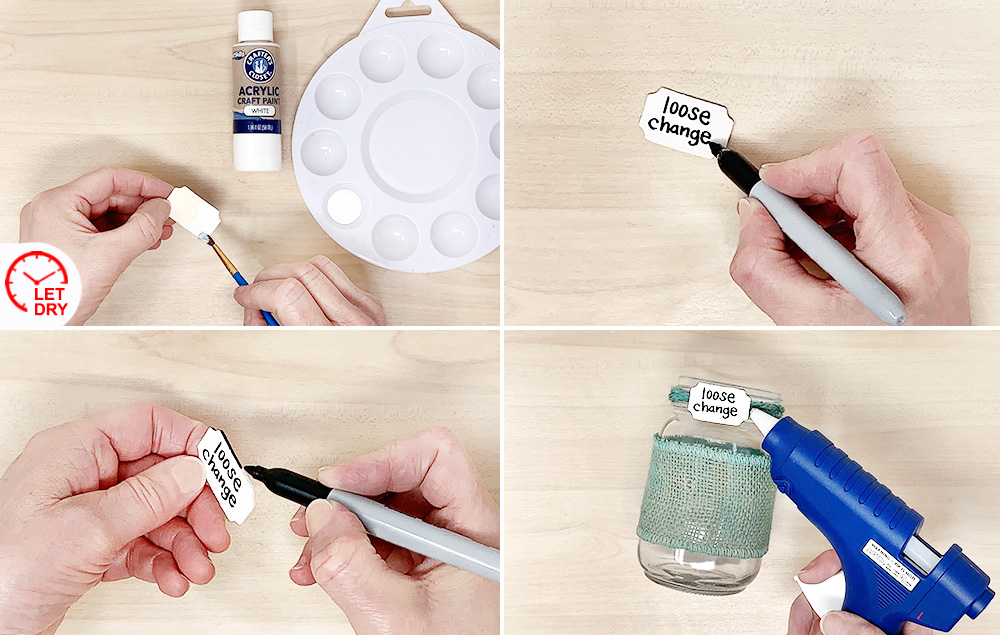
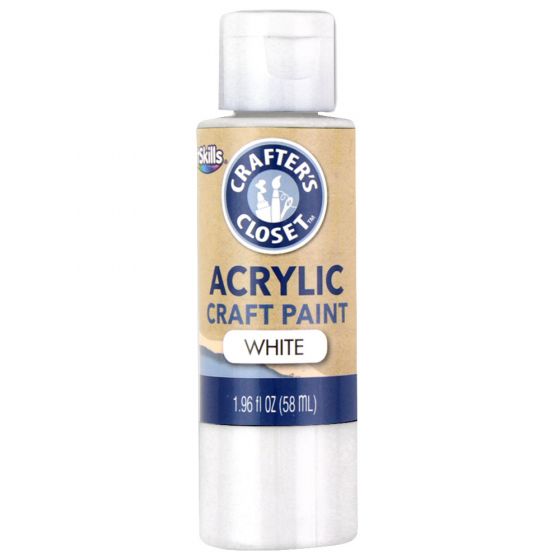
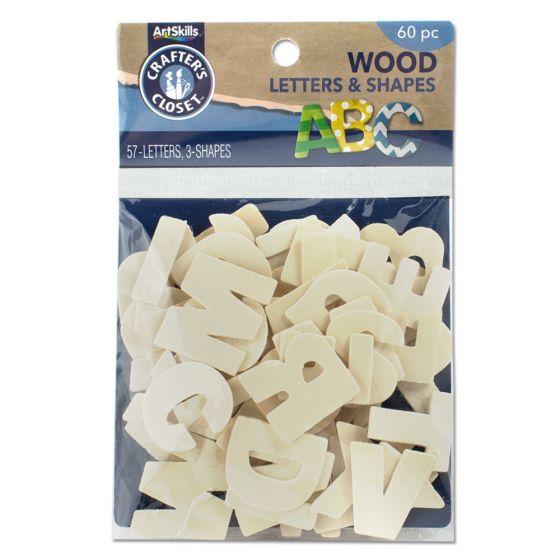
A) Apply white acrylic paint to small wood plaque shape. Let dry.
B) Use a permanent marker to write “loose change” onto the front of the plaque.
C) Use a permanent marker to color the side edges of the plaque.
D) With seams facing the back of the jar, hot glue the finished plaque to the front and center of the jar’s neck over wrapped jute.
Step 4:
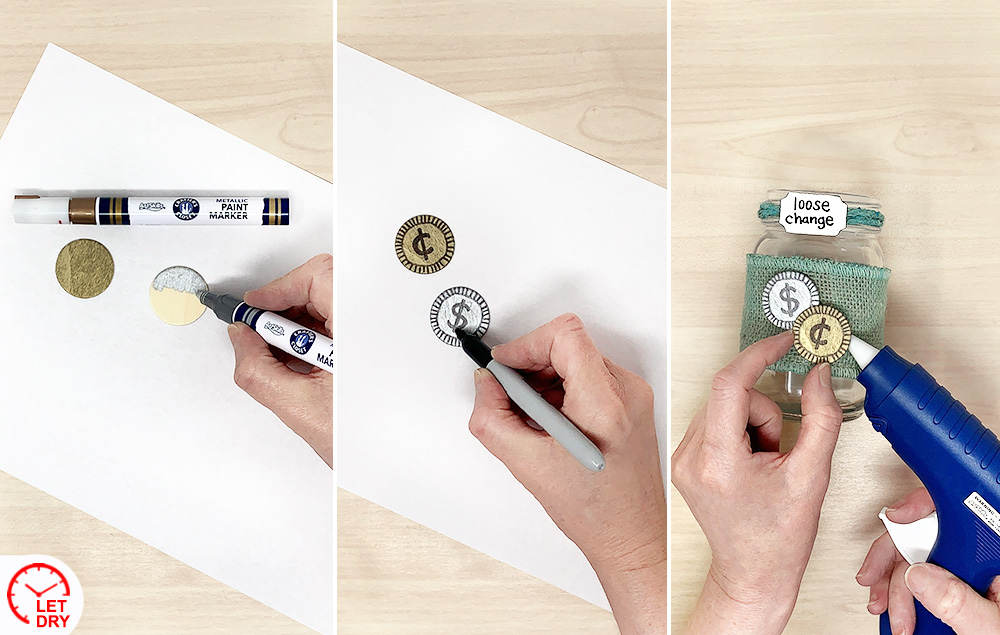
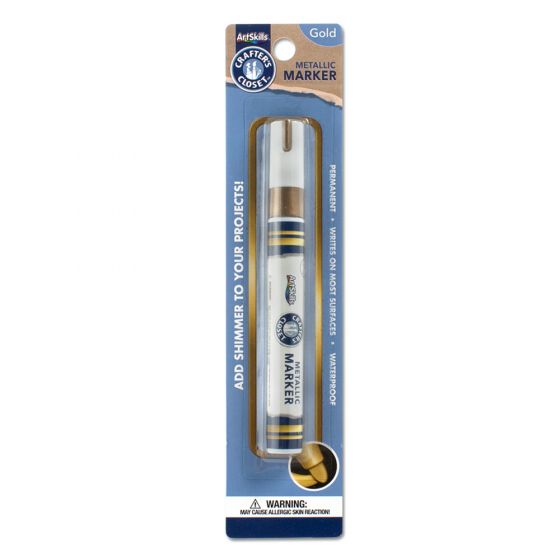
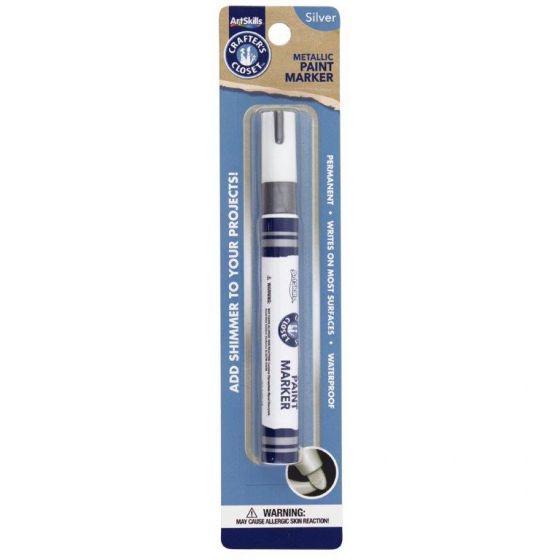
A) Use metallic paint markers to color one circle silver and the other gold. Let dry.
B) Using permanent marker, create a border on the coin by drawing a slightly smaller circle and filling it with small vertical lines. Add a “$” sign to the silver coin and a “¢” sign to the gold.
C) Hot glue the finished coins to the front of the jar on top of the burlap. Slightly overlap the coins when gluing.
Step 5:
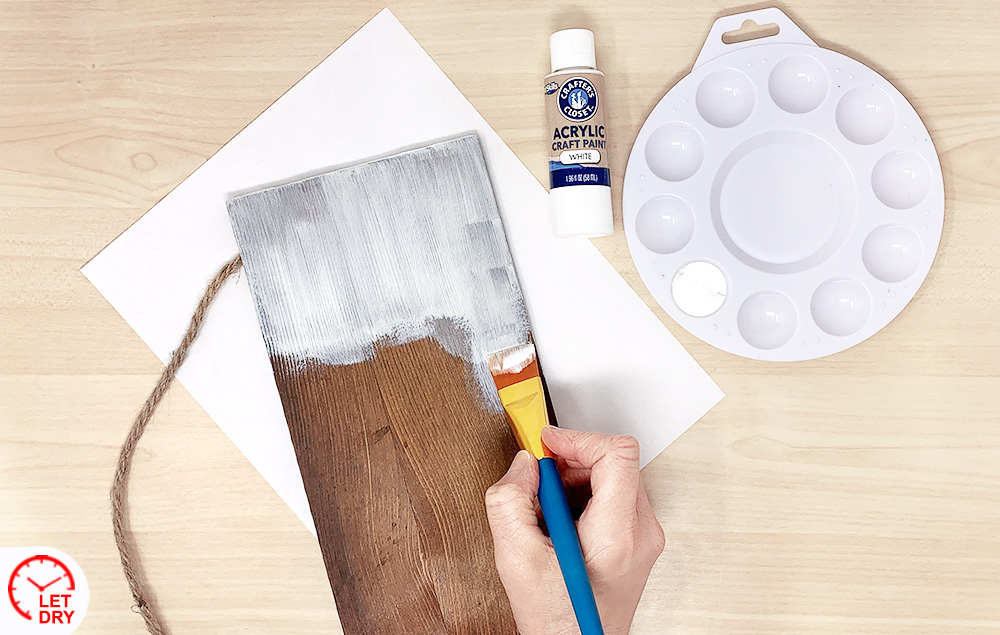
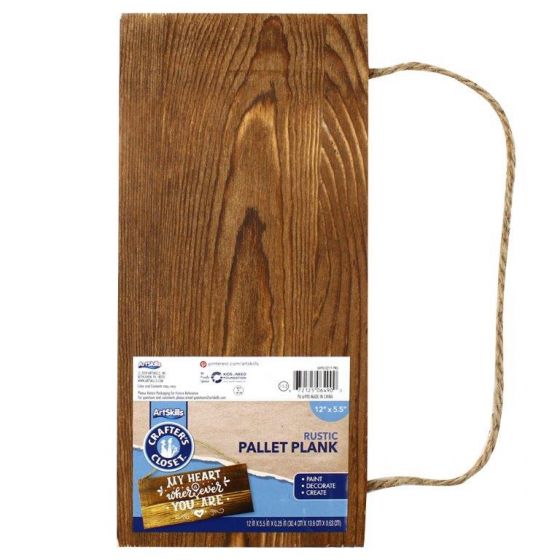
A) Apply white acrylic paint to the wood plank. Let dry. For a less rustic look, apply additional coats of white paint. Let the plank dry between each additional coat.
Step 6:
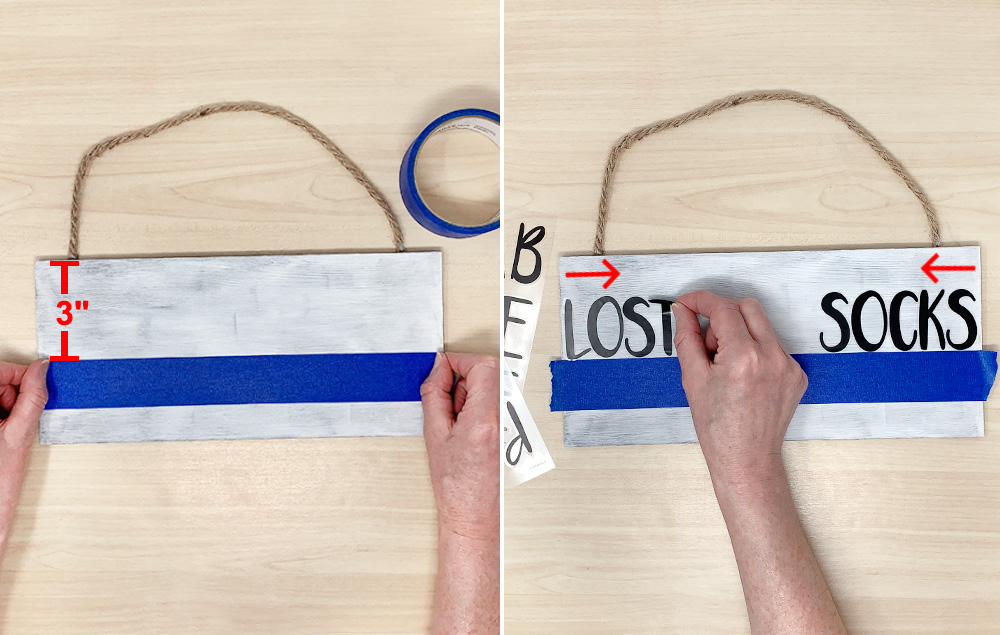
A) Measure down 3" from top of the plank and use painter’s tape to make a guideline.
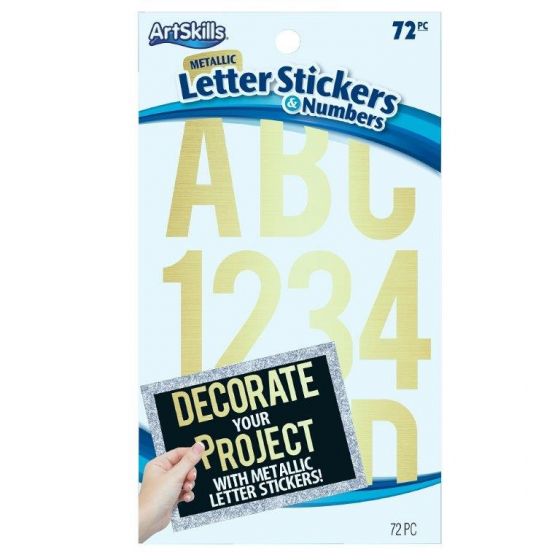
B) Place letter stickers that spell out “lost” and “socks”. Keep “lost” aligned to the left and “socks” aligned to the right. For perfect placement, start the words at the edges and work into the center, keeping them tight. Remove tape when completed.
Step 7:
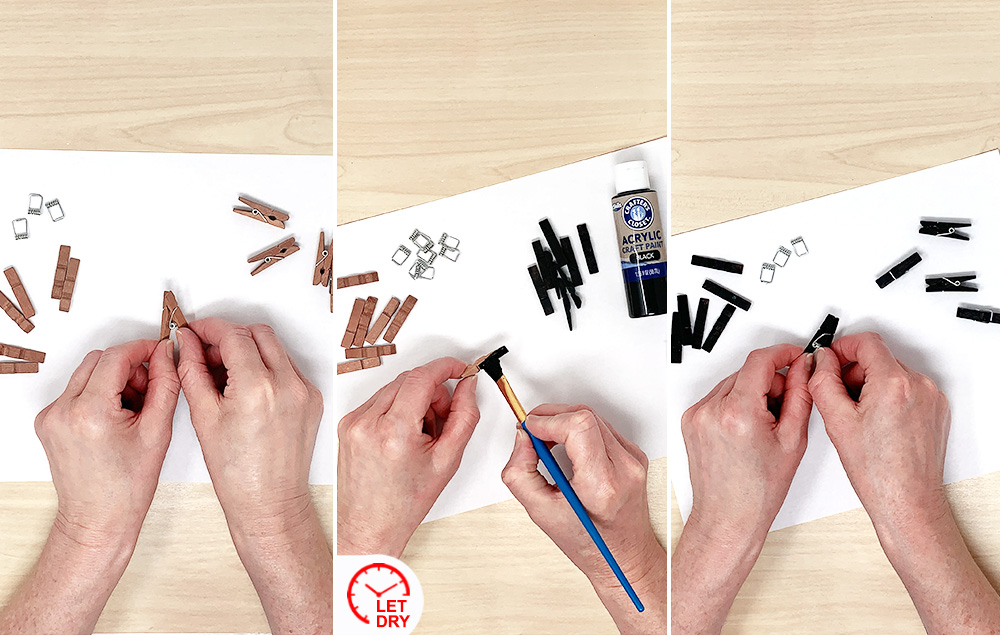
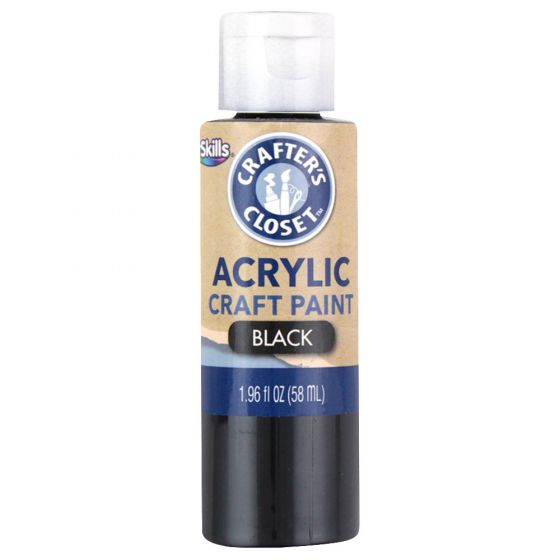
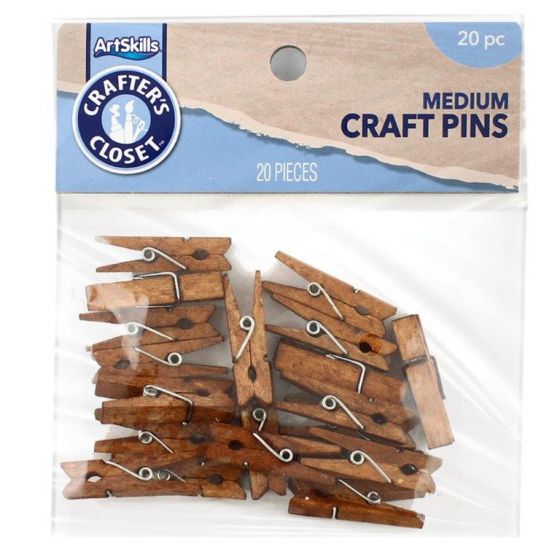
A) Let’s paint the craft pins! Take apart 8 craft pins. This will ensure the metal pieces will not get covered with paint.
B) Paint wooden pieces black. Let dry.
C) Reassemble craft pins.
Step 8:
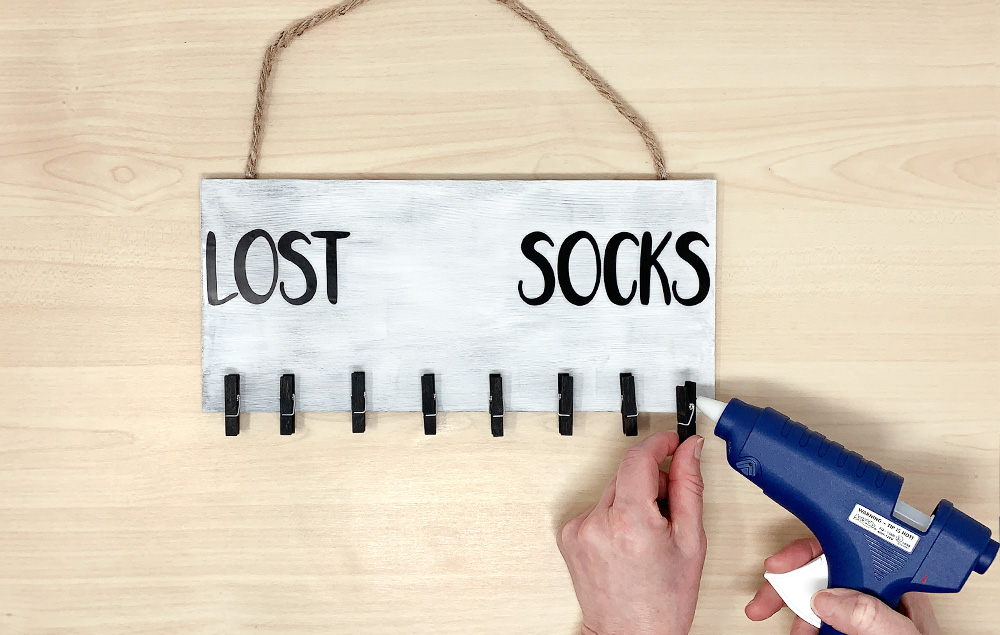
A) Evenly space the 8 craft pins along the bottom of the plank. Once happy with their placement, hot glue them to the plank.
Step 9:
A) Hot glue the jar to the front of the plank, aligning the jar between the words “lost” and “socks” and above the craft pins.