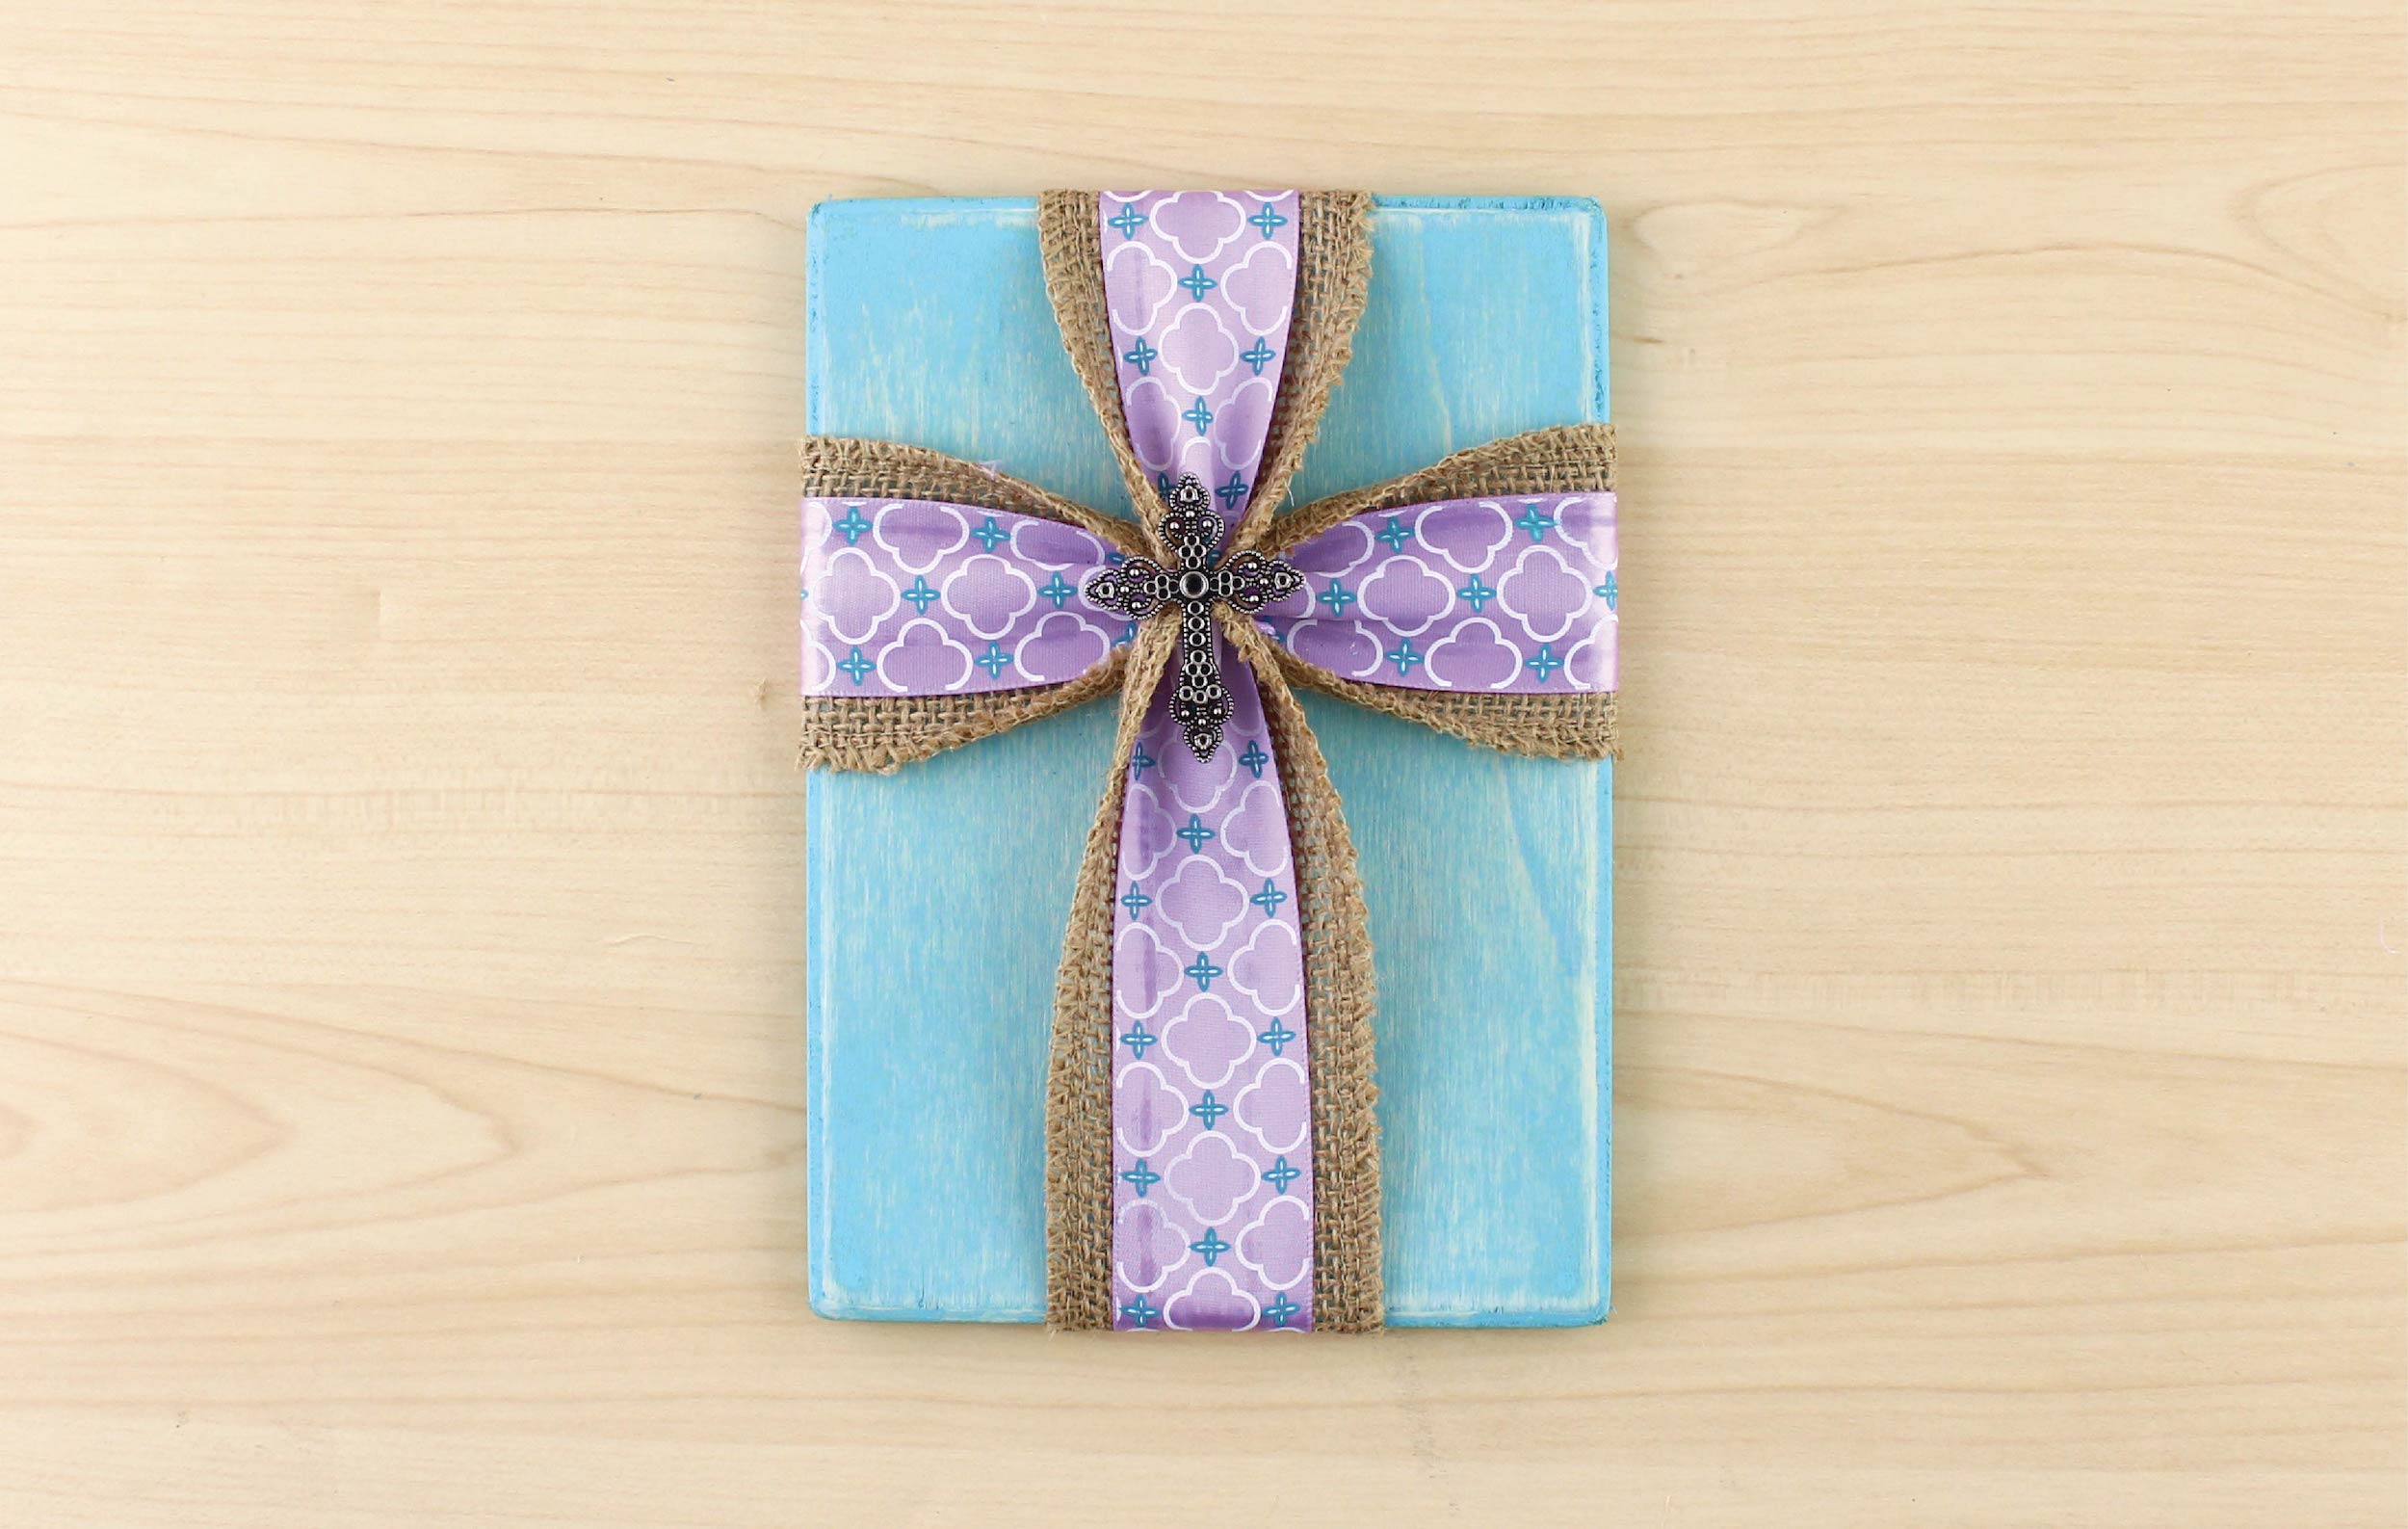
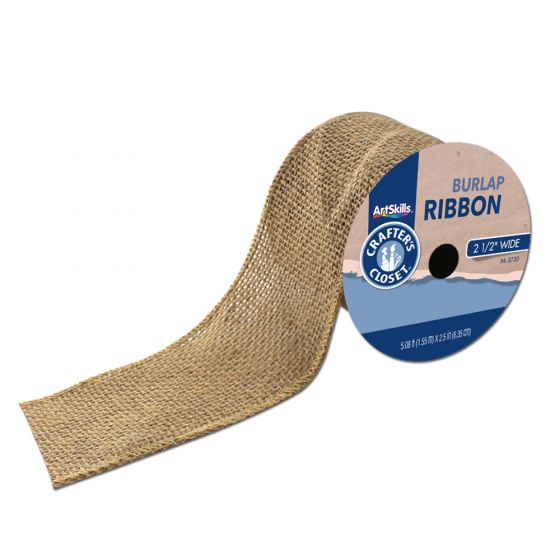
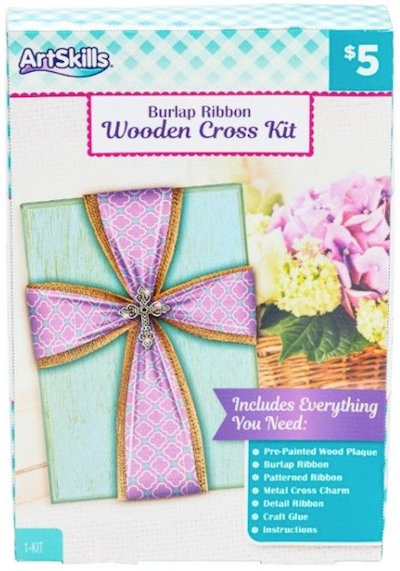
Make your own Easter cross decor with burlap ribbon and a wooden plaque!
Step 1:
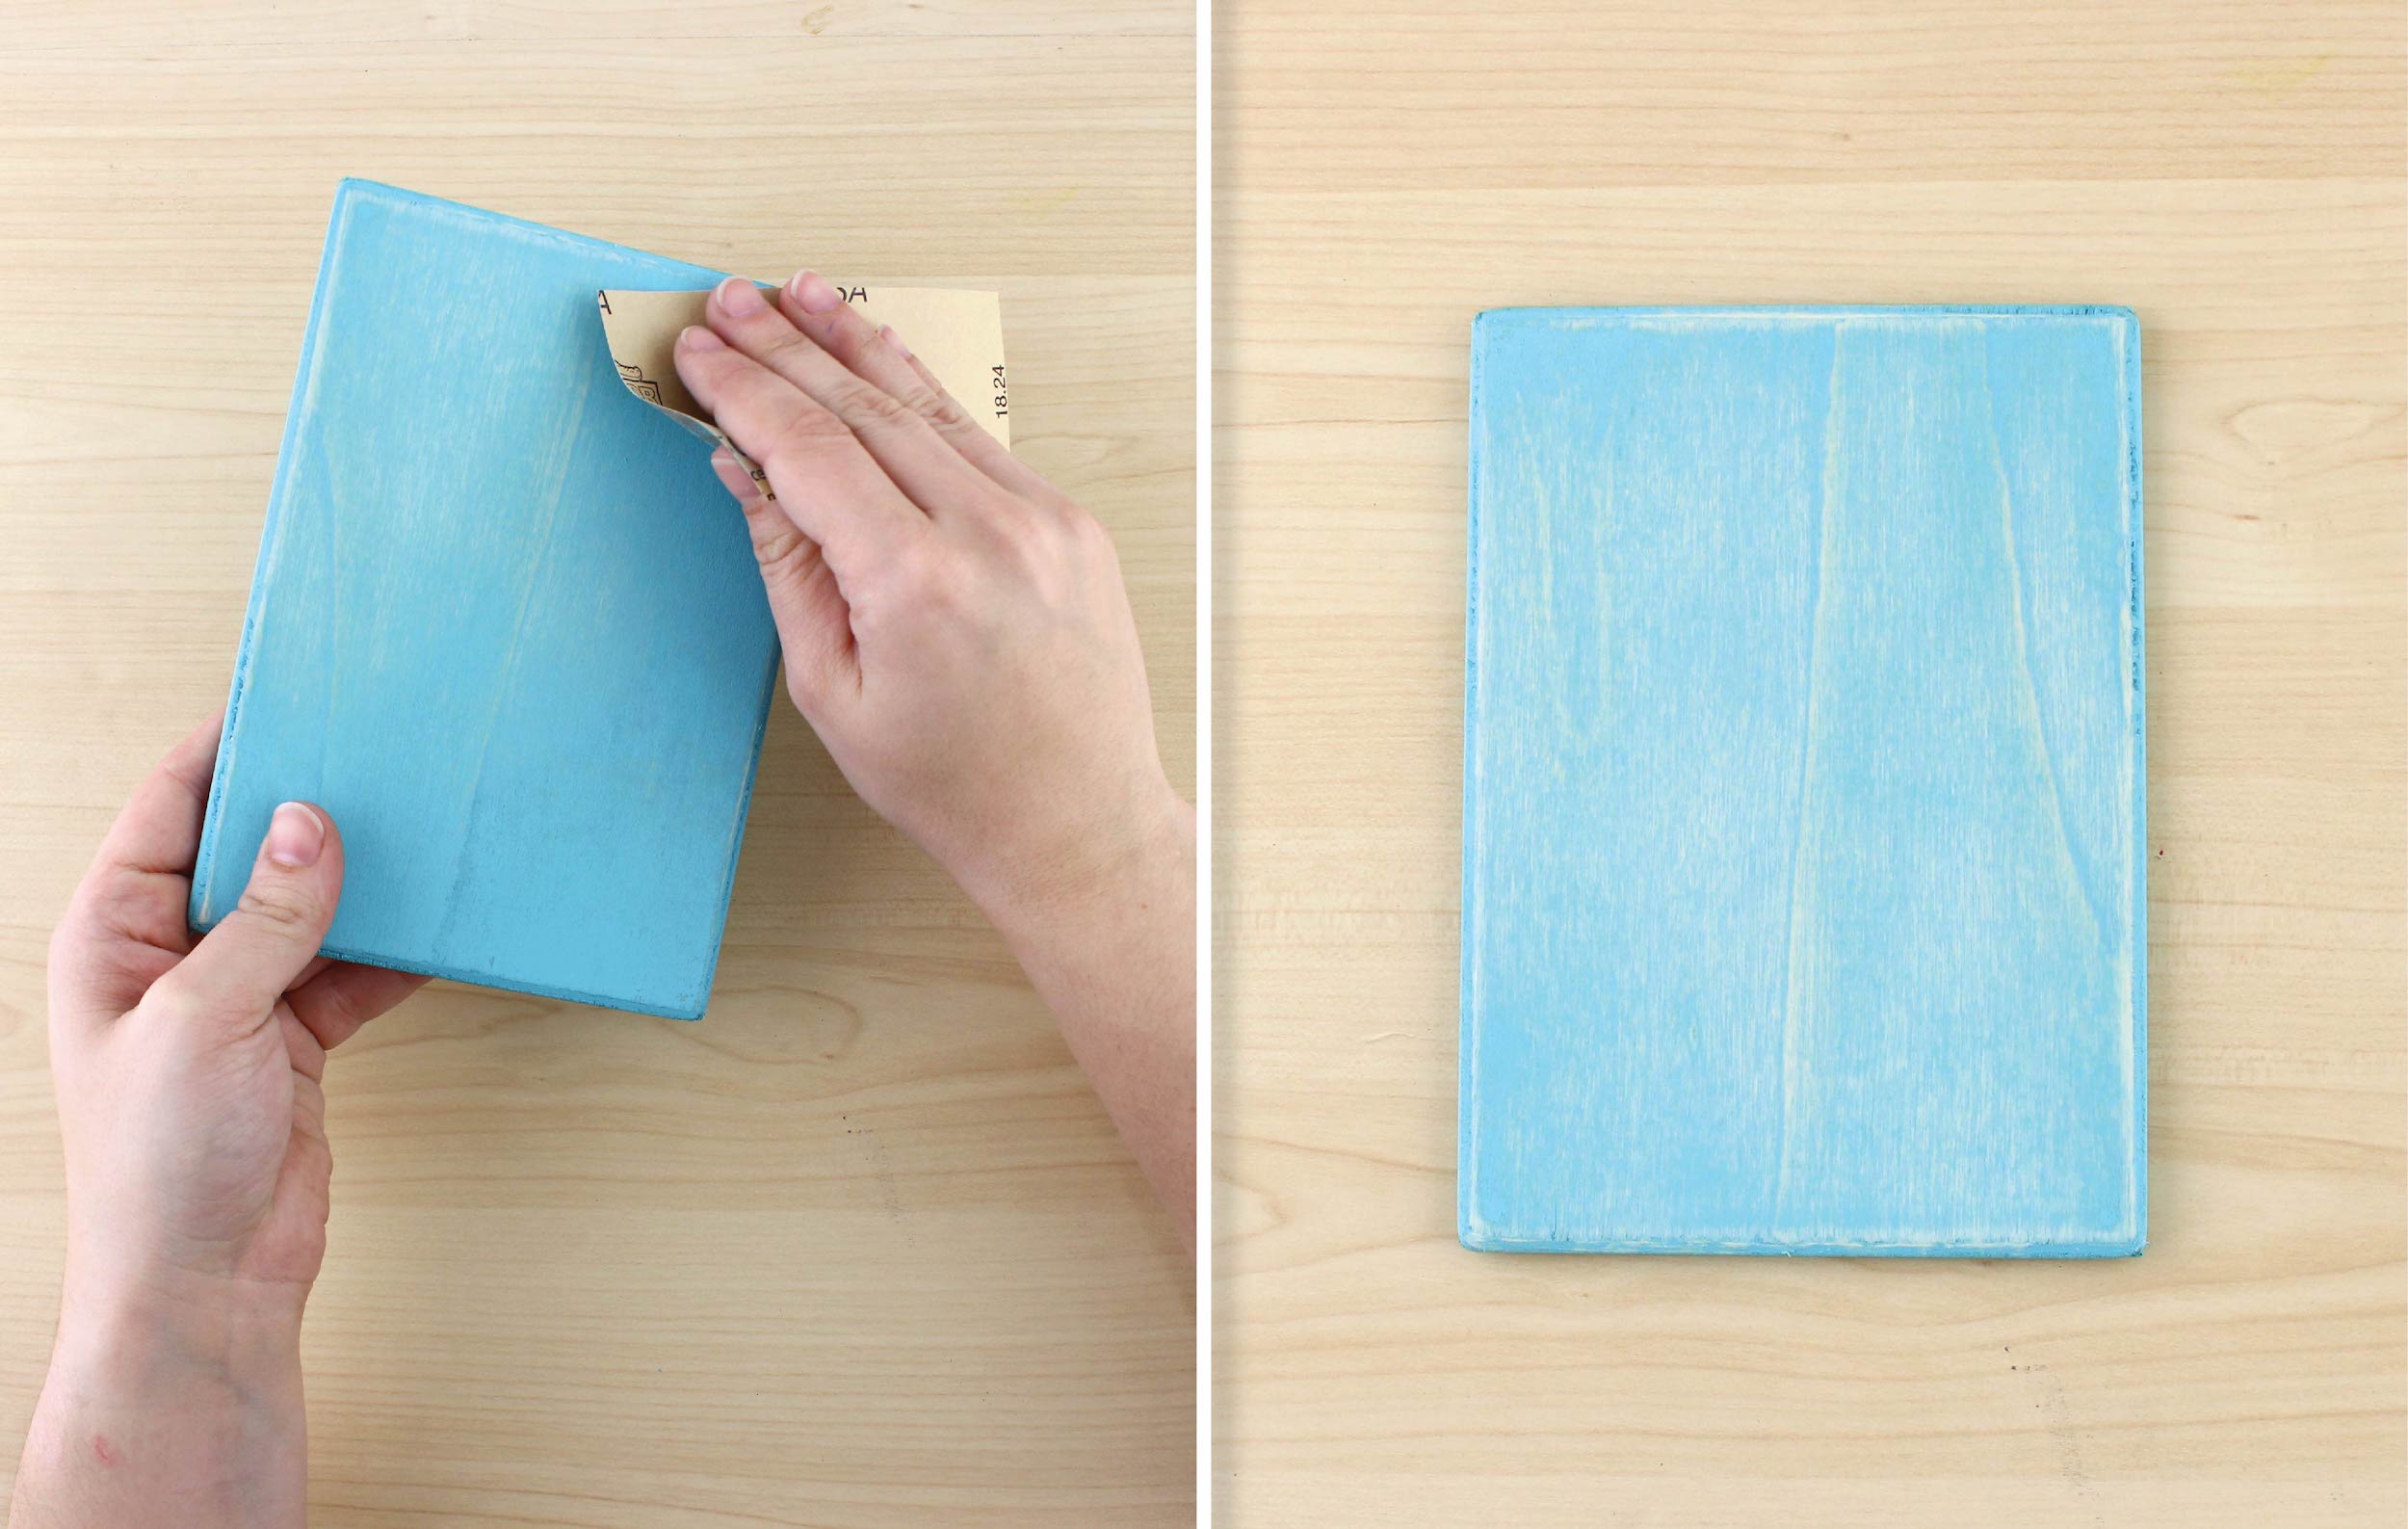
Use sandpaper to lightly roughen up the paint of the plaque.
If doing with individual materials, instead of kit – mix green, blue, and white paint to achieve a nice aqua color. Paint the entire plaque and let dry before sanding.
Step 2:
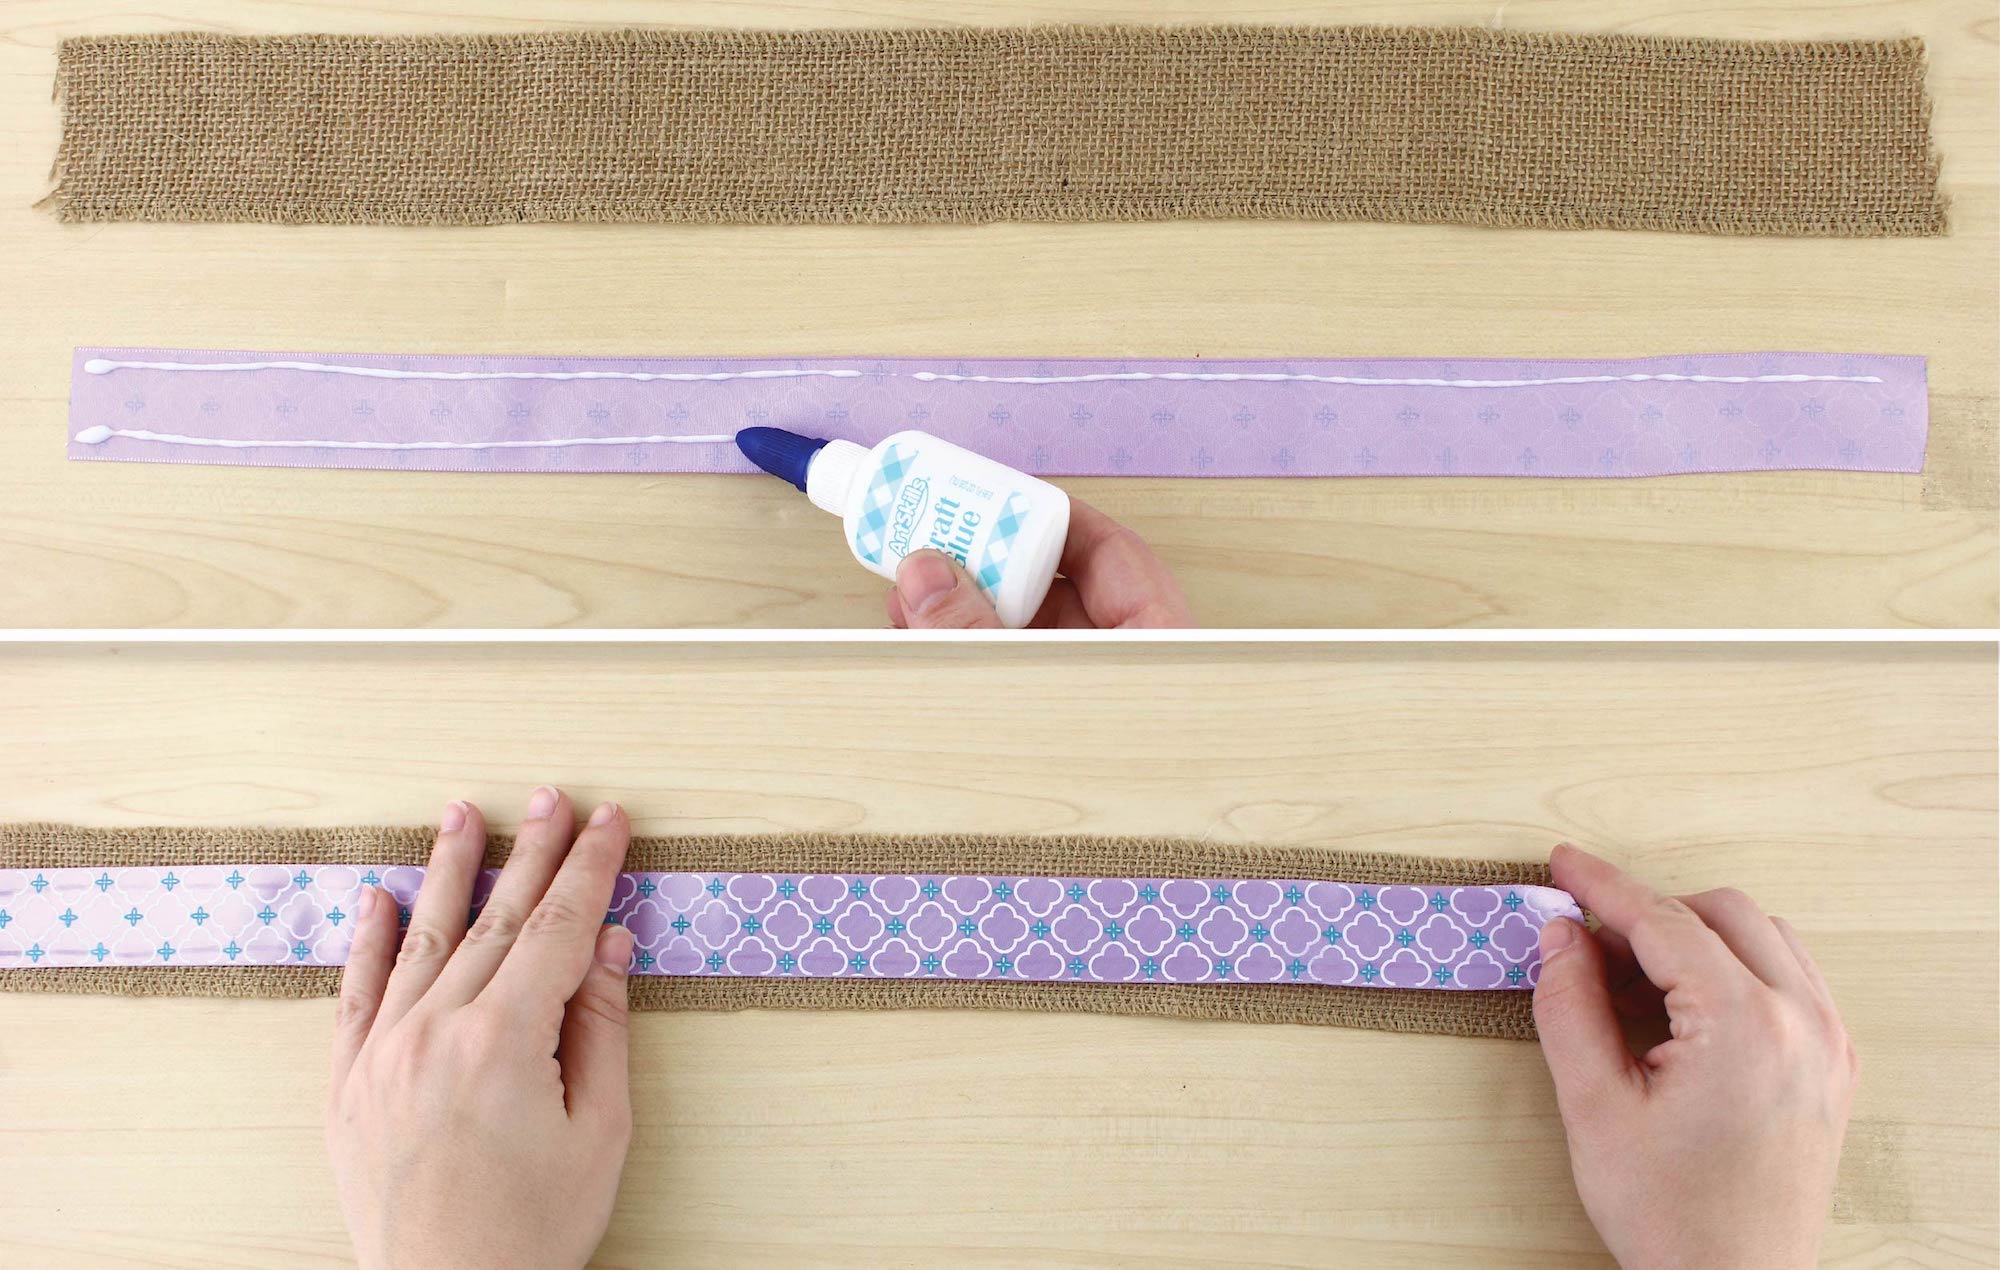
A) Lay Burlap Ribbon face up. Lay Patterned Ribbon, patterned side down. Apply lines of glue on the back of the Patterned Ribbon.
B) Attach Patterned Ribbon to the center of the Burlap Ribbon.
Step 3:
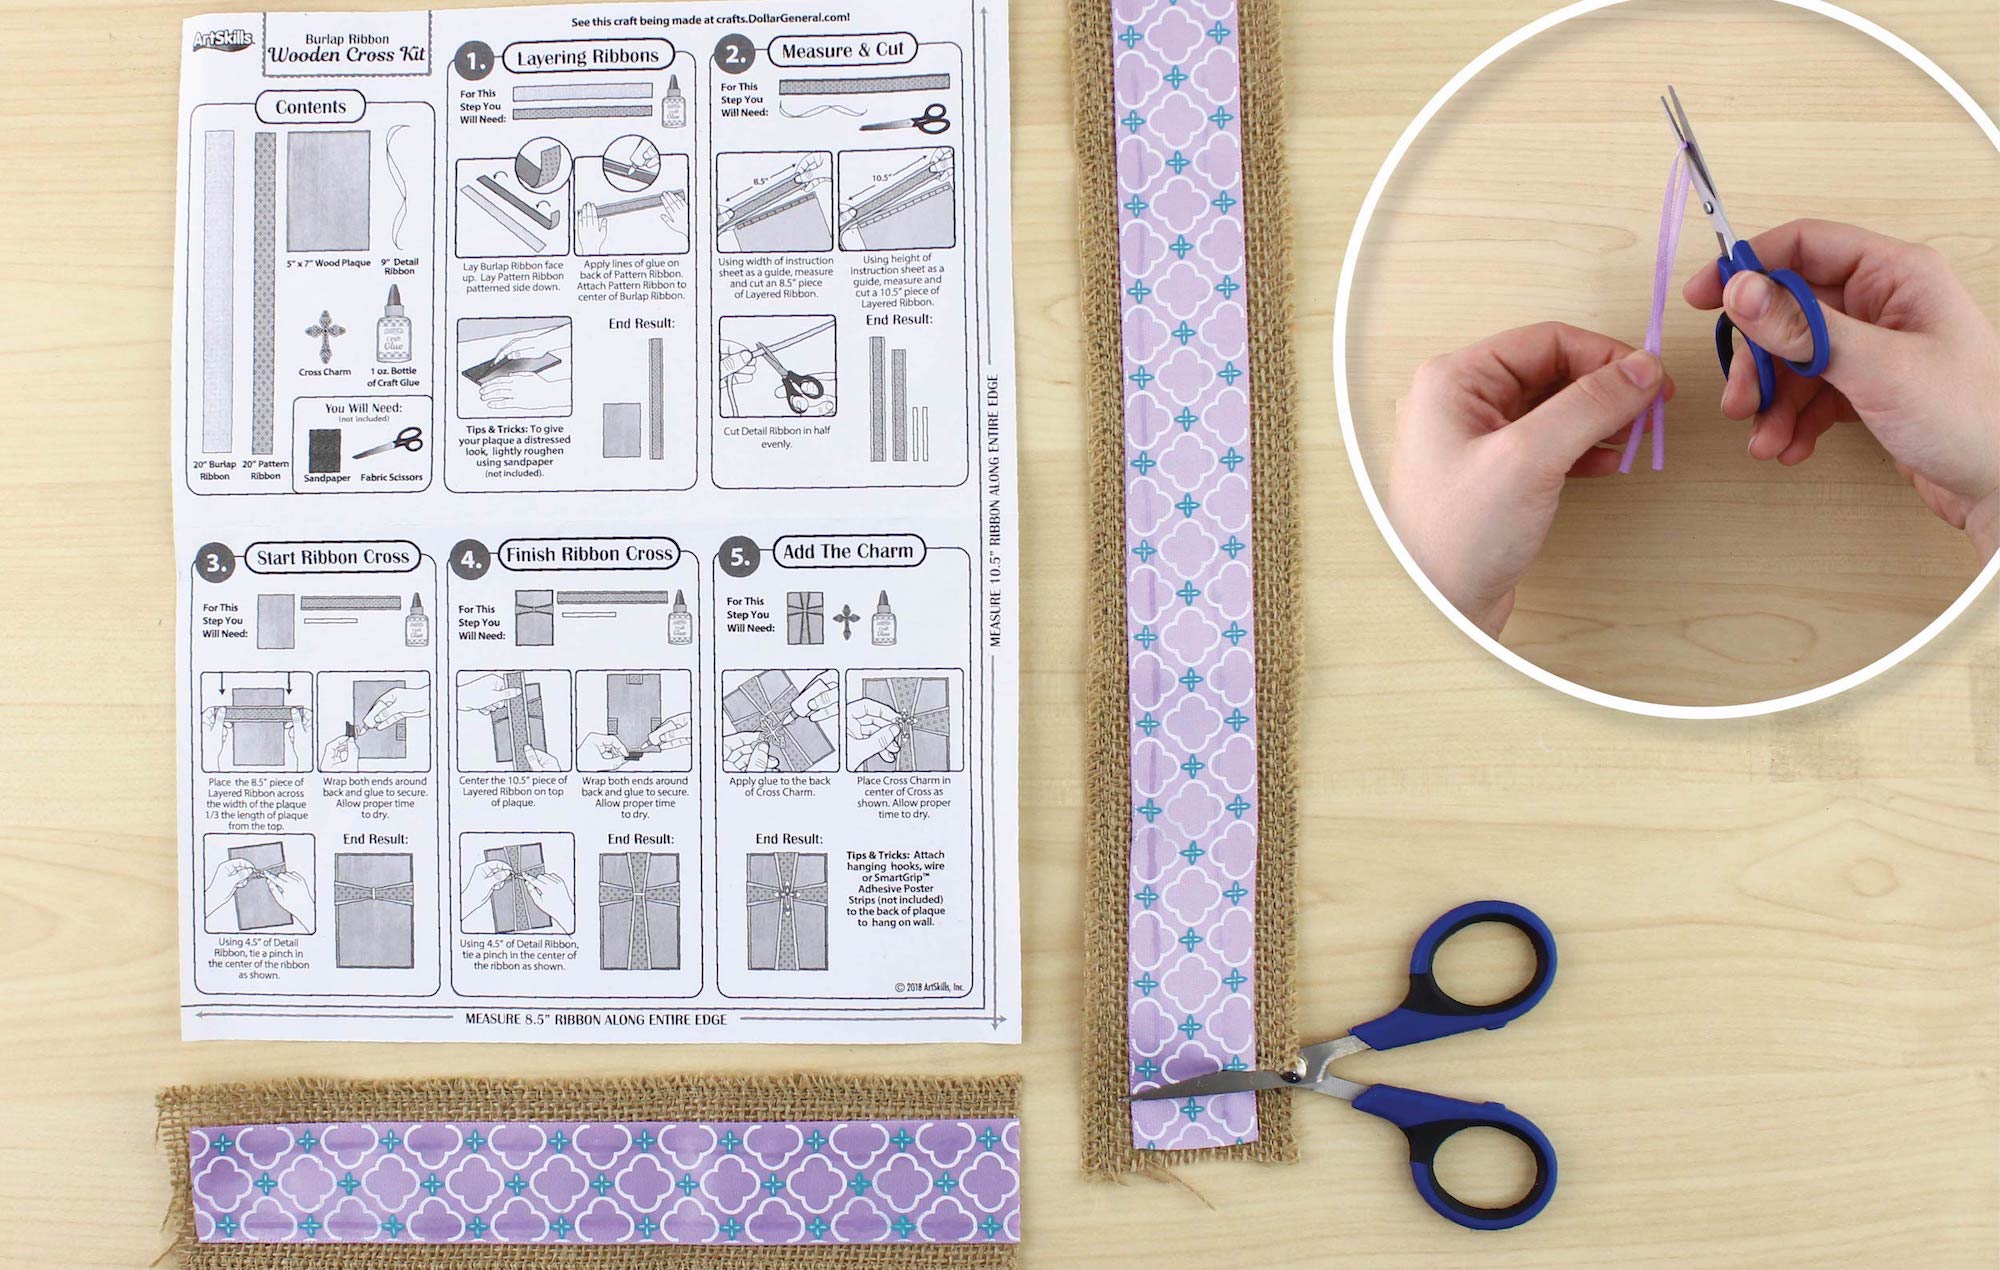
A) Using the width of the instruction sheet as a guide, measure and cut an 8.5” piece of the Layered Ribbon.
B) Using the height of the instruction sheet as a guide, measure and cut a 10.5” piece of the Layered Ribbon.
C) Cut Detail Ribbon in half evenly.
Step 4:
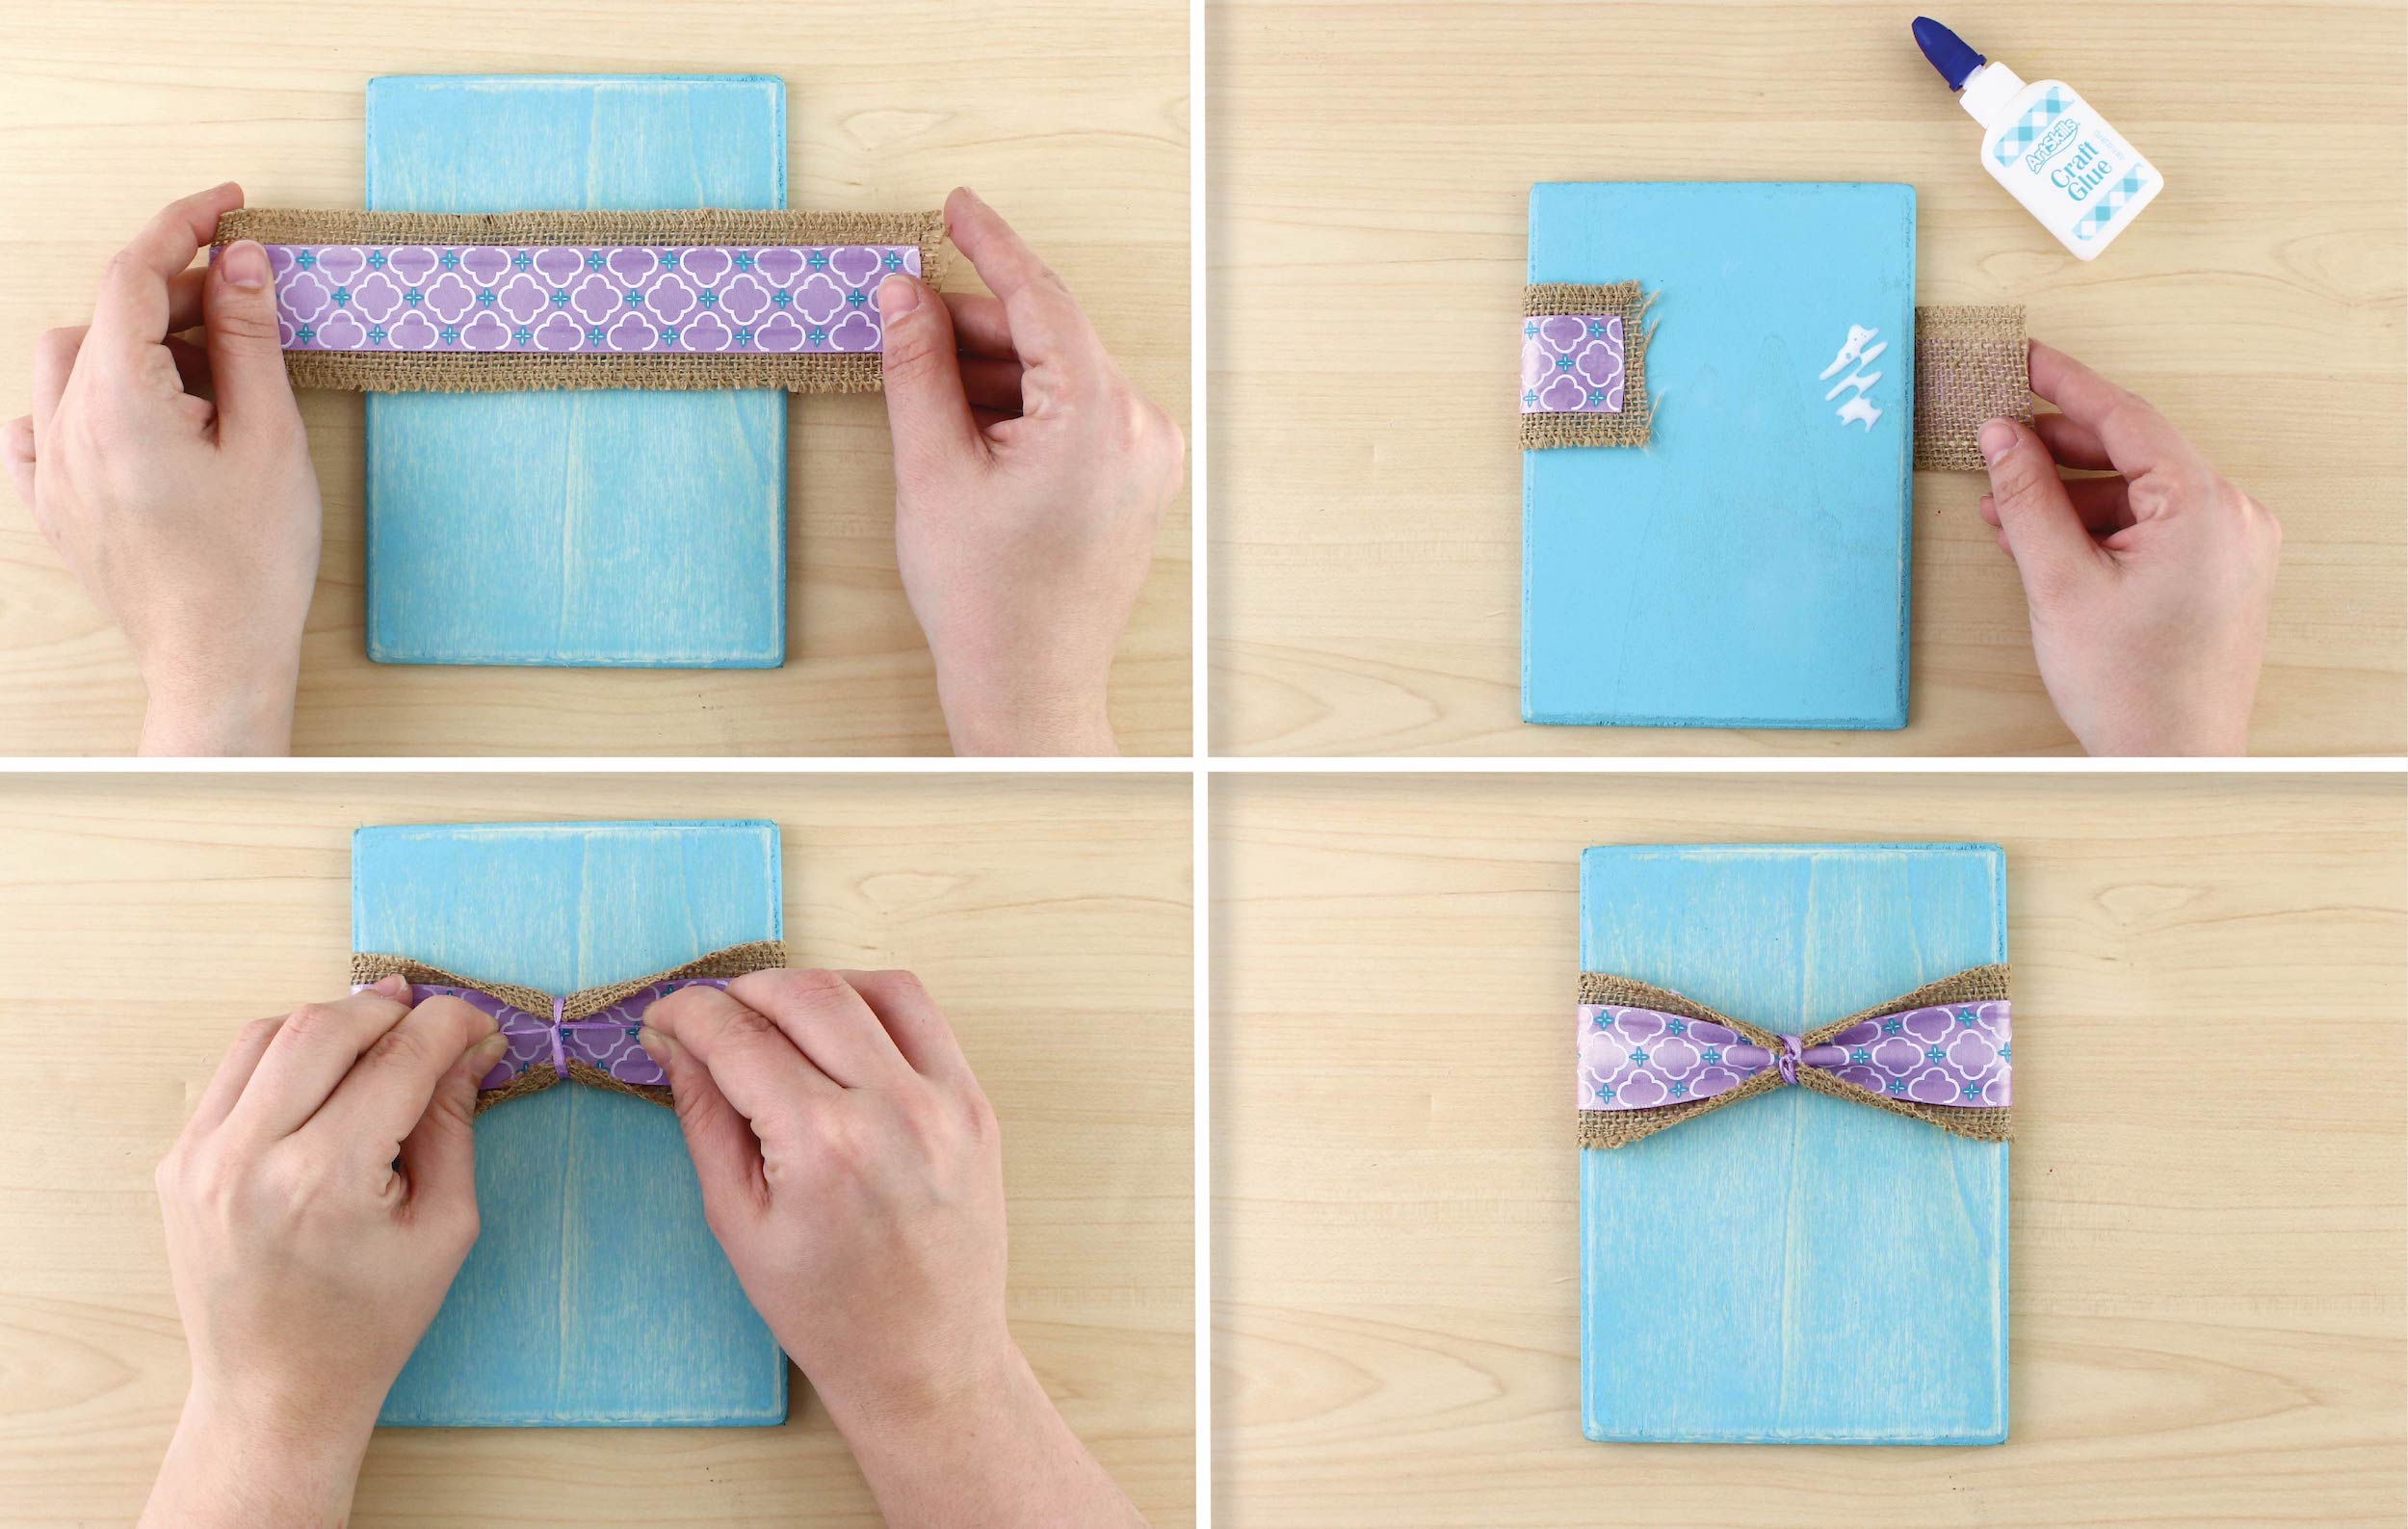
A) Place the 8.5” piece of Layered Ribbon across the width of the plaque. Position 1/3 of the way down.
B) Wrap both ends around the back and glue to secure. Allow proper time to dry.
C) Using half of the Detail Ribbon, tie a pinch in the ribbon as shown. You can hide or snip the ends of the remaining Detail Ribbon.
Step 5:
A) Center the 10.5” piece of Layered Ribbon on top of the plaque.
B) Wrap both ends around the back and glue to secure. Allow proper dry time.
C) Using the second half of the Detail Ribbon, tie a pinch in the center of the ribbon as shown.
D) Apply glue to the back of the Cross Charm. Place Cross Charm in the center of the burlap/ribbon cross and allow to dry.
TIP:
Attach hanging hooks, wire, or SmartGrip Adhesive Poster Strips to the back of the plaque to hang on your wall!