Create unique, handmade drink coasters using natural greens from your yard! Elegant and classy, they make a beautiful wedding or housewarming gift.
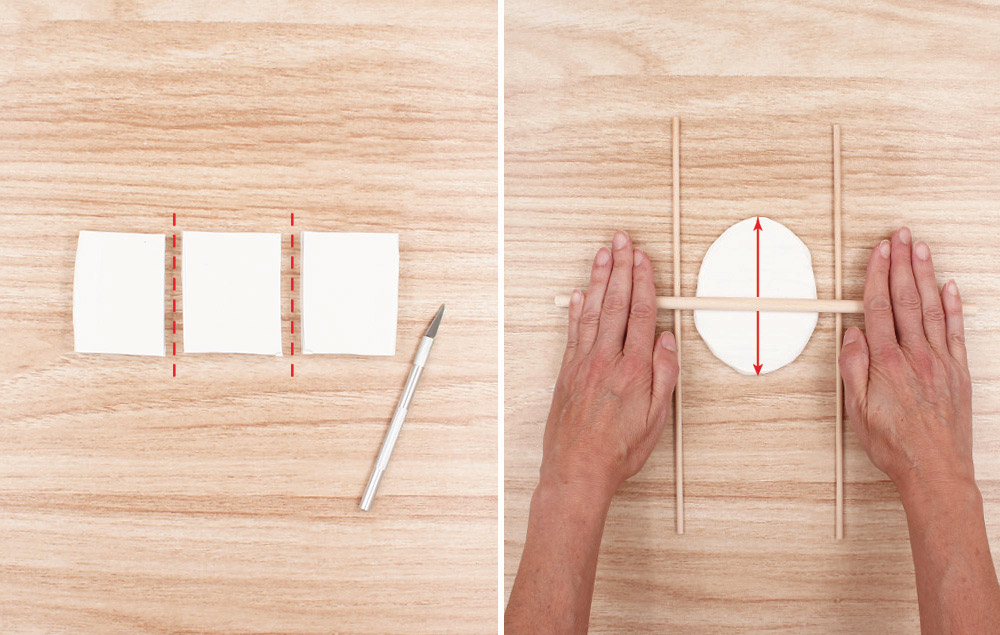
Step 1:
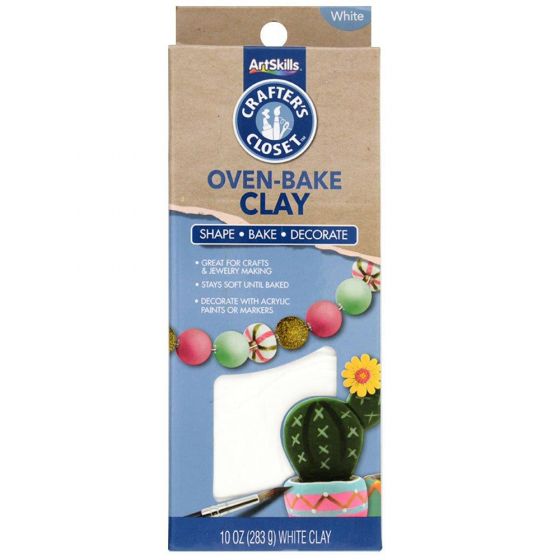
1. Divide the clay block into thirds. Tip: Splitting the clay into pieces will make it more manageable when rolling it out.
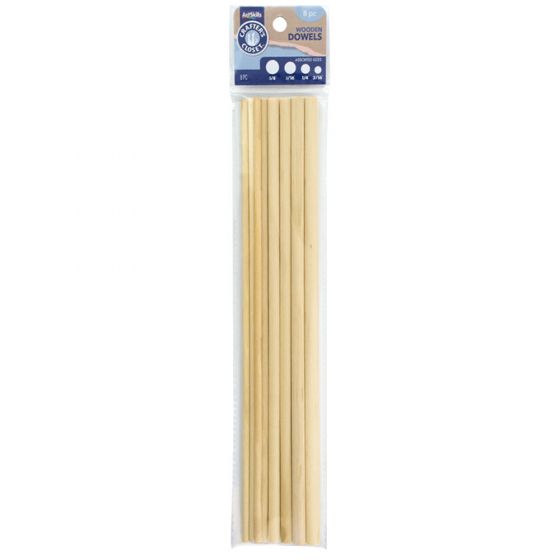
2. Place one of the clay pieces between two 3/16" wood dowels. Lay a rolling pin or dowel horizontally on top of the other two dowels and roll out the clay. The wood dowels will serve as depth guides when rolling out the clay, keeping the thickness the same for each coaster.
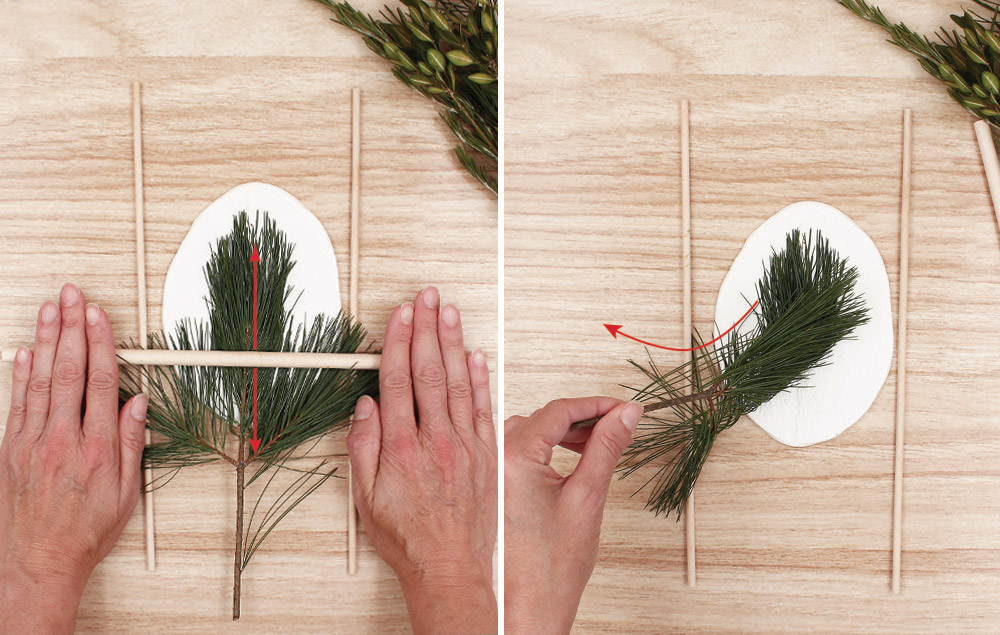
Step 2:
1. Lay an evergreen piece on top of the clay and roll over it several times to press the evergreen into the clay. Note: We used White Pine, Rosemary, Concolor Fir, and Boxwood to make our coasters.
2. Remove the evergreens from the clay to reveal the impression.
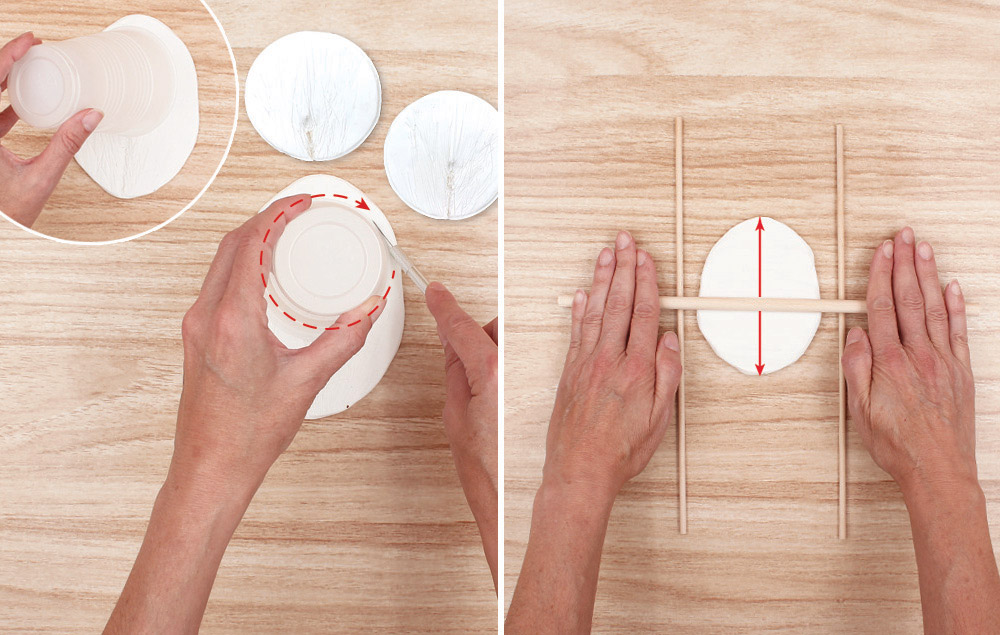
Step 3:
1. Position a cup on top of the pressed area of the clay, keeping in mind the placement, as it will determine the look of the coaster. Use a knife to cut around the cup. Remove the extra clay from around the edge and lift cup to reveal the coaster.
2. Roll the excess clay from the previous step and repeat the whole process from steps 1 – 3 to make a total of six coasters. Tip: Mix up different evergreens per set for a fun assortment!
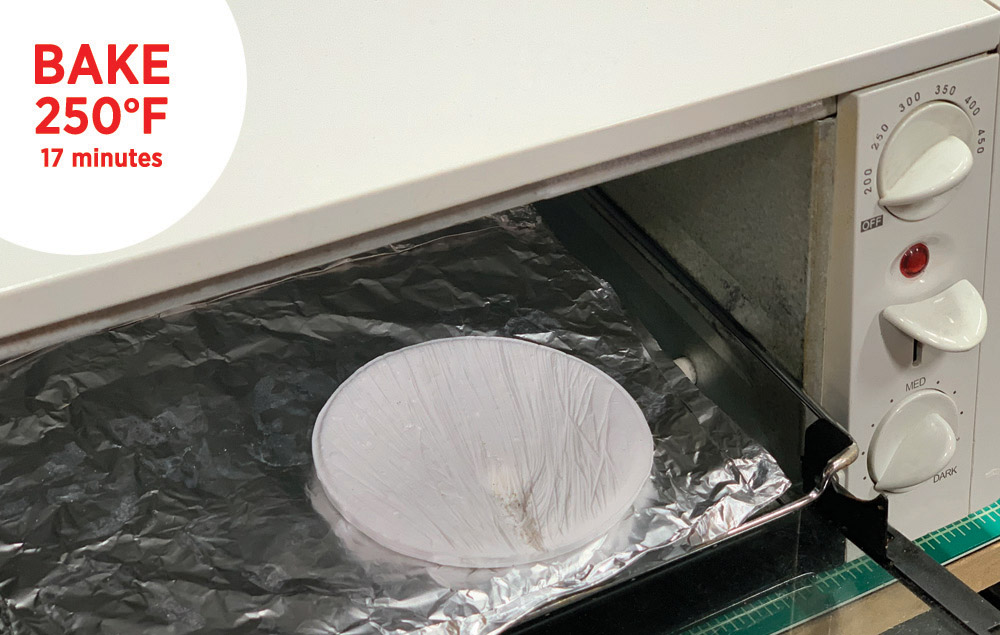
Step 4:
1. Bake the coasters at 250 degrees for 17 minutes. Let cool.
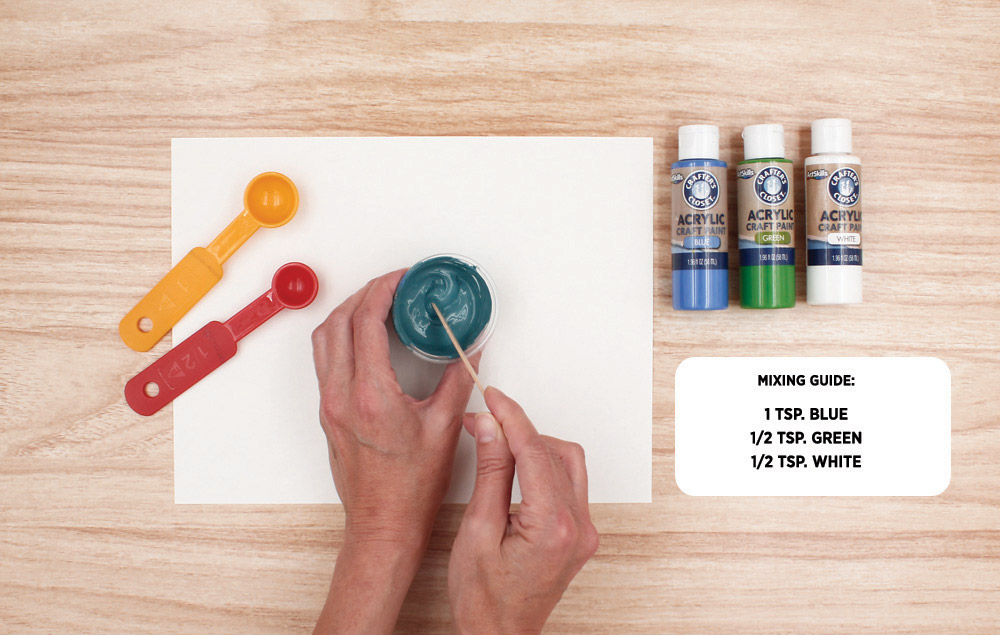
Step 5:
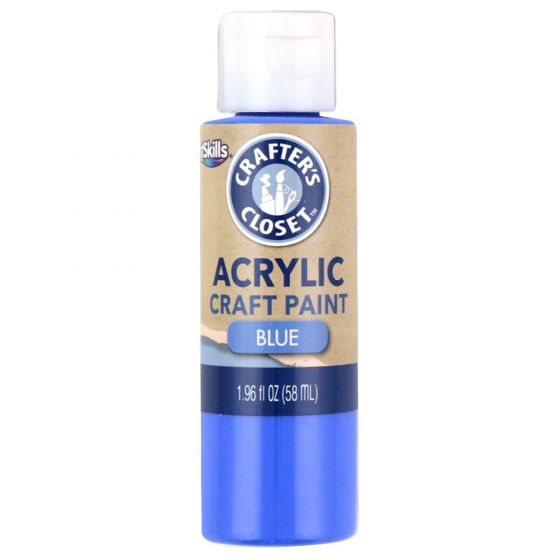
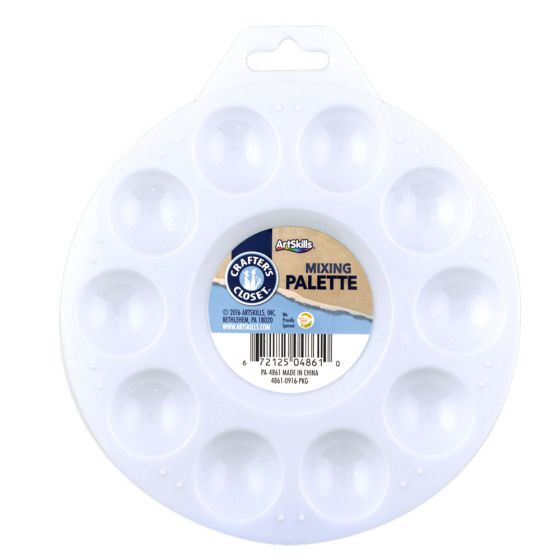
1. In a paint palette or small cup, mix 1 tsp. blue paint, ½ tsp. green paint, and ½ tsp. white paint.
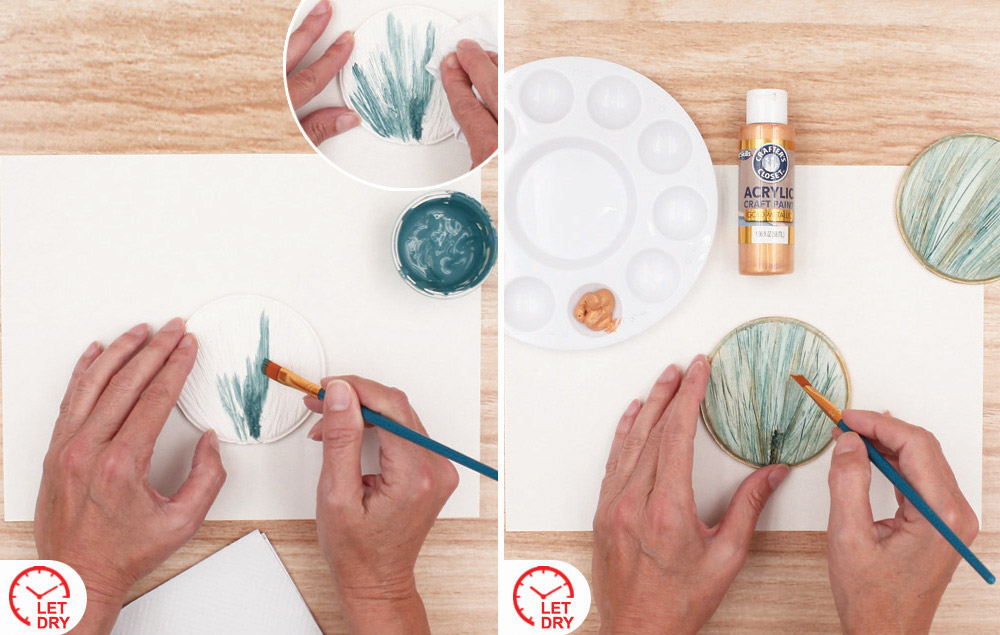
Step 6:
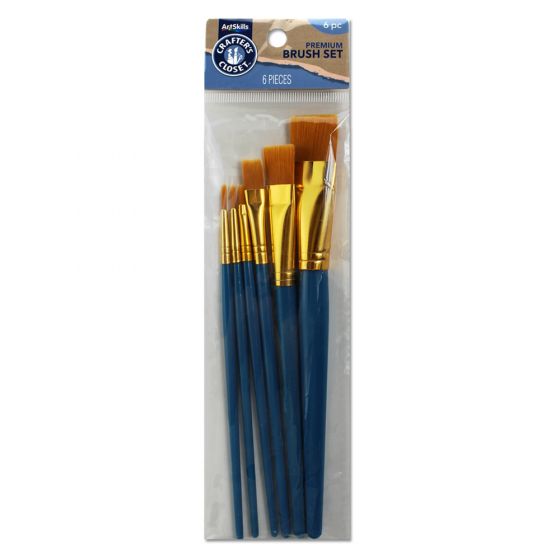
1. Using a paint brush, apply the mixed paint into the crevasses of the pressed evergreen. Wipe away excess paint with a paper towel. Let dry. Tip: You can use as much paint as you’d like to create different looks.
2. Apply small amounts of gold paint to highlight certain areas on the pressed evergreen. Paint the sides of the coaster gold as well. Let dry.
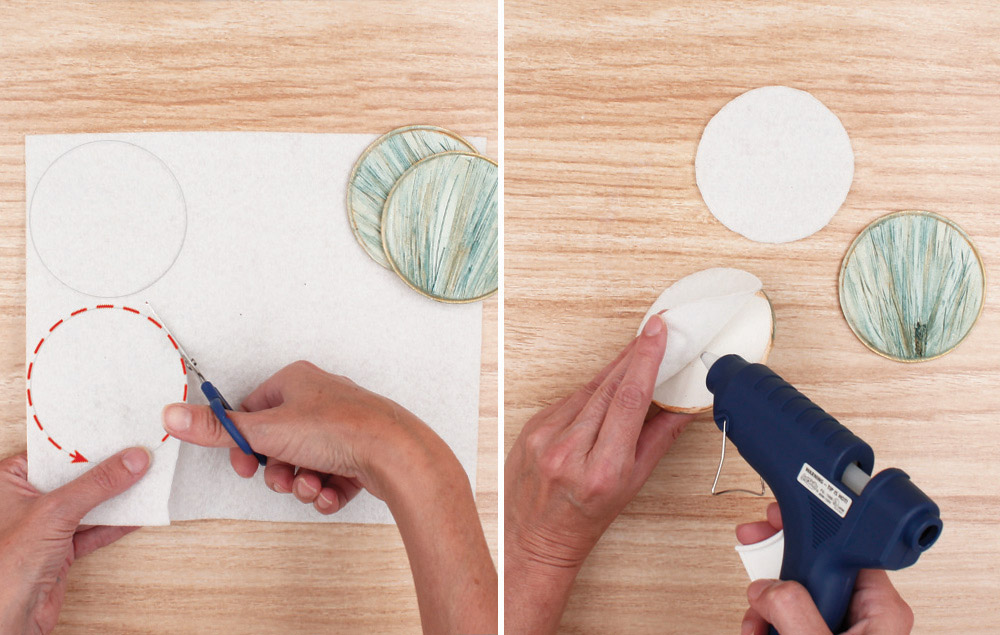
Step 7: OPTIONAL
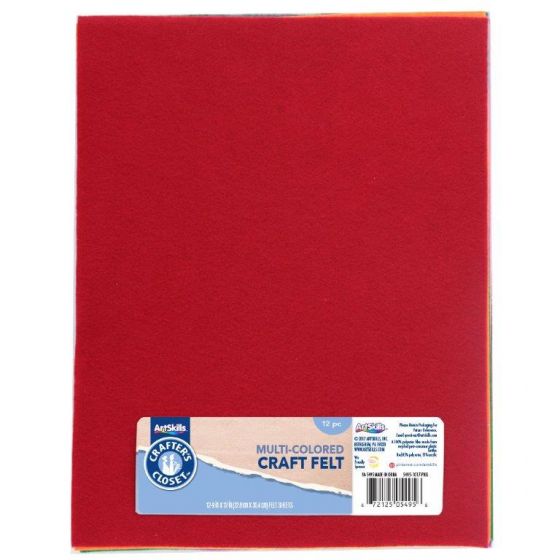
1. Trace the coasters onto white felt and cut out to make a soft backing.
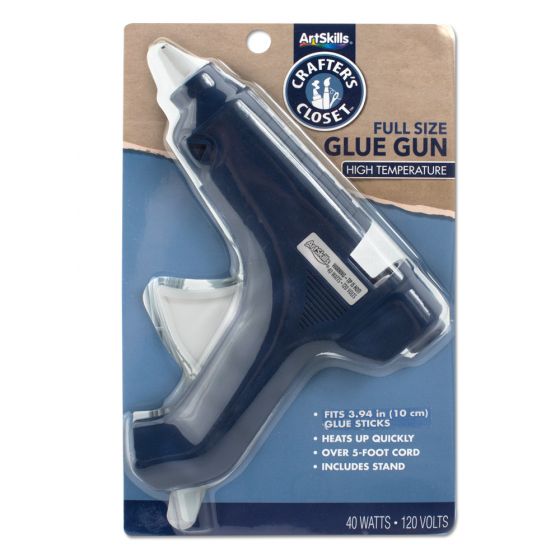
2. Hot glue the felt circles onto the backs of the coasters.
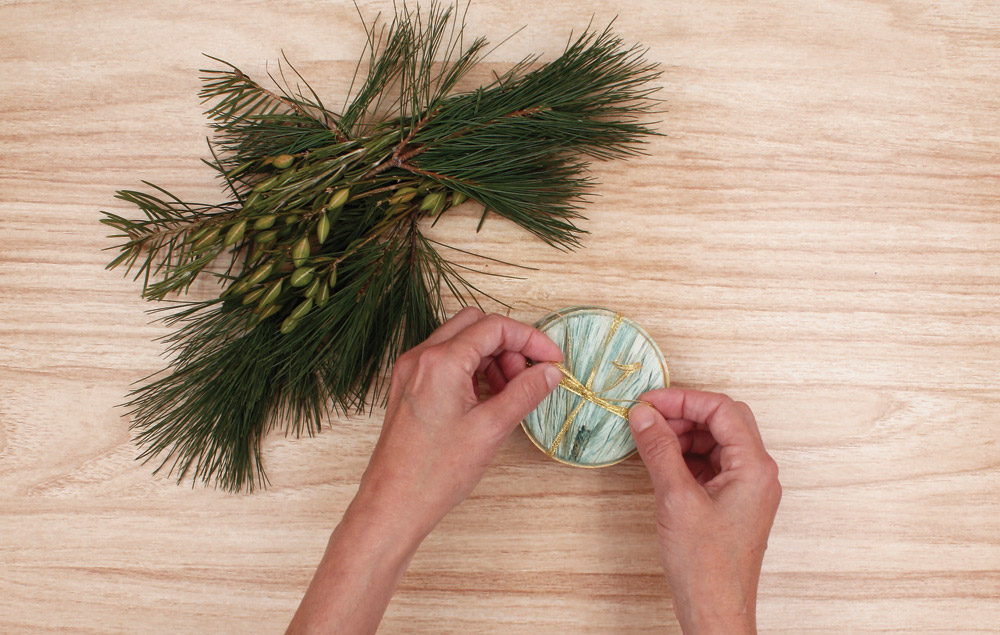
Step 8: OPTIONAL
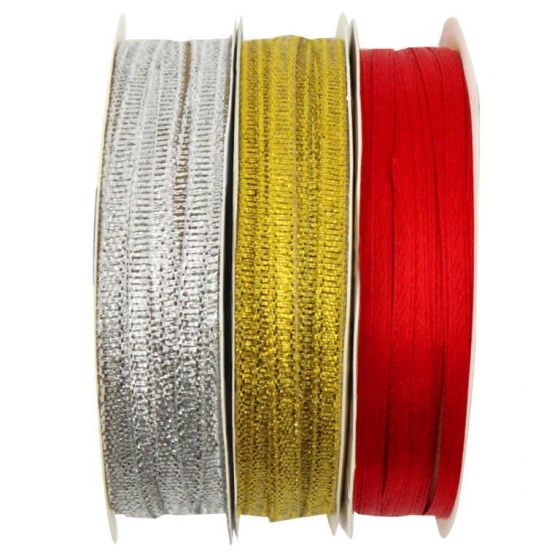
1. Tie the coasters with gold ribbon to create a pretty gift presentation.