This banner is a fun way to decorate for the Halloween holiday. This not-so-scary craft will add a scaredy cat to your Halloween Décor!
Step 1: Making the Cat Heads
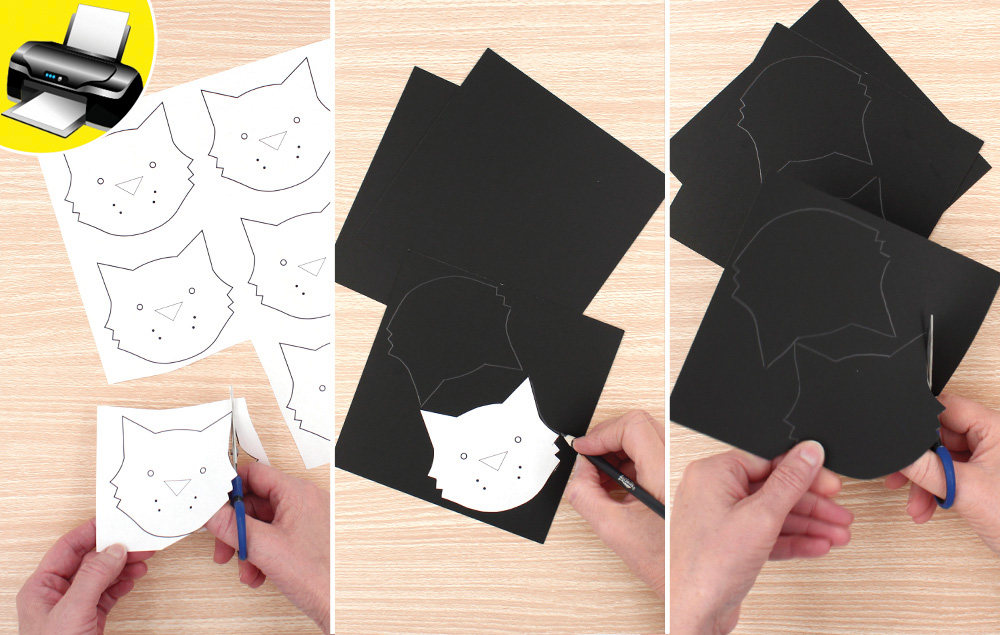
1. Print the template and cut it out.
2. Trace the template onto black cardstock. You will need 5 cat heads.
3. Cut out the cat heads.
Step 2:
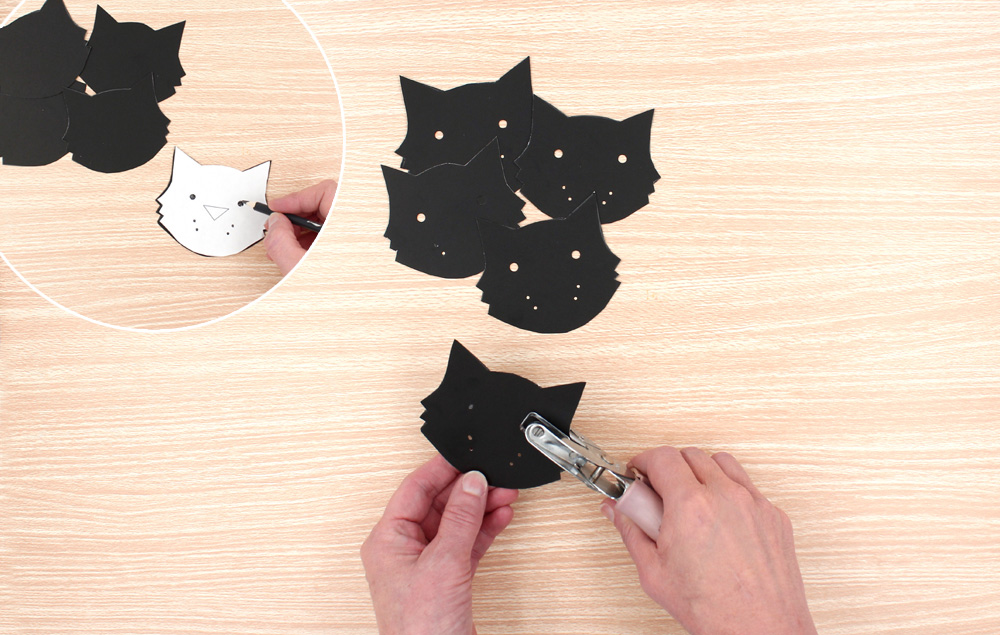
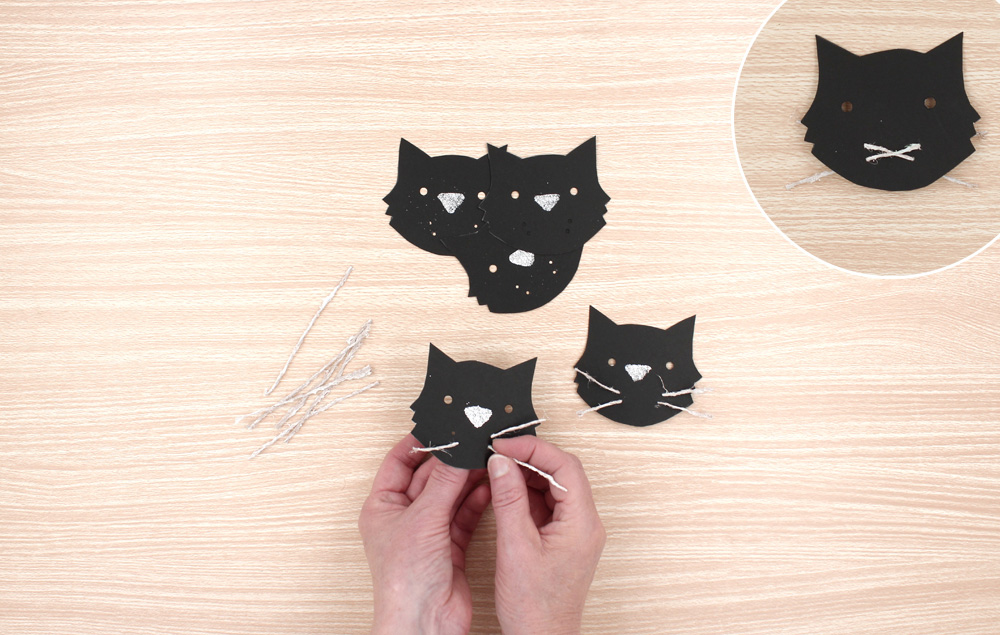
1. Punch out eye and whisker holes. Tip: You can use a ¼" hole punch for the eyes, and a project knife to poke holes for the whiskers. Use the template as a guide for placement.
Step 3:
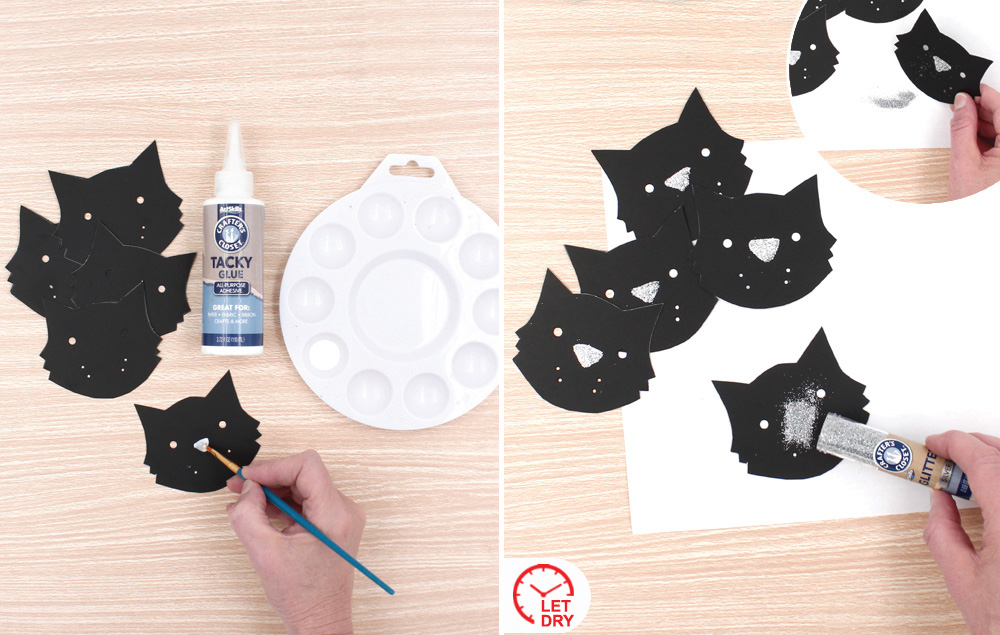
1. Apply tacky glue with a small paint brush to create a nose (shape it like an upside-down triangle).
2. Sprinkle silver glitter onto the tacky glue nose. Tap excess off. Let dry.
Step 4: Making Whiskers
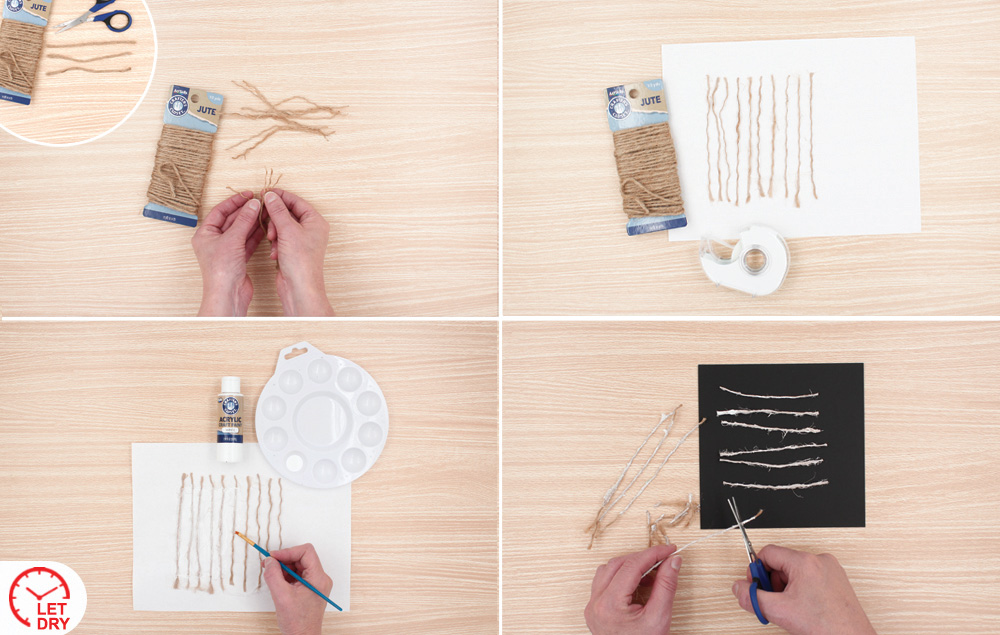
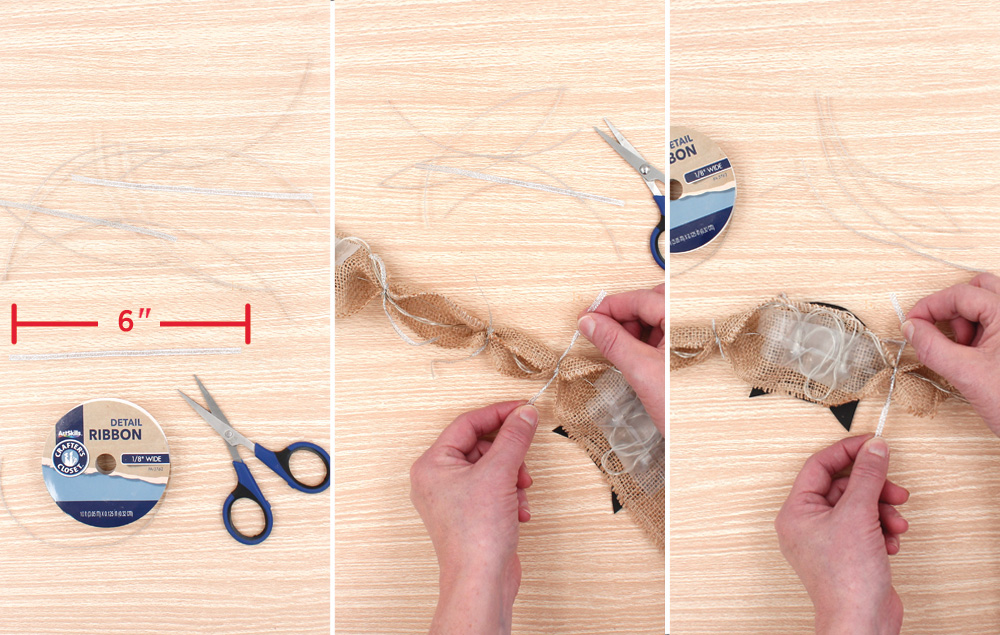
1. Cut three 5" pieces of jute. Separate the strands. You will need 10 strands total.
2. Tape the jute strands onto a piece of scrap paper.
3. Paint the jute strands white, making sure to get paint on the underside as well. Let dry.
4. Remove the tape and pull the jute strands from the paper. Trim the jute strands to 3 ½” lengths.
Step 5:
1. Insert whiskers into the cat face in a criss-cross pattern. Looking at the front of the cat’s face, thread a whisker into a top hole, cross the back and come out through the opposite bottom hole. Pull through. Repeat for the other whisker. Give whiskers to all five cats.
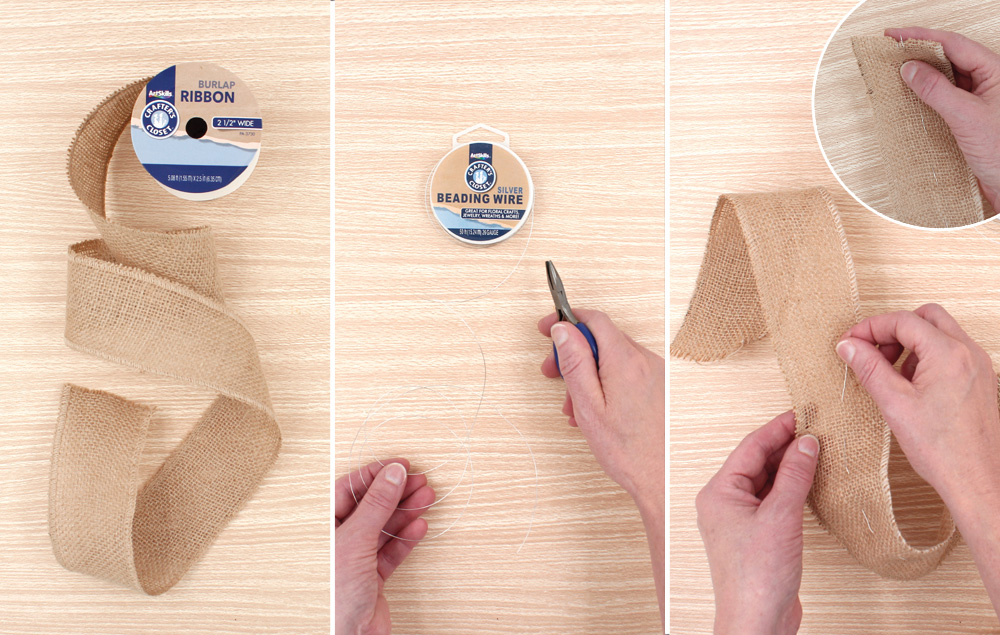
Step 6: Burlap Garland
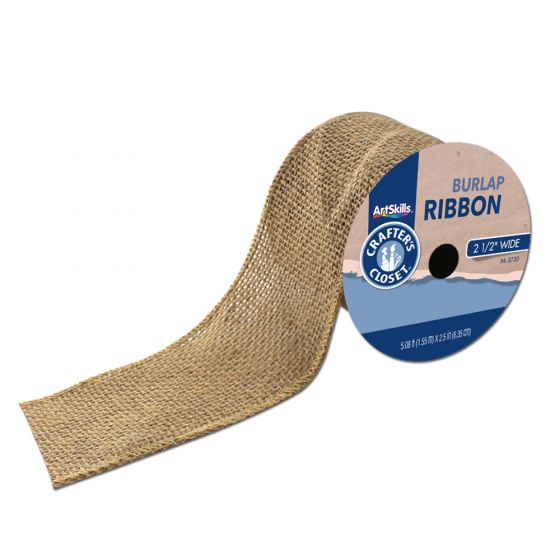
1. Unroll a whole length of burlap from the roll. You’ll need five feet of 2 ½" wide burlap ribbon.
2. Cut a 55" length of 26 gauge silver wire from the spool.
3. Insert the wire through the burlap, weaving back and forth through the front and back. Twist and tuck the ends to secure.
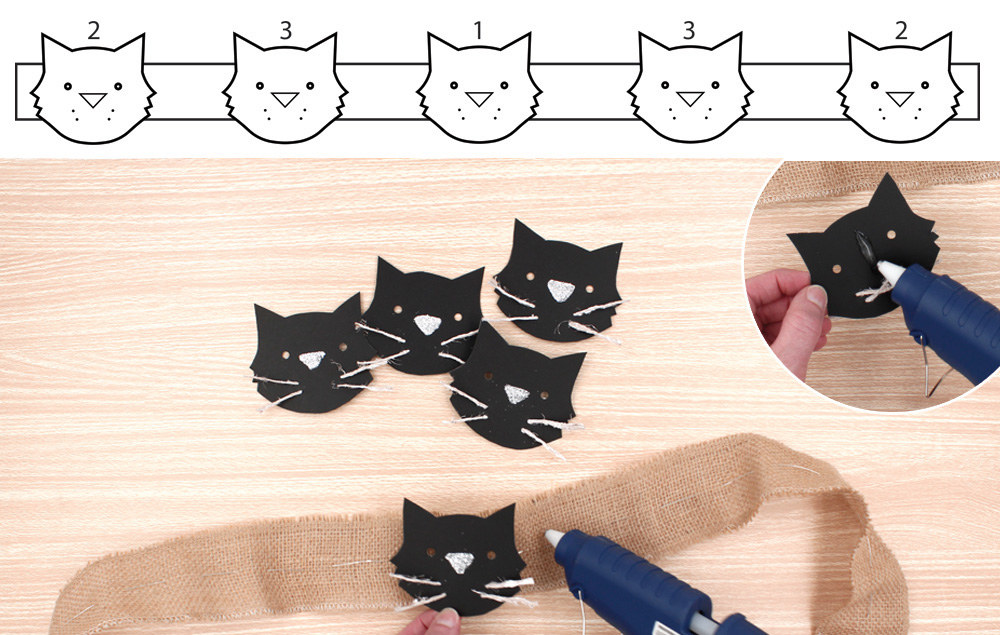
Step 7:
1. Find the center of the garland and hot glue a cat head onto the burlap. Tip: Glue behind the nose and between the eyes only. Next, glue the cat heads onto both ends of the garland, leaving a few inches of burlap on the ends. The remaining two cat heads will be glued in between the cats on the end and the one in the center. See guide for placement.
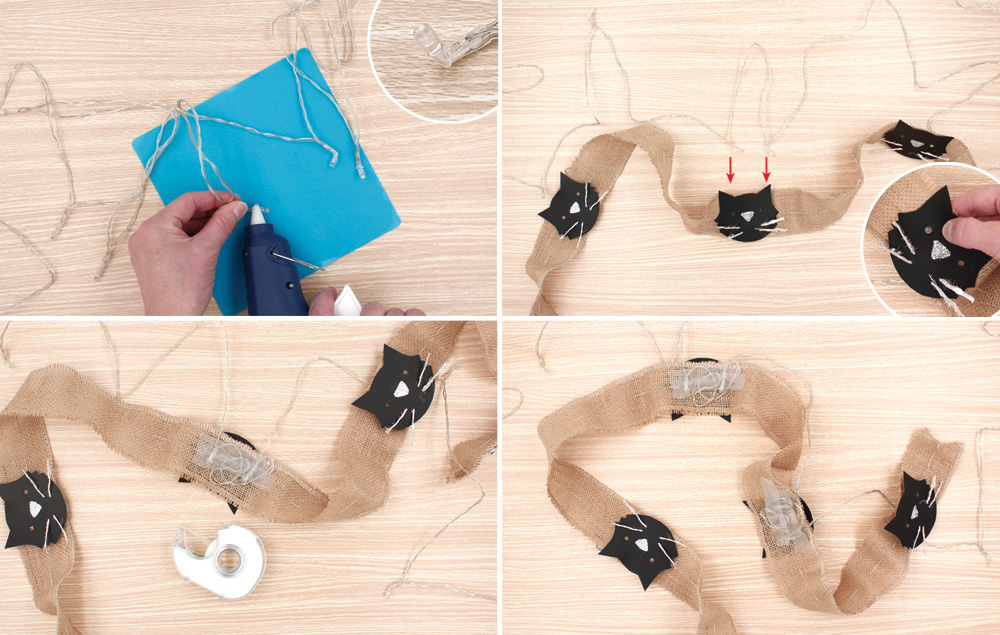
Step 8:
1. Use the tip of a hot glue gun to bend the lights into a 45 degree angle.
2. Find the center two lights on the light string. Poke them through the burlap into the center cat’s eyes.
3. Tape the eyes in place on the back and tape the excess light wire onto the back of the cat.
4. Repeat the process with the rest of the lights, placing them into the cat’s eyes and taping the excess wire behind the heads.
Step 9:
1. Cut fourteen 6" lengths of silver ribbon.
2. Use the silver ribbon to make three crimps in the burlap between each cat head. Tie the ribbon and knot it in the back, making sure to capture the light string in the knot, too. Snip off excess ribbon.
3. Tie a crimp on each end of the garland as well.