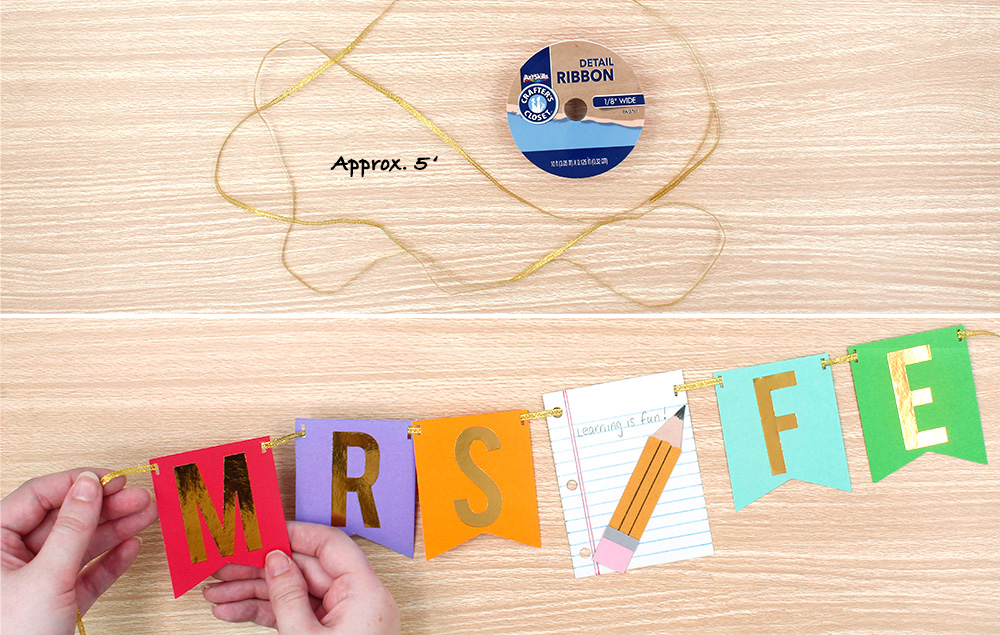
Add a dash of color to any classroom with this teacher desk banner! Great as a gift or personal classroom decor.
Step 1:
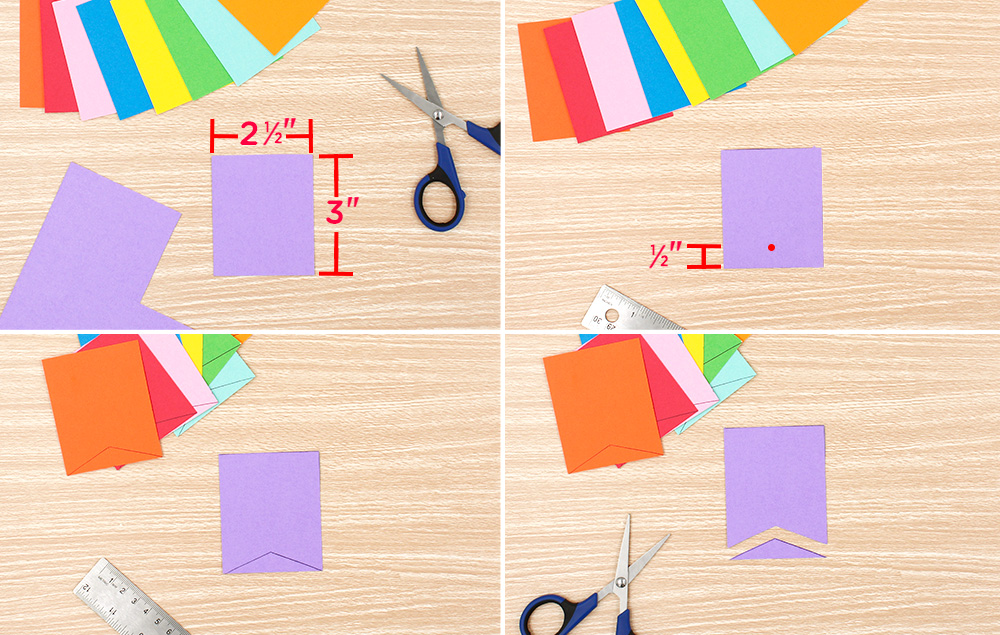
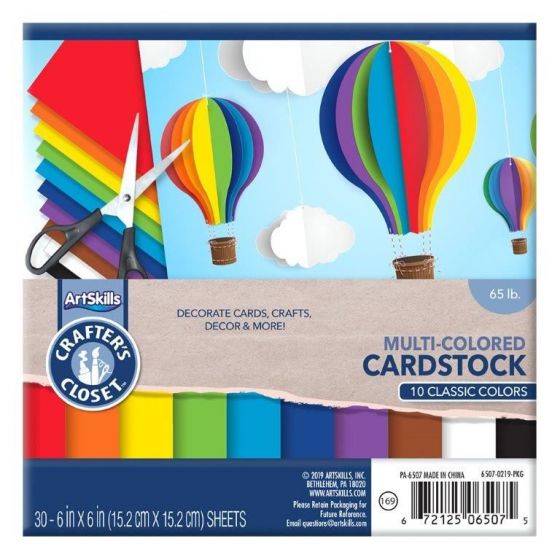
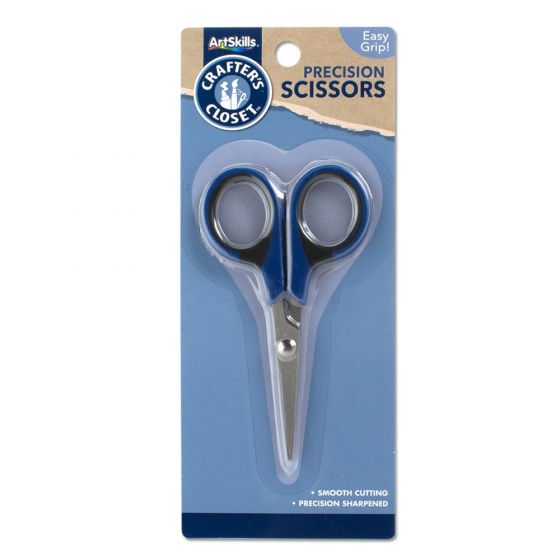
A) Cut out 2 ½" x 3" cardstock rectangles for each letter that will spell out the name used on the banner.
B) Find the bottom center of the rectangles and measure ½" up, making a small mark to indicate.
C) Lightly draw lines to make points. Draw from the center mark down to the left and right bottom corners.
D) Cut out this triangle to create the bottom of the cardstock pennants.
Step 2:
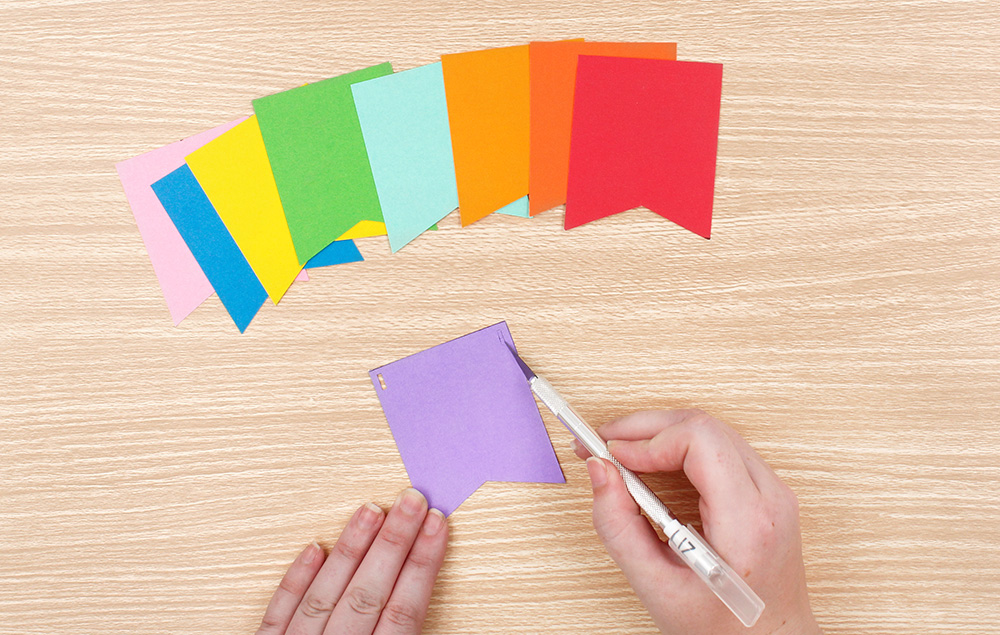
A) Cut small slits in the upper left and right corners of the pennants. The slits need to be big enough to feed ribbon through.
Step 3:
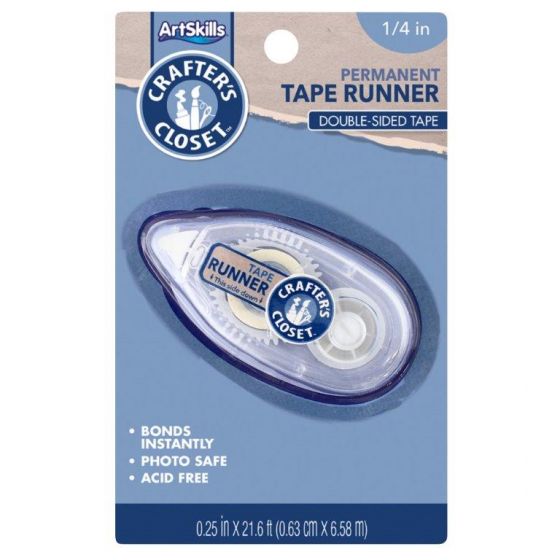
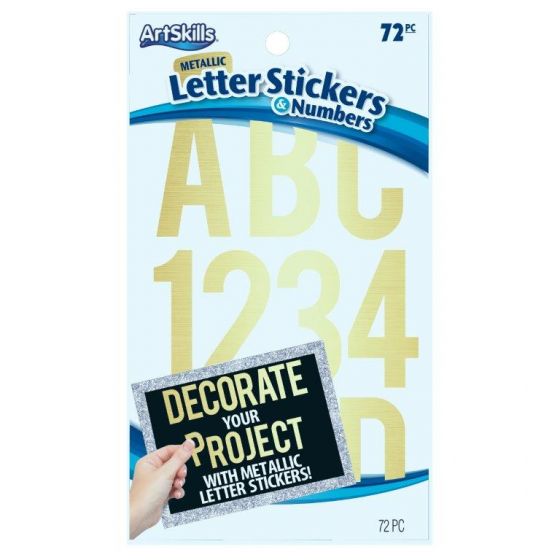
A) Adhere the gold sticker letters to the center of the pennants.
Step 4:
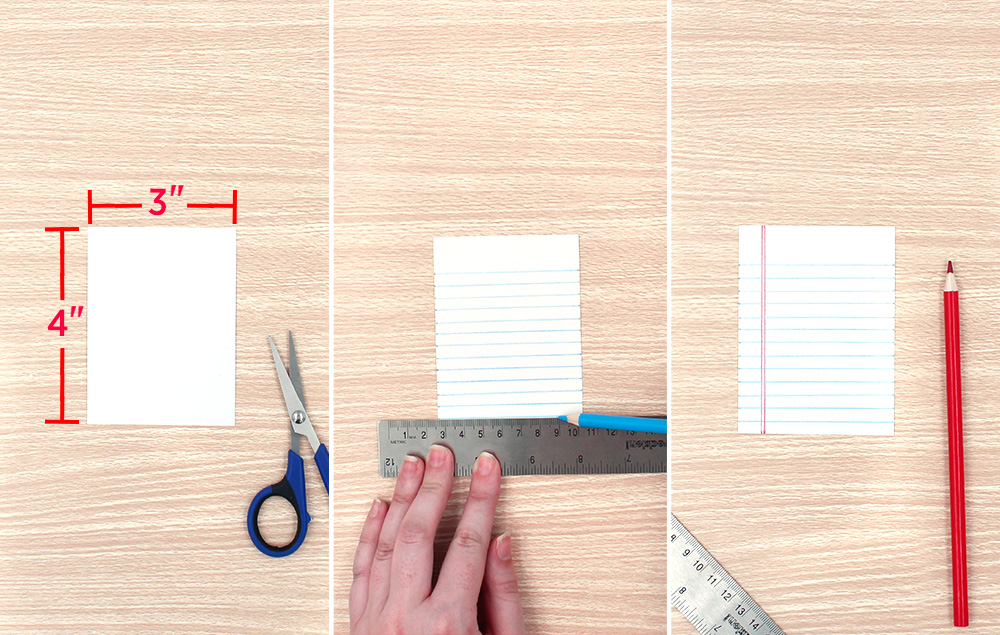
A) Measure and cut a 3" x 4" rectangle of white cardstock.
B) Using a blue colored pencil, draw lines every ¼" from the bottom of the cardstock. Leave a ¾" clearance at the top.
C) Using a red colored pencil, draw two lines close together ½" from the left side of the paper.
Step 5:
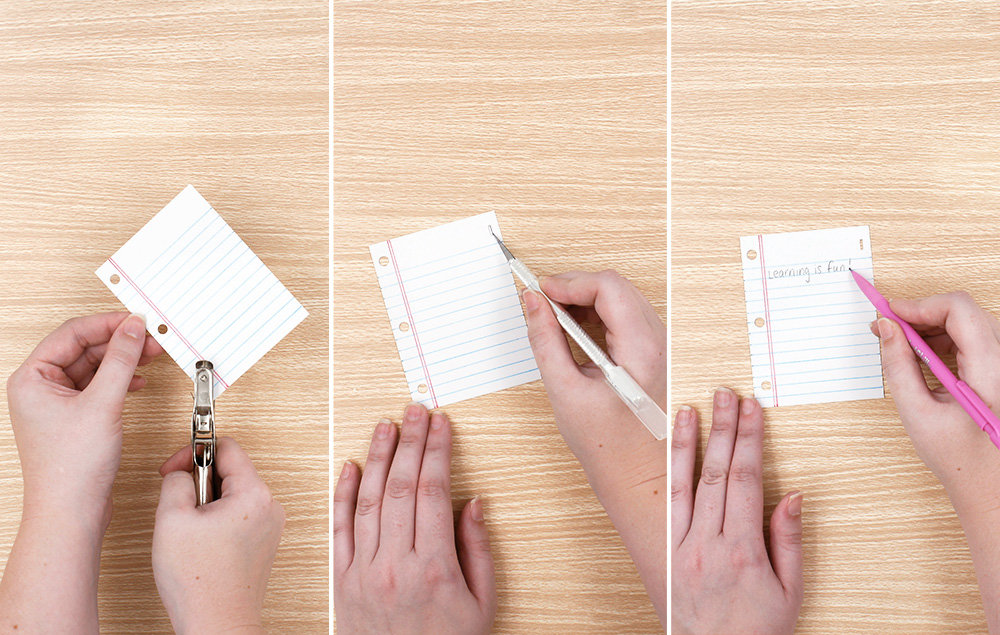
A) Punch 3 holes down the left side of the paper, in front of the red lines. For perfect placement, place the top hole centered in the white gap, the middle hole on the line 4th from the top, and the bottom hole on the line 2nd from the bottom.
B) Cut a small slit in the upper right corner of the rectangle. The slit needs to be big enough to feed ribbon through. Tip: Keep this slit parallel to the top hole punch.
C) If you’d like, write a fun note on one of the lines.
Step 6:
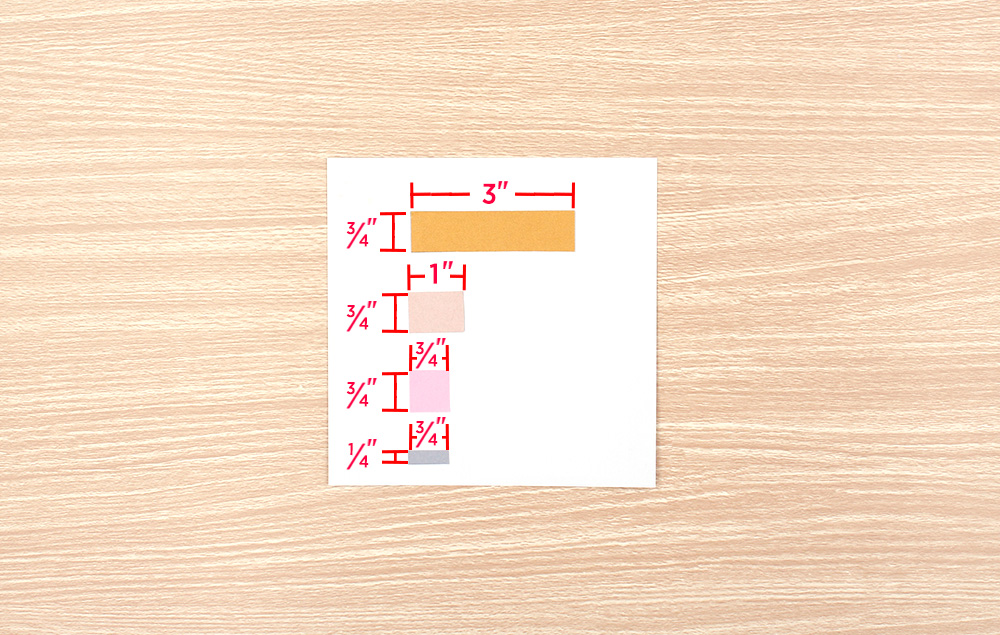
A) Let’s make the pencil! Measure and cut the cardstock pieces for the pencil. Measure and cut a 3" x ¾" rectangle of yellow cardstock, 1" x ¾" rectangle of tan cardstock, ¾” x ¾" square of pink cardstock, and a ¾” x ¼” thin rectangle of gray cardstock.
Step 7:
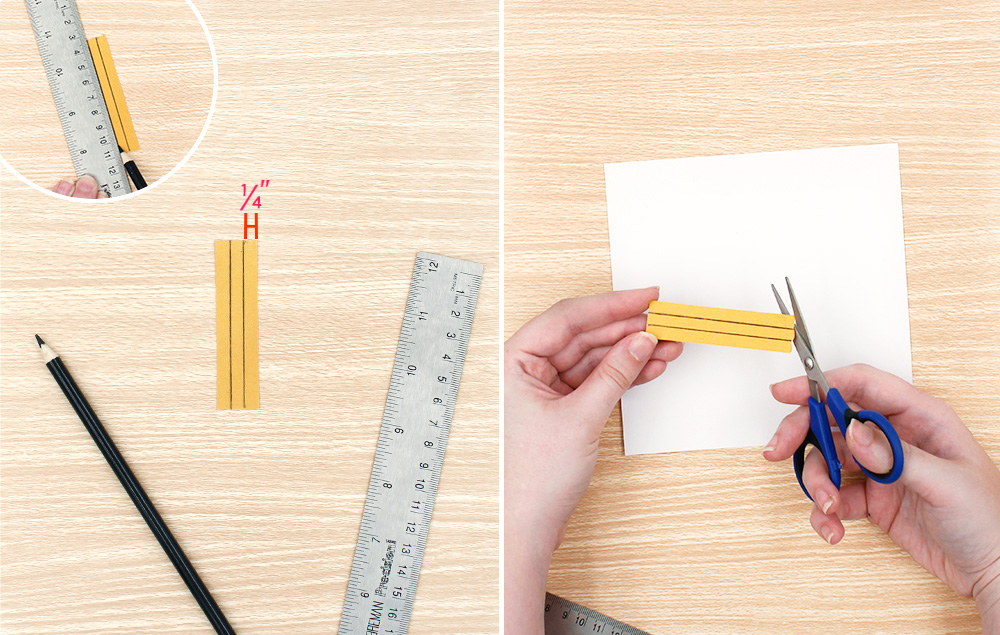
A) Draw two black lines on the yellow cardstock. Make these lines ¼" apart.
B) Cut a jagged edge on one end of the cardstock pieces.
Step 8:
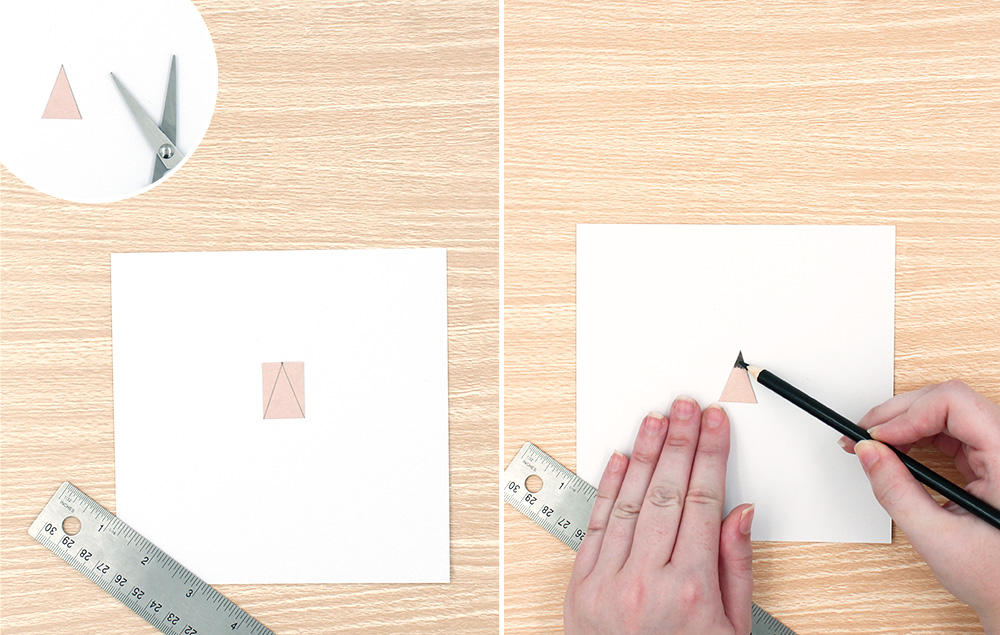
A) Find the center of the tan piece and draw two lines to each bottom corner. Cut out this triangle shape.
B) Color in the tip of the triangle with a black colored pencil.
Step 9:
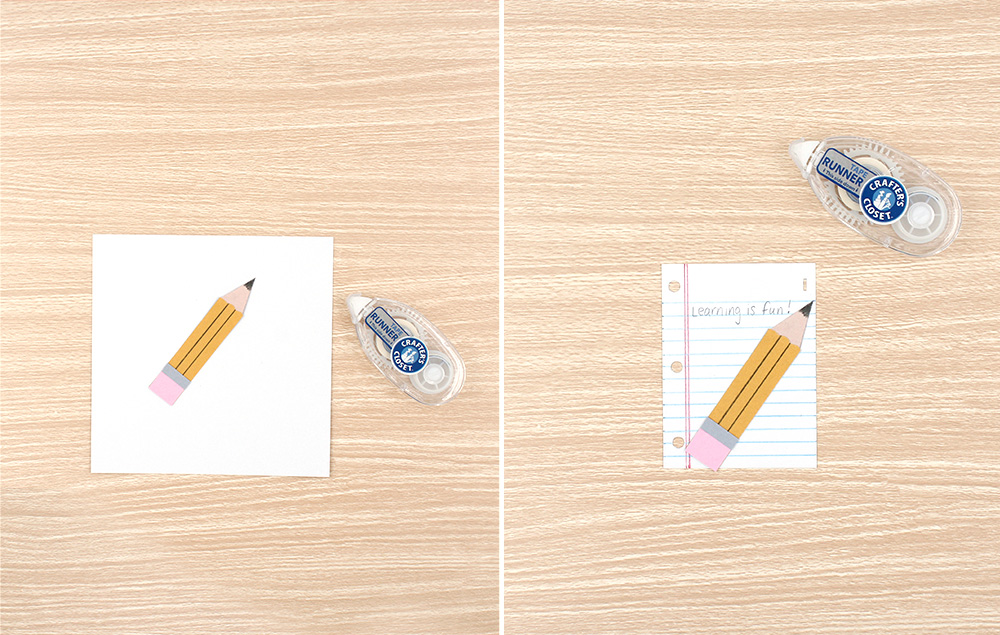
A) Assemble and adhere the pieces of cardstock to create a pencil. The tip piece goes under the main yellow pencil piece. The pink eraser piece goes on the top left side of the pencil. Finally, the thin gray piece goes on top of the right edge of the pink eraser piece.
B) Adhere the assembled pencil on a diagonal on the faux paper rectangle.
Step 10:
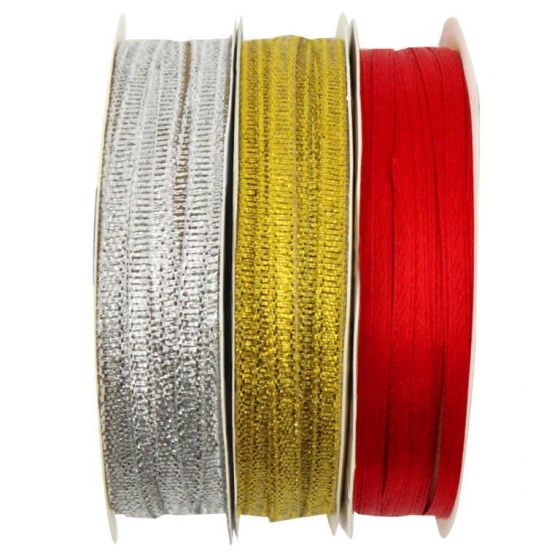
A) Let’s assemble the banner! Cut enough ribbon to fit the name pennants onto. Tip: For our 10 piece banner 5’ was used.
B) String pennants and faux paper sheet onto ribbon. For perfect placement, place the faux paper sheet after the prefix in the name.