Spend some creative time making a cute birdhouse feeder for our feathered friends! They’ll have the nicest birdhouse on the block!
Step 1:
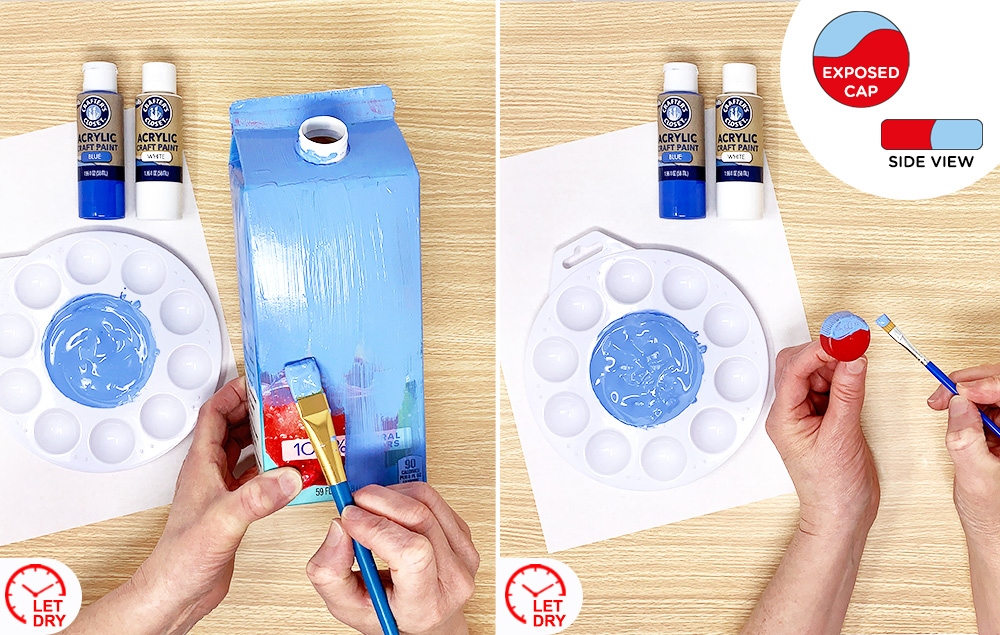
A) Remove the cap from a 64 oz. carton and set aside. Mix a small amount of blue paint into white paint to create a light blue color. Paint the carton. Let dry.
B) Using the same light blue color, paint a swooping shape on the top of the front of the cap. Also paint the sides above, left and right of the swoop. This will make the top part of the cap a painted light blue and will be the background of the bird you will create later. Follow illustration for additional help. Let dry.
Step 2:
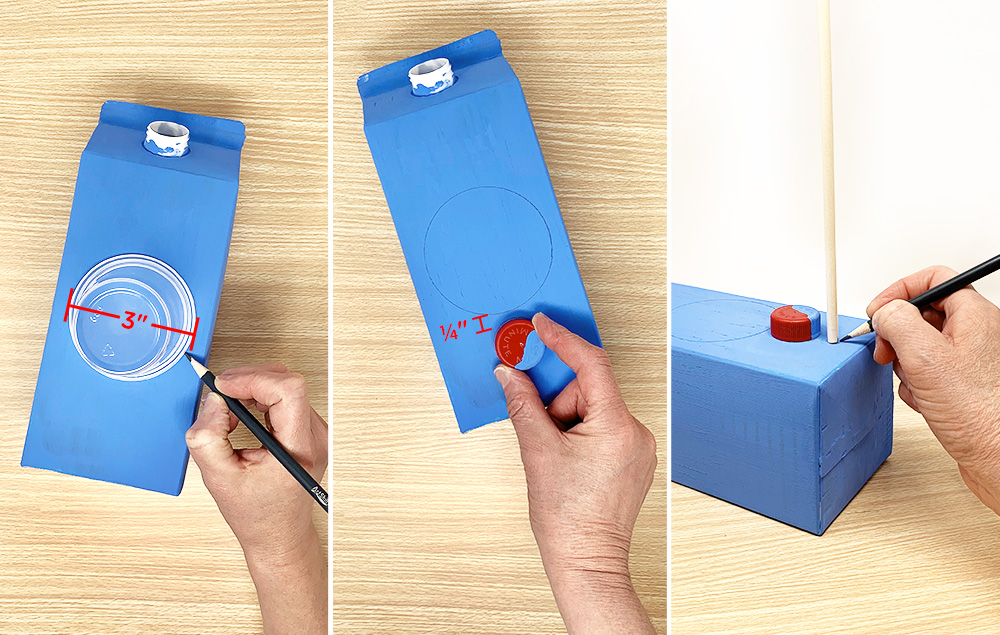
A) Trace a cup with an approximate diameter of 3" on the center of the front of the carton.
B) Place the cap about ¼" below the traced circle. This will be a reference point for the next step.
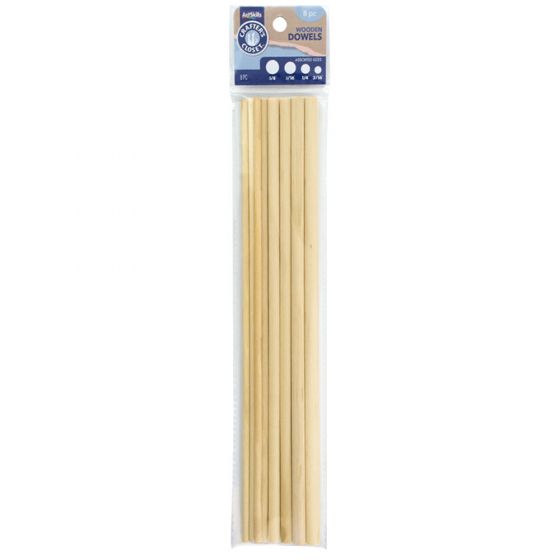
C) Place a ¼" dowel below the cap. Trace the dowel. Set aside the cap and the dowel once it is traced.
Step 3:
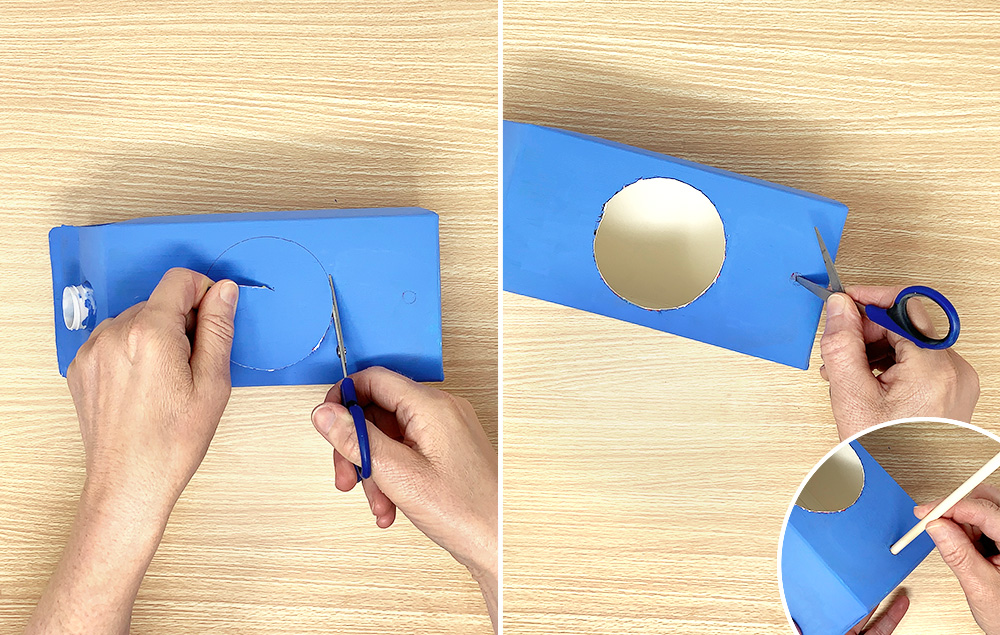
A) Cut out the large circle with scissors. Save the scrap circle for a later step.
B) Poke a hole with scissors where the ¼" dowel will go. Insert the dowel to get the fit right. Remove dowel for the next step.
Step 4:
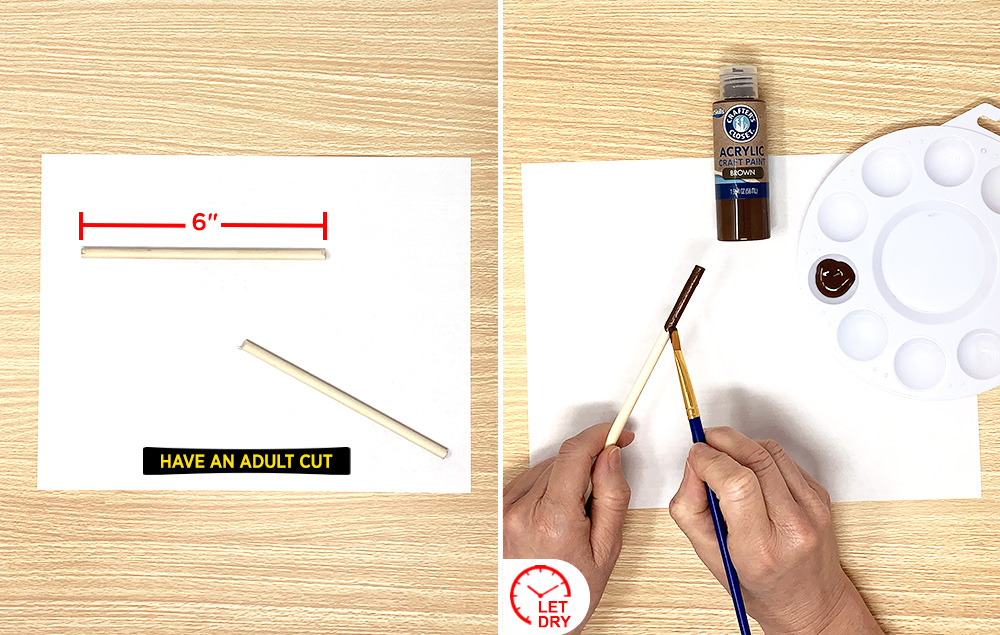
A) With the help of an adult, cut the dowel to approximately 6". The length can vary depending on how long you want the perch to be.
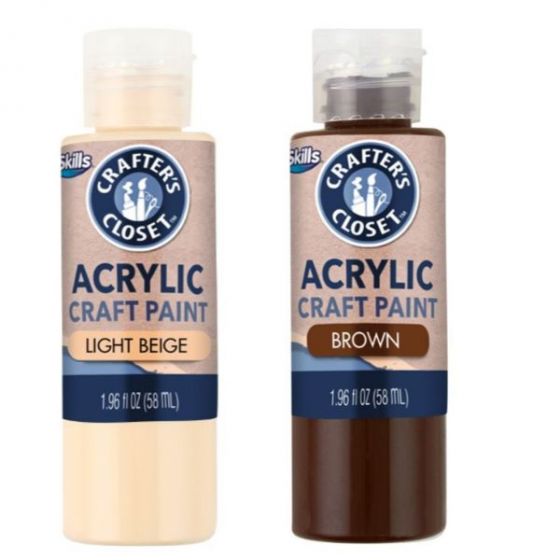
B) Paint the dowel for the perch brown. Let dry.
Step 5:
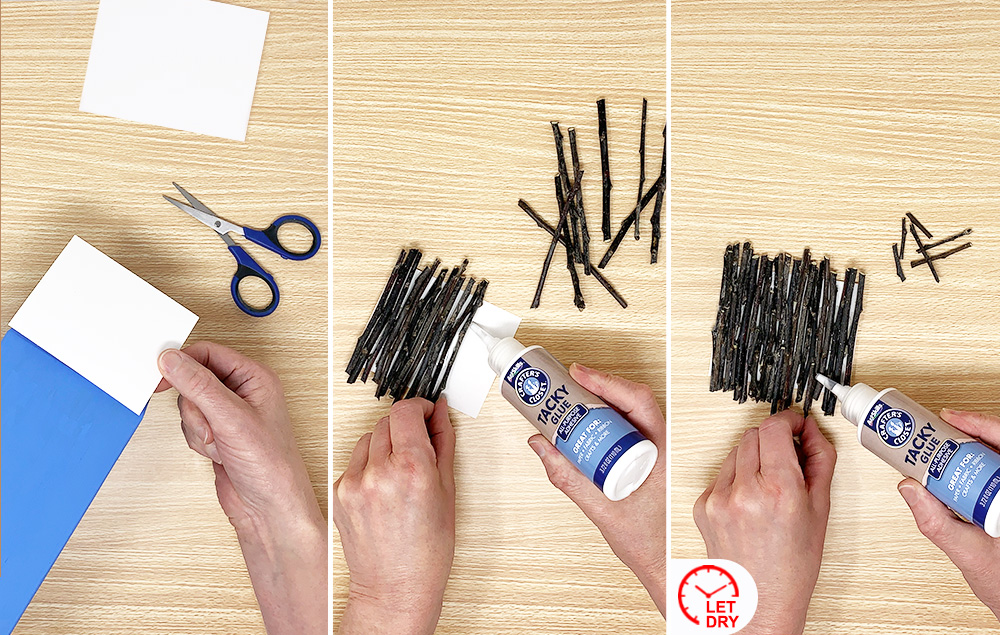
A) To make the roof: Cut paper approximately the size of the top of the carton (ours is 3" high by 3 ¾" wide). You will need a piece of paper for each side of the roof.
B) Use sticks collected from your yard to cover the paper. Trim them slightly longer than the paper and glue them on.
C) Use tiny pieces of sticks to fill in any gaps. Glue them in place.
Step 6:
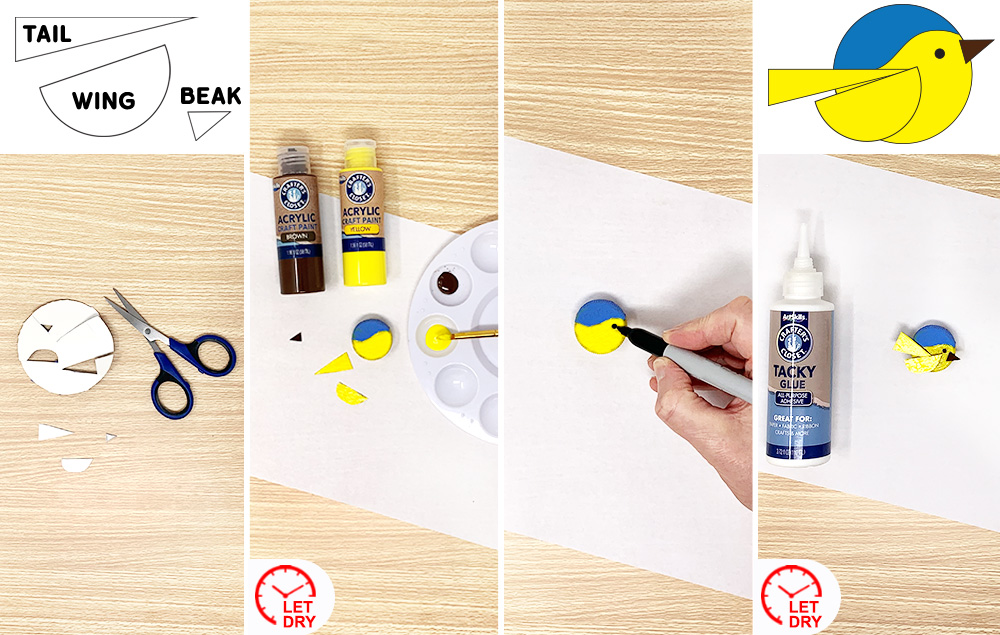
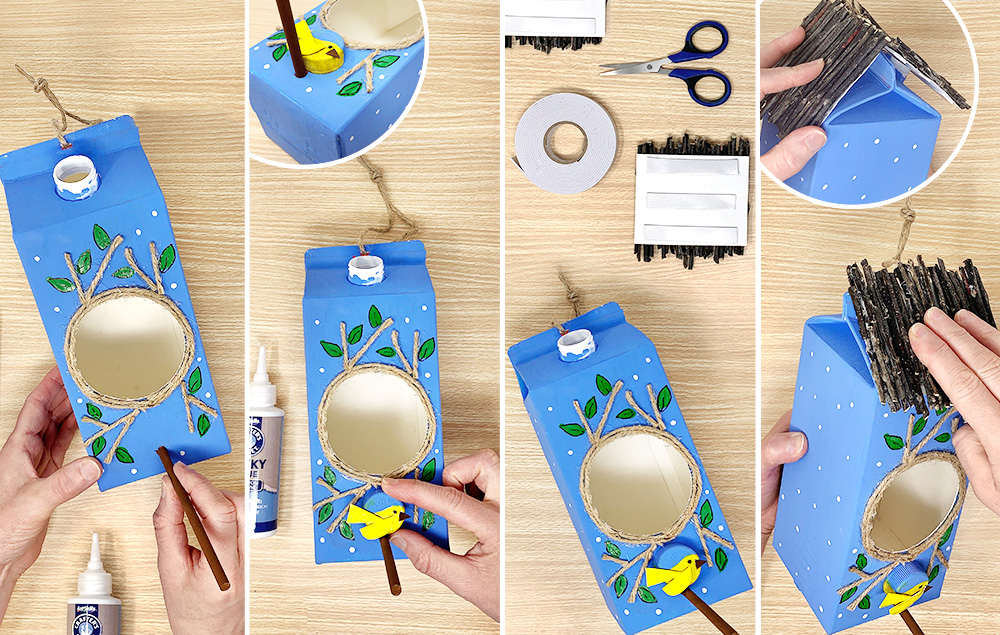
A) Let’s make the bird! Cut a beak, a tail, and a wing from the scrap circle piece in step 3a.
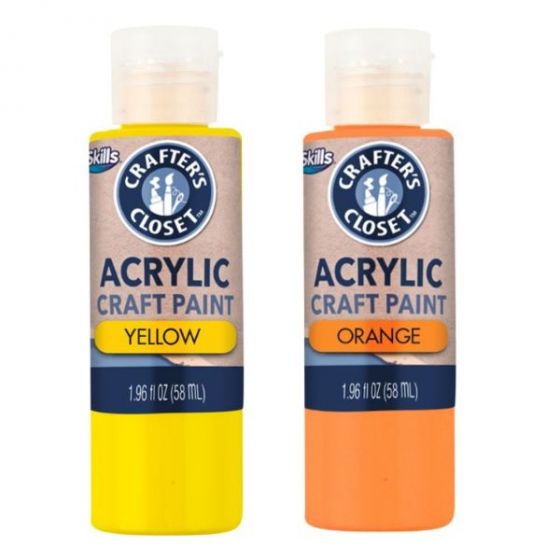
B) Paint the tail, the wing, and the bird shape on the cap using the yellow paint. Paint the beak brown. Let dry.
C) Draw a dot for an eye on the bird using a black marker.
D) Glue the tail, wing, and beak onto the cap to complete the bird.
Step 7:
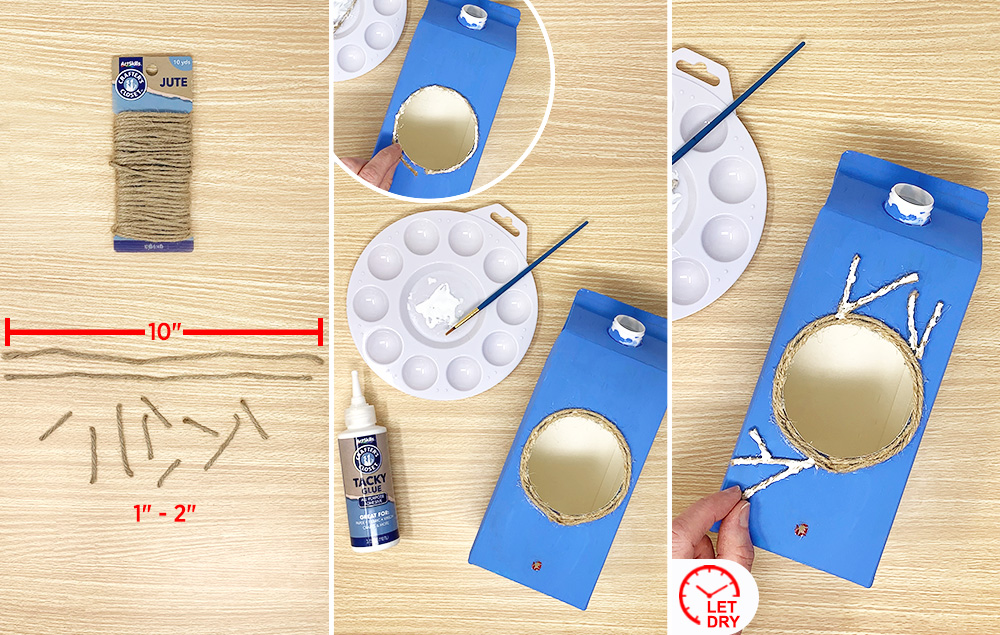
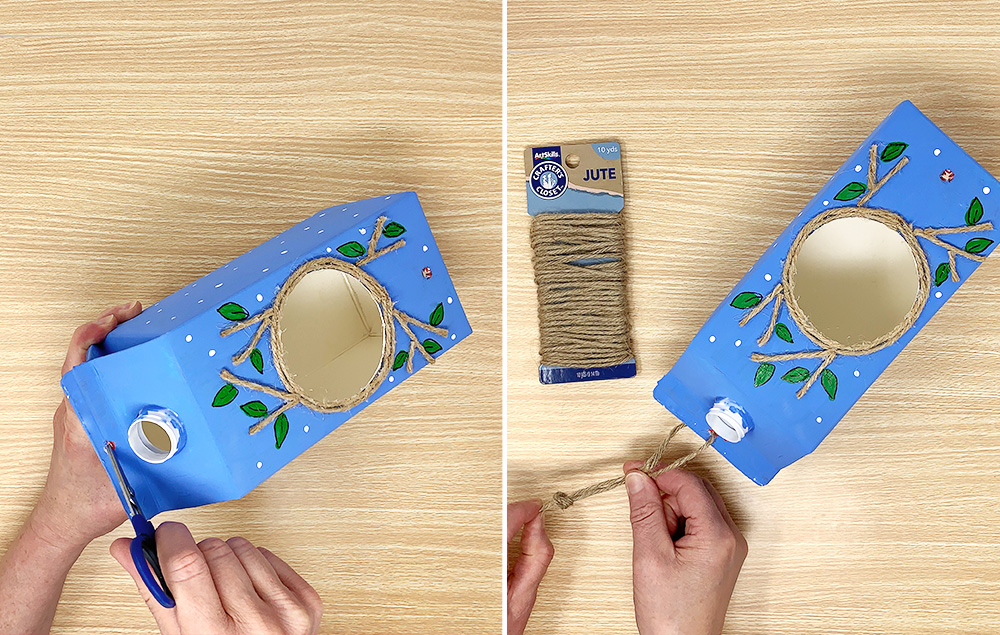
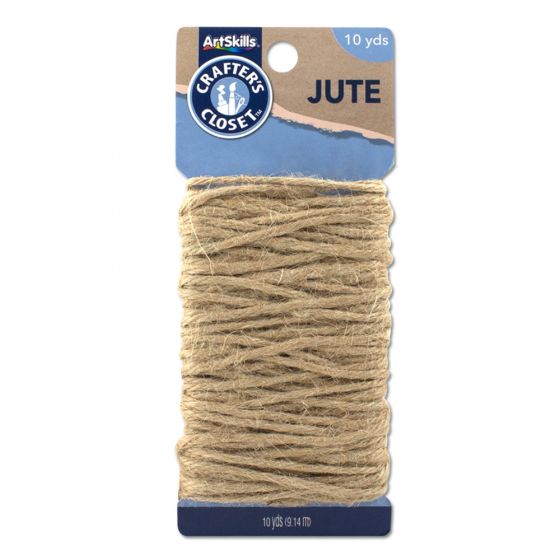
A) Cut two 10" pieces of jute and approximately nine smaller pieces of jute ranging in size from 1" to 2". They will be the “branches”.
B) Coat both 10" jute pieces with glue and adhere around the circle opening. One piece goes directly around the hole, and the other around the first piece of jute.
C) Coat the smaller jute pieces with glue and adhere to the carton. They should ‘branch off’ of the center circle. Be sure to leave the space underneath the circle open so the bird and dowel will fit. Let all the glue dry.
Step 8:
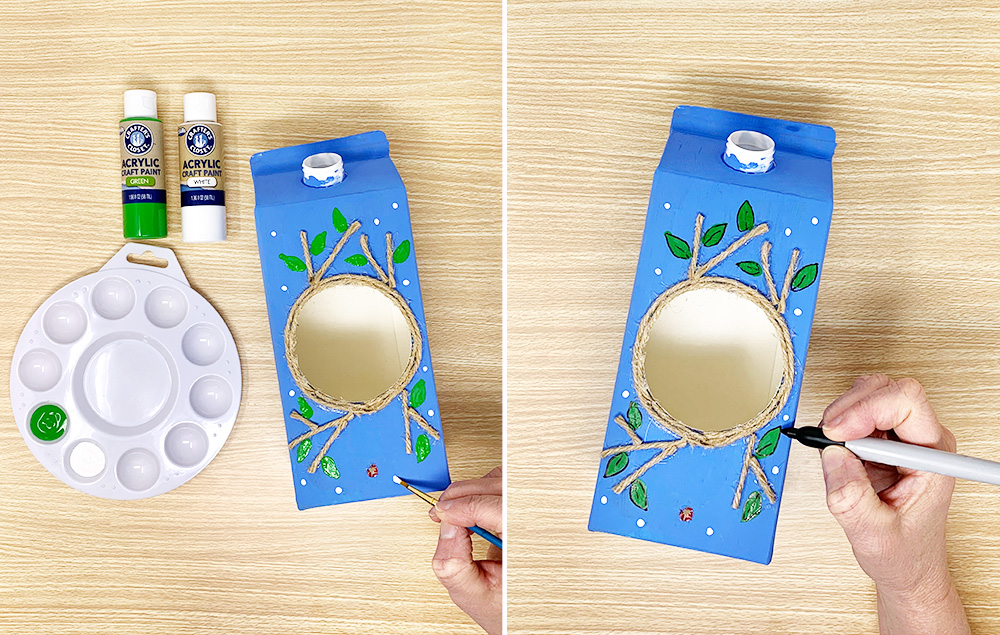
A) Paint green leaves sprouting from the jute branches. Paint small white dots around the carton for a fun accent. Let dry.
B) Add detail lines around the leaves and down the center with a black marker.
Step 9:
A) String jute through the hole and knot it to create a hanger. Make the hanger as long or short as you’d like.
Step 10:
A) Slide the dowel into the hole from step 3b. Use glue to secure in place.
B) Glue the bird above the dowel, so it looks like he’s sitting on the perch.
C) Cut mounting tape to run along the back of the roof pieces.
D) Press the roof pieces onto the front and back of the carton lid.