Experiment with color, mirrors, and light making this simple DIY kaleidoscope. Kids will have fun while learning!
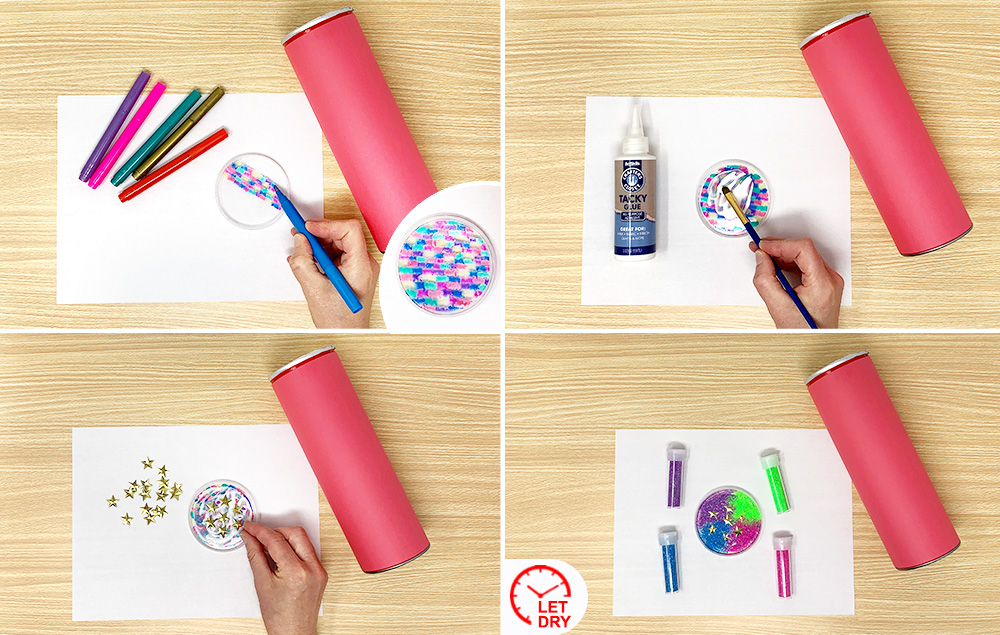
Step 1:
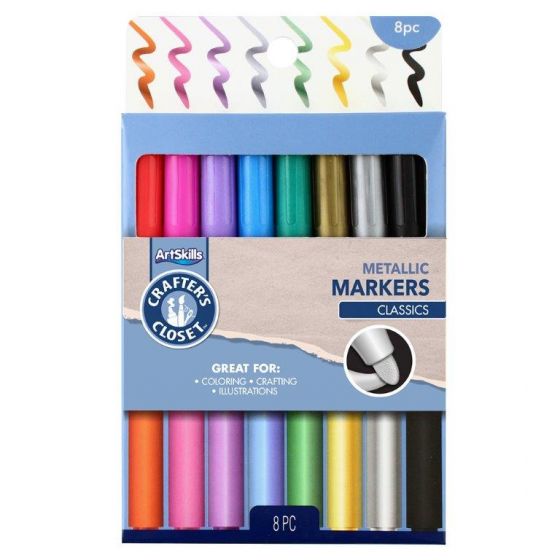
A) Use metallic markers to draw small squares of color on the top of chip can lid. Note: we did not use black or silver.
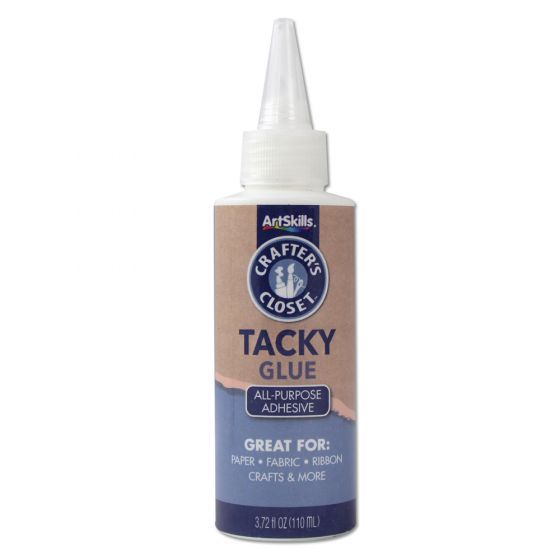
B) Flip the lid over. On the underside of the lid, use a paint brush to spread a layer of tacky glue. Keep the glue away from the edge of the lid so that the lid can spin freely later.
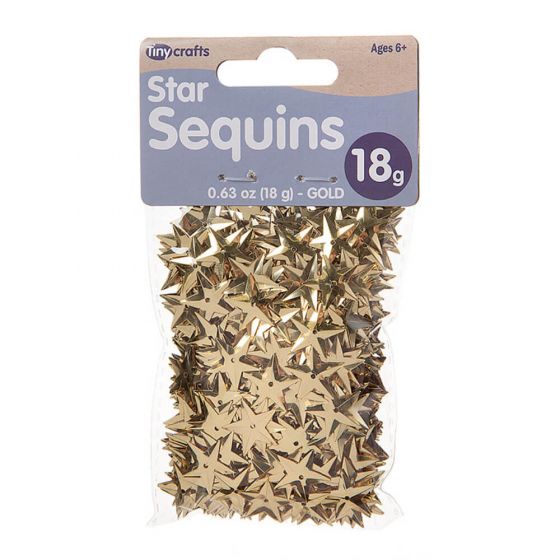
C) Place six or seven star sequins on the glue, clustered towards the center. Don’t overlap them.
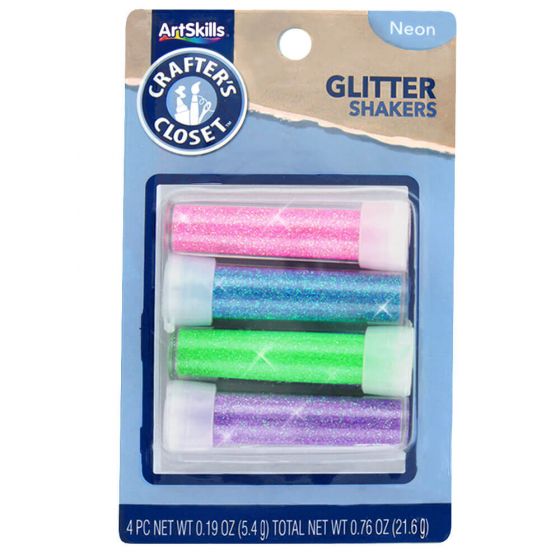
D) Pour four colors of glitter on the glue. Keep the colors separated into quadrants. A little overlap is okay. Let dry.
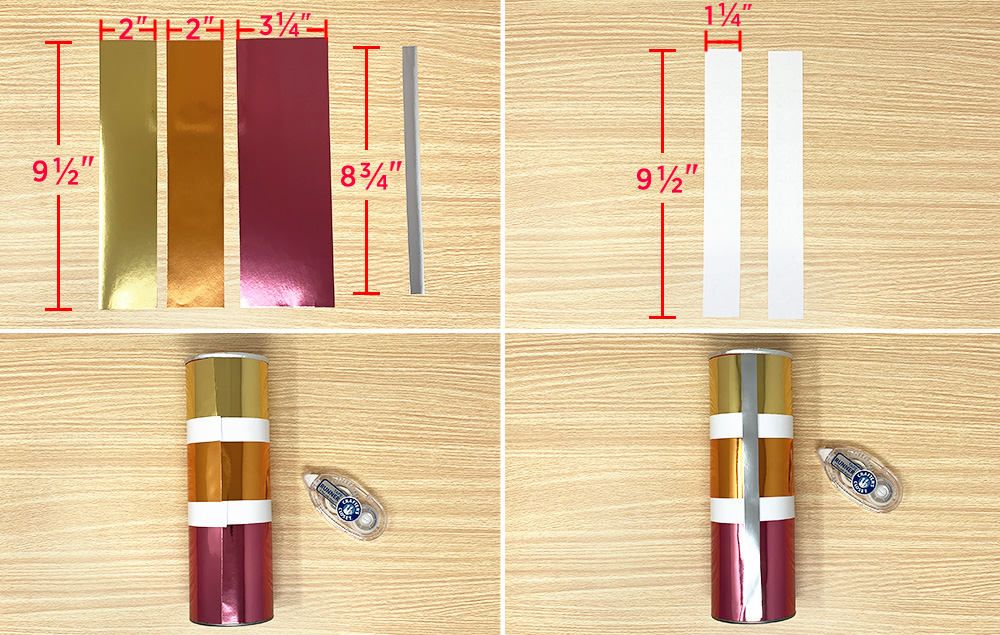
Step 2:
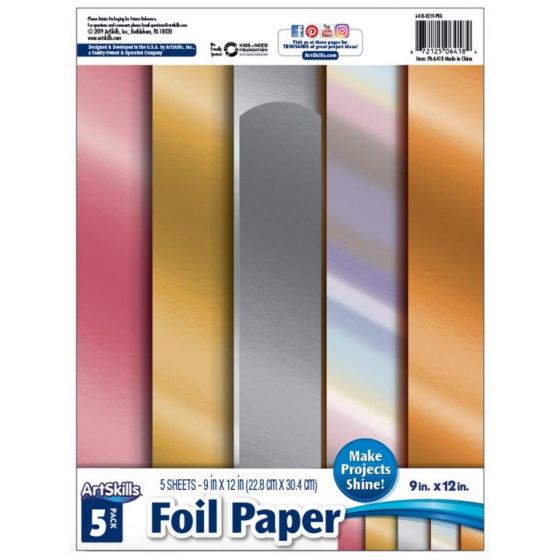
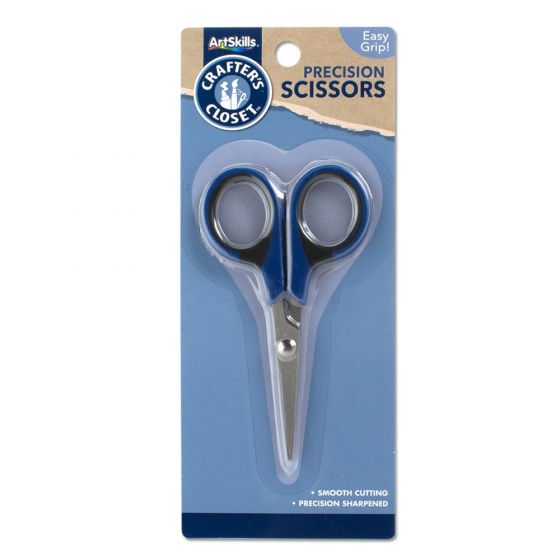
A) Measure and cut four pieces of foil paper: a gold piece: 2" x 9 ½", an orange piece: 2" x 9 ½", a pink piece: 3 ¼" x 9 ½", and a silver piece: ½" x 8 ¾".
B) Measure and cut two 1 ¼" x 9 ½" pieces of white paper. If you don’t have any available you can use the back of a piece of foil paper.
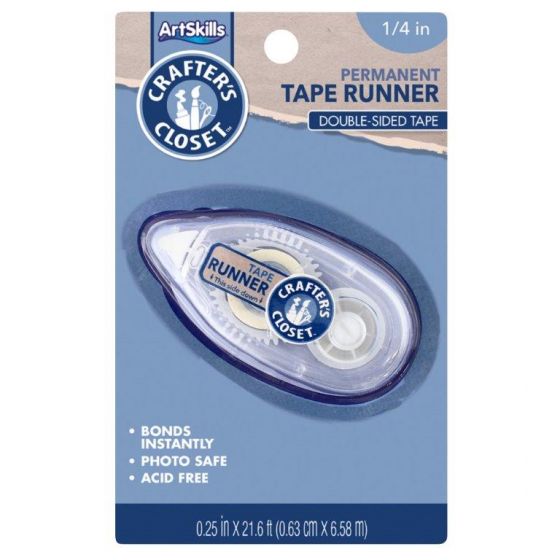
C) Adhere the pieces of foil paper and white paper to the can using a tape runner or double-sided tape. Keep the seams lined up on one side. Adhere the pieces in this order starting from the open end of the can: gold, white, orange, white, pink.
D) Cover the seams by adhering the thin strip of silver foil paper up the side of the can.
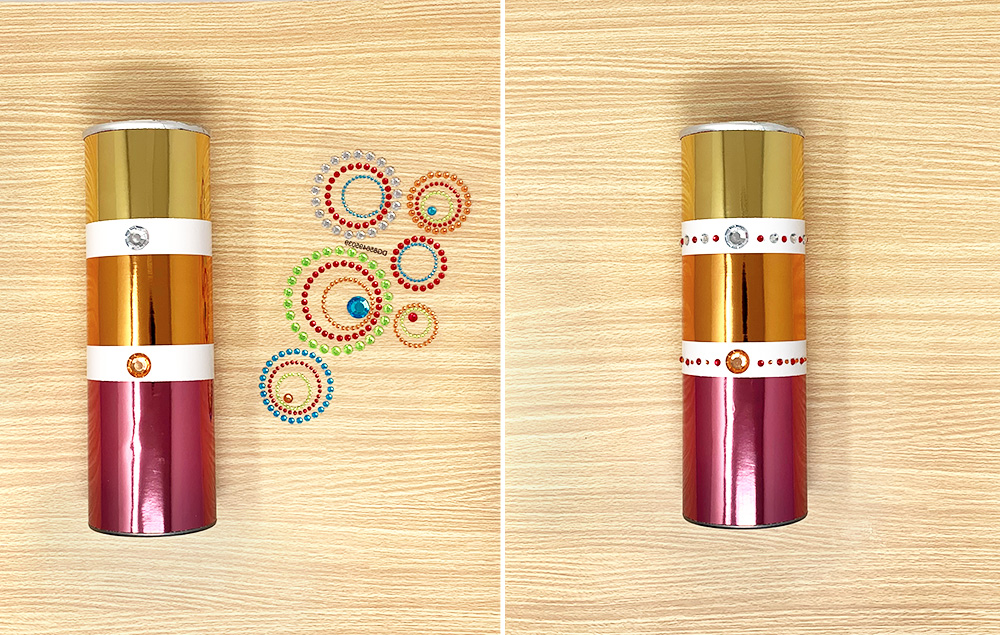
Step 3:
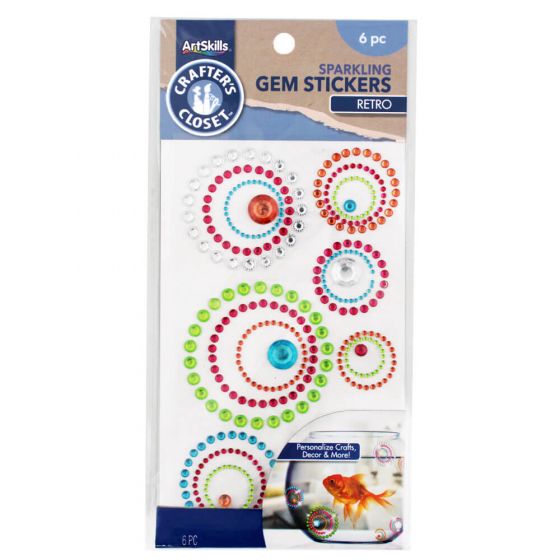
A) Using the self-stick gems, place two large gems on the white strips, directly opposite the silver seam strip.
B) Add a line of small gems along the center of the white paper strip, alternating sizes every other gem.
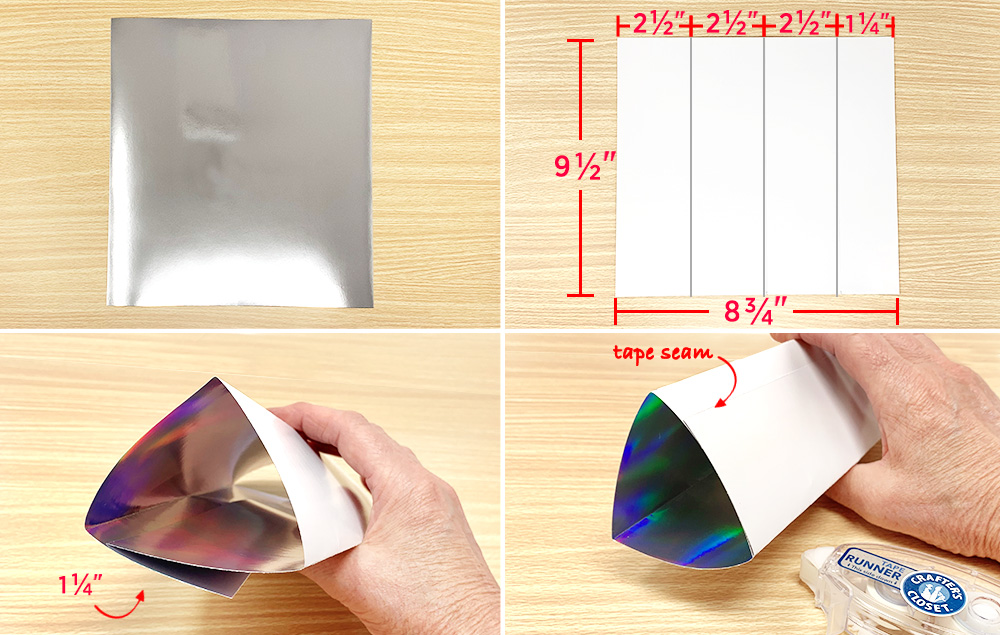
Step 4:
A) Measure and cut an 8 ¾" x 9 ½" piece of holographic foil paper.
B) Along the 9 ½” side, measure and mark three 2 ½" increments. You’ll have an extra 1 ¼” at the end.
C) Fold the paper along the lines to form a triangle tube so that the holographic side faces in.
D) Tape the extra 1 ¼” flap at the bottom along the seam. The extra flap should be outside the triangle fold.
Step 5:
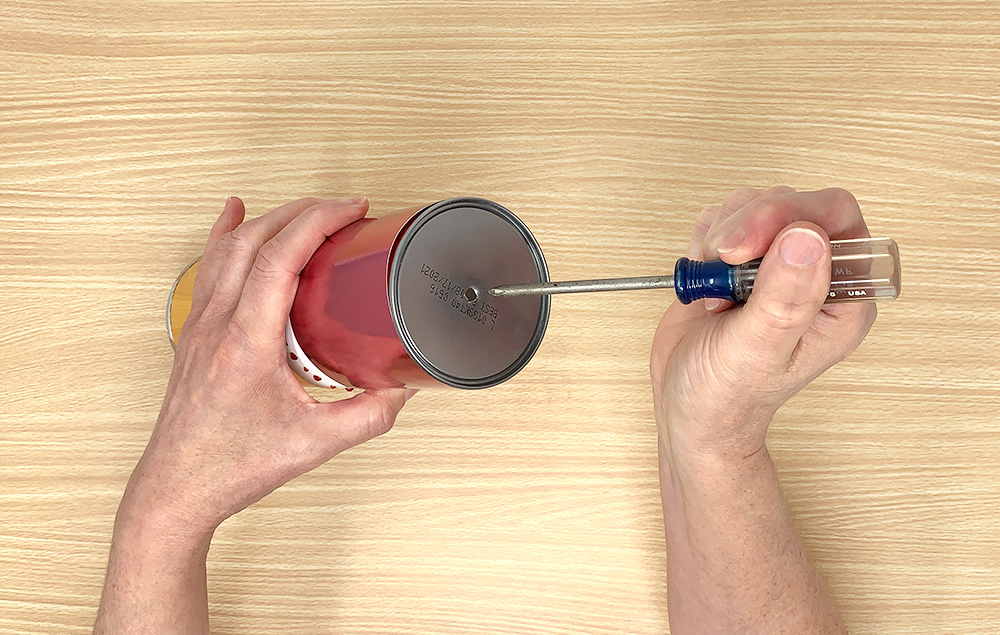
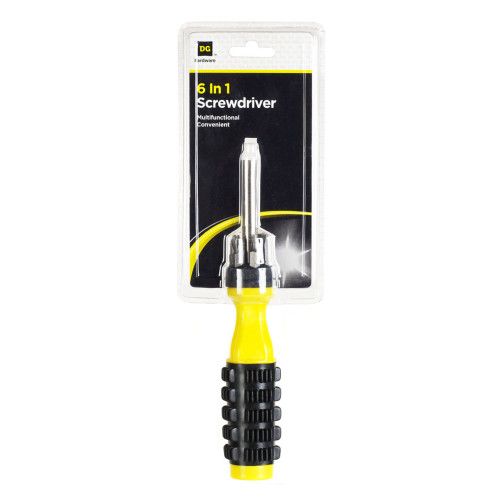
A) With a parent’s help, poke a hole in the bottom of the can using a screwdriver.
Step 6:
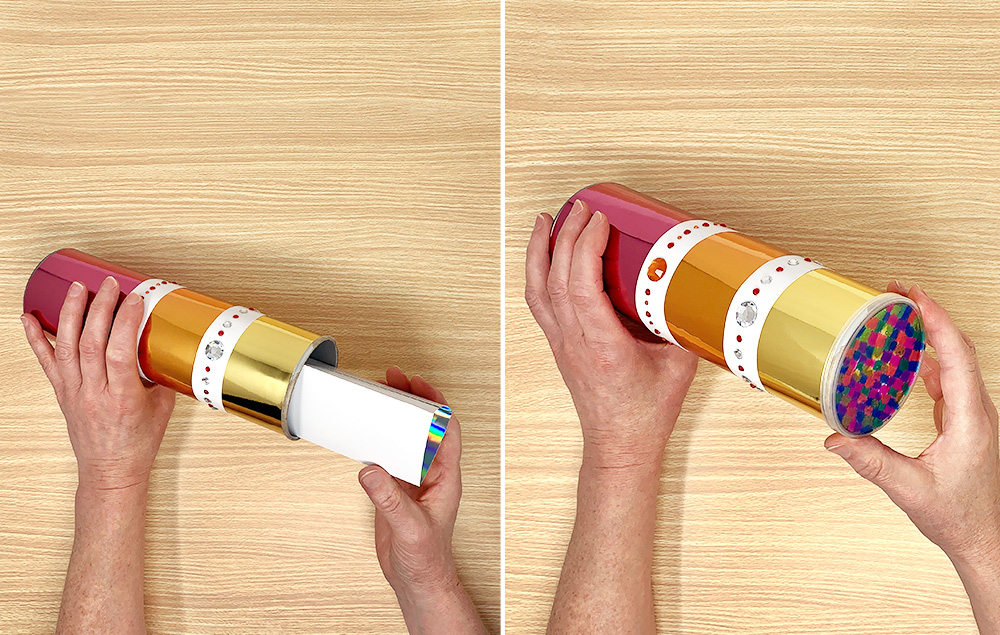
A) Insert the foil triangle into the can.
B) Place the lid on the end of the can. Look through and enjoy the view! Spin the lid on the outside to see different patterns!