Treat mom to a beautiful, handmade gift for Mother’s Day that she can enjoy all year long.
Step 1:
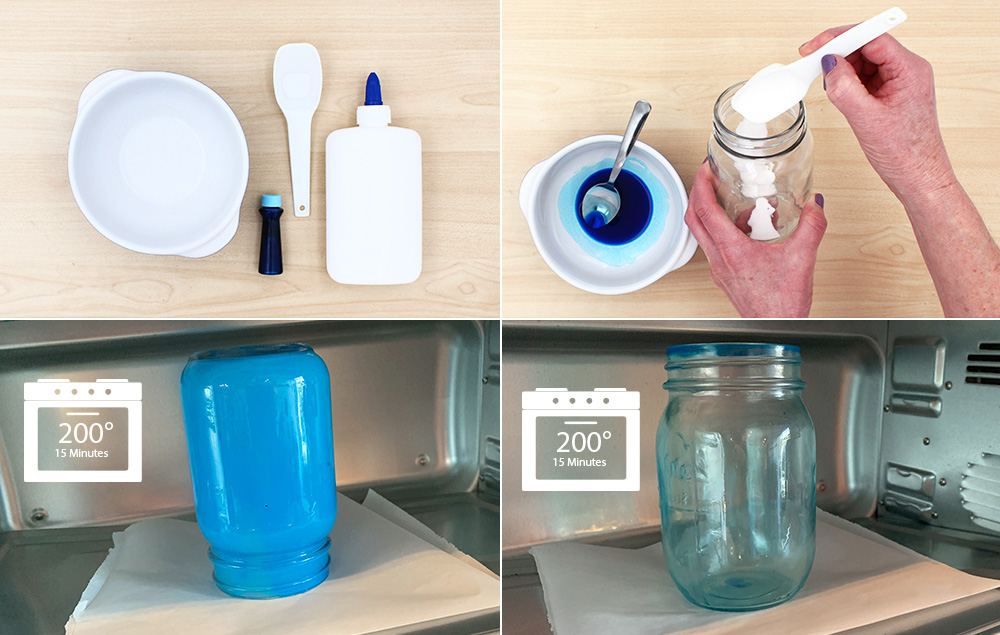
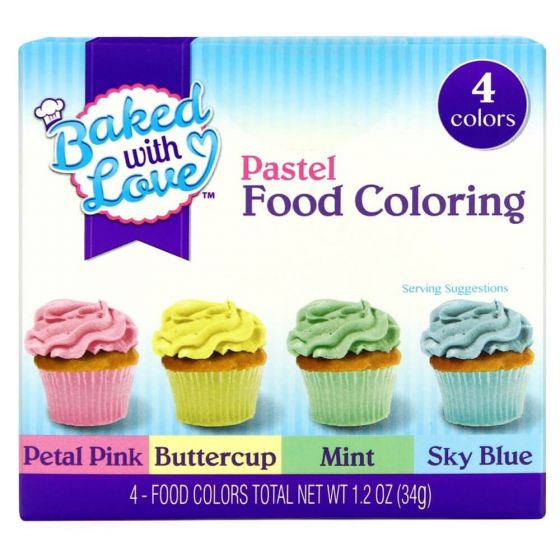
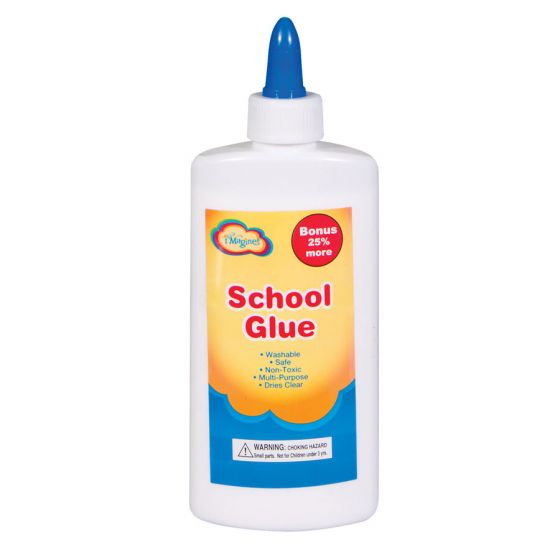
A) To tint the mason jar you will need 1 tablespoon of water, Sky Blue Pastel Food Coloring, and 1 tablespoon of white glue.
B) Put the water in a bowl and add 25 drops of Sky Blue food coloring. Mix well with a spoon. Add the 1 tablespoon of white glue to the jar and dump the blue solution on top of the glue. Put the lid on the jar and swirl the glue and solution until they combine well and coat the jar. Let sit for 10 minutes.
C) Remove the lid, pour out the excess solution, and set the jar upside down on a piece of parchment paper in a pre-heated 200-degree oven. Bake for 15 minutes.
D) Turn the jar right side up and bake another 15 minutes. Let cool.
Step 2:
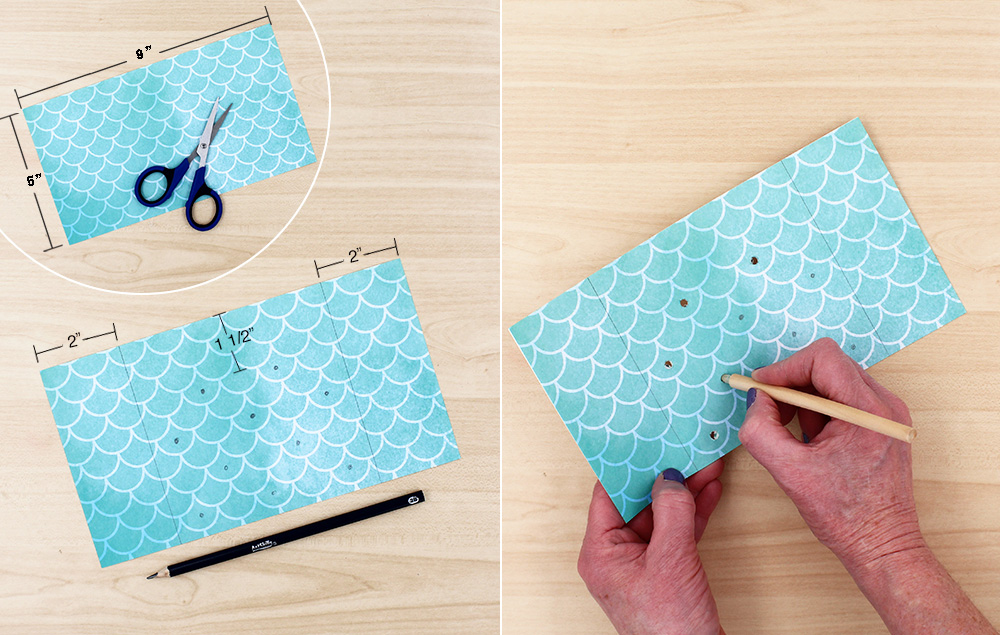
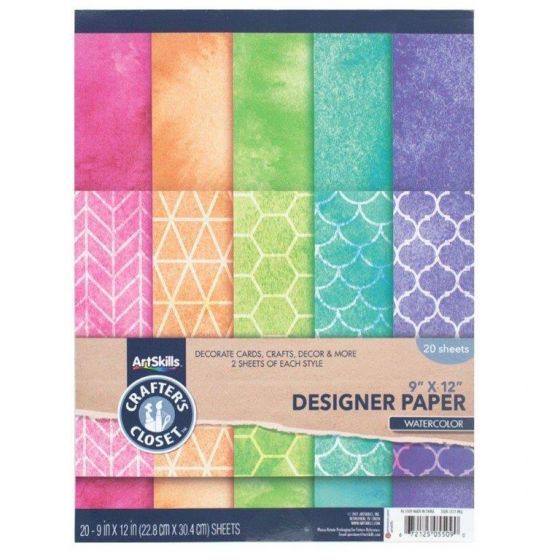
A) Cut a 9” wide by 5” high piece of blue scalloped patterned paper from the Watercolor Designer Paper.
B) Draw a pencil guideline down both sides of the pattern paper, 2” away from the side edges.
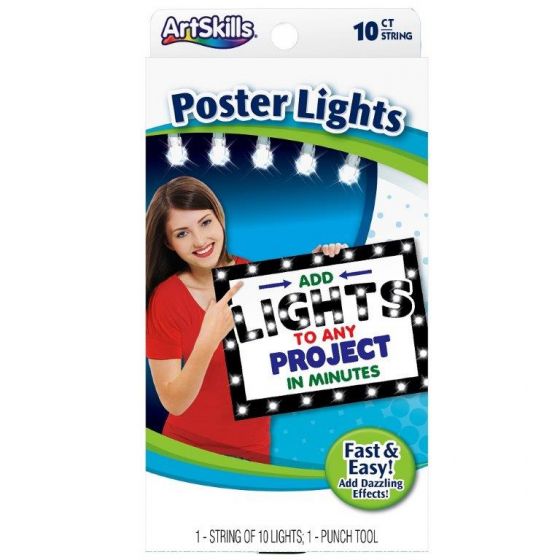
C) Figure out your placement for the 10 lights by making dots on the scalloped patterned paper so that they are evenly spaced in between the pencil guide lines. Leave the top 1 ½” free of lights since this is where the neck of the jar will be.
D) Punch holes where the pencil marks are using the Punch Tool provided with the Poster Light Box. Gently erase the pencil lines. Tip: To make the paper sturdier, you can adhere a piece of poster board to the back before punching holes.
Step 3:
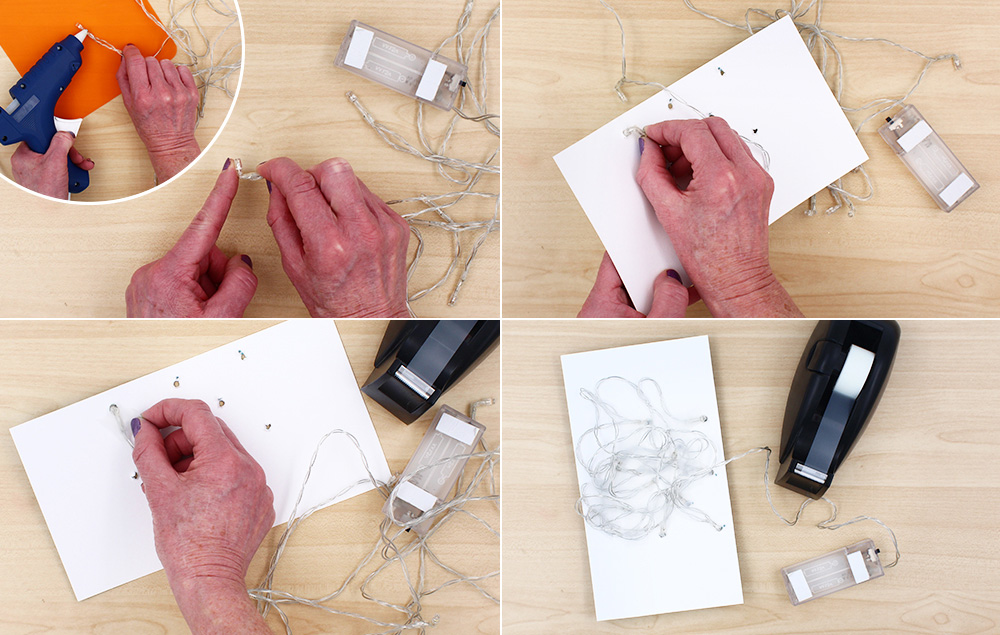
A) Using a heat-resistant work surface, press the hot tip of a glue gun on the neck of a light for a few seconds until the plastic covering gets soft enough to bend the light into a 90-degree angle. Bend all 10 lights.
B) Poke a light through a hole on the back of the paper.
C) Tape the light in position right behind the hole.
D) Repeat until each hole has a light and is secured with tape. It’s also a good idea to tape down the cord as you work to keep it secure against the paper.
Step 4:
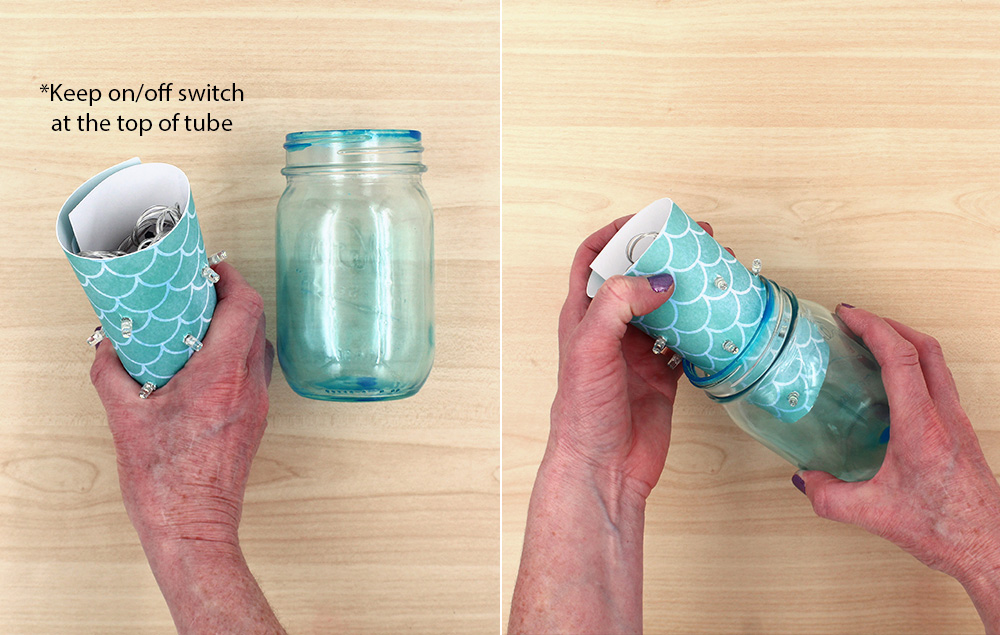
A) Roll the paper into a tube. Keep in mind the area free of lights will be at the top of the tube. Tuck the battery box inside the tube making sure the on/off switch is at the top.
B) Carefully insert the tube into the jar.
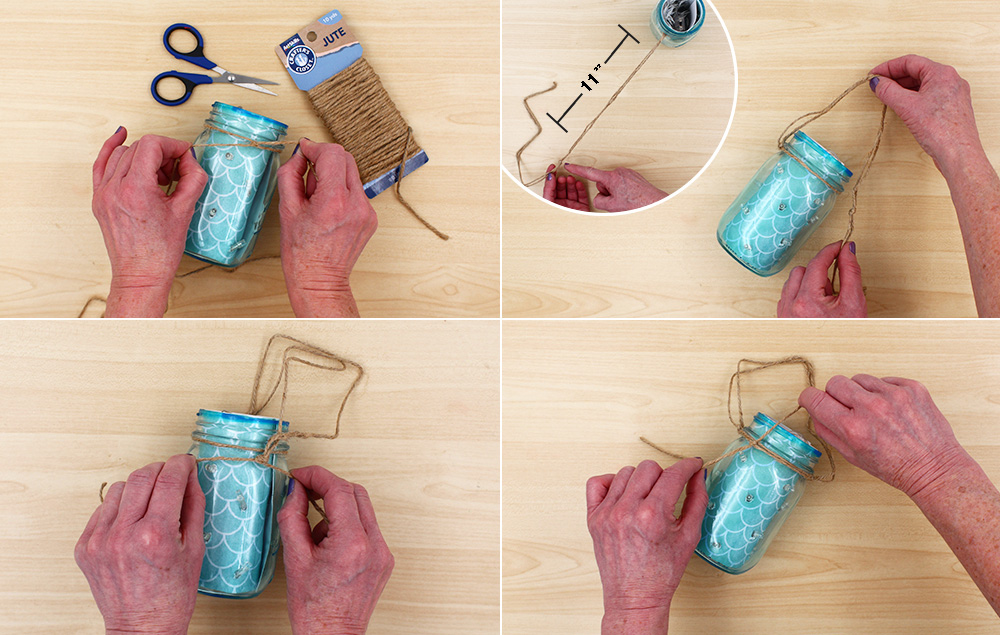
Step 5:
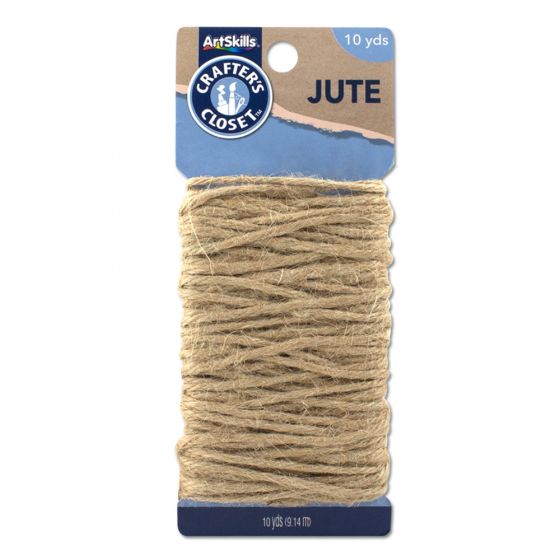
A) Cut a 60” piece of jute. Wrap it once around the jar neck so the ends are even and tie it in a secure knot.
B) Pull the strings taut and tie another knot about 11” away from the knot on the jar. Make the handle loop by placing the second knot on the opposite side of the jar and holding it in position.
C) With the second knot held in position, wrap the two ends of jute around the jar.
D) Knot tightly to hold the hanger in place.
Step 6:
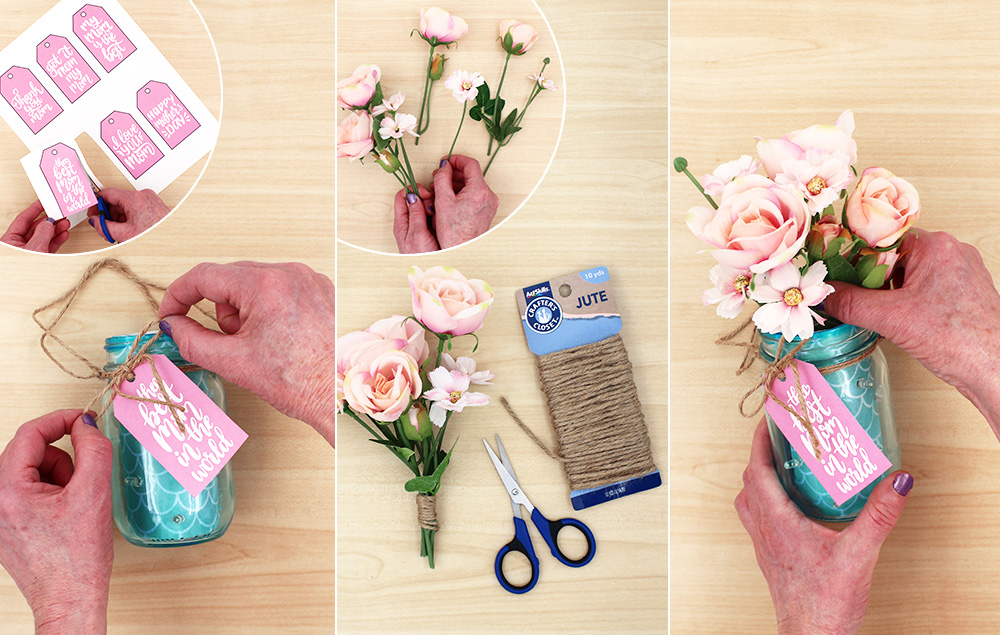
A) Choose a tag from the templates provided and cut one out. Tie it onto the jute and make a bow.
B) Make an arrangement from silk flowers and tie the bunch together with jute.
C) Insert the arrangement into the jar.
Step 7:
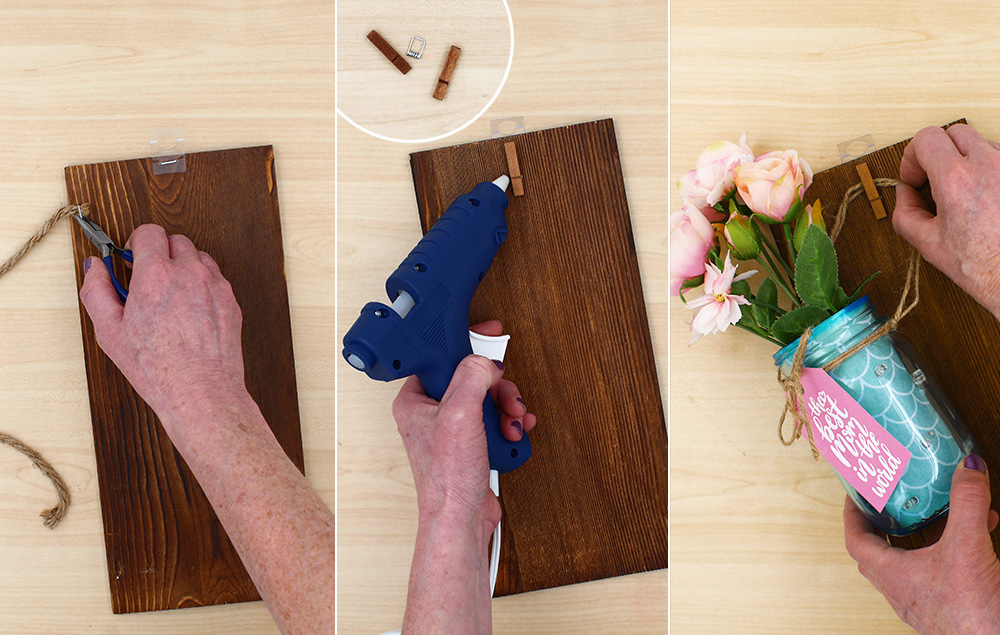
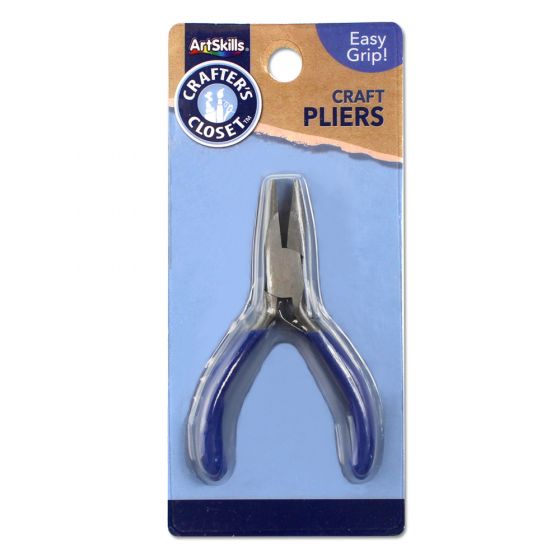
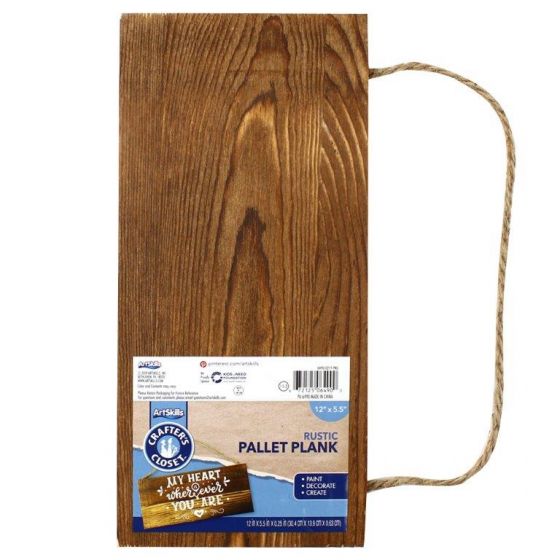
A) Using pliers, remove the string from the back of the pallet plank. Tip: Leave the plastic display tab on the back to use as a hanger.
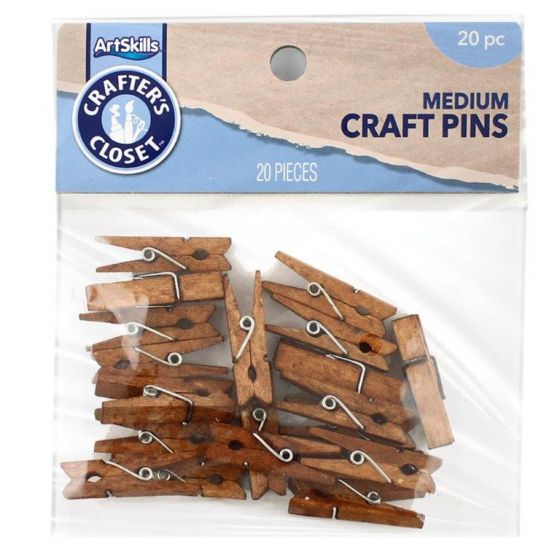
B) To create a hanger for the mason jar, take a craft pin apart. Discard the spring and one of the wooden halves. Hot glue the bottom portion of the remaining half of the craft pin to the pallet plank, leaving the top half unglued so the jute hanger can be hung off of it.
C) Hang the mason jar off the craft pin.