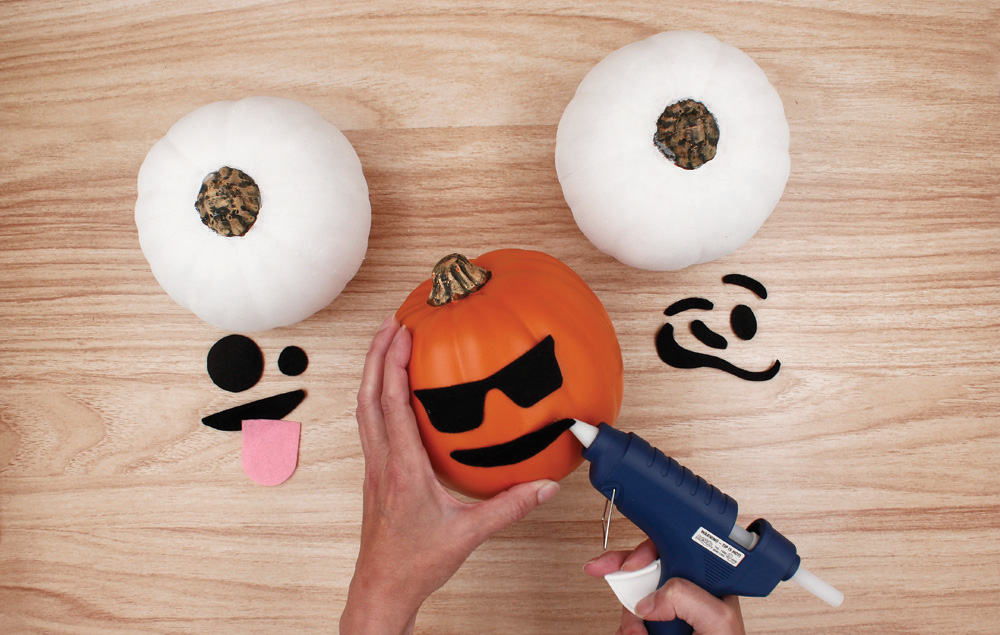
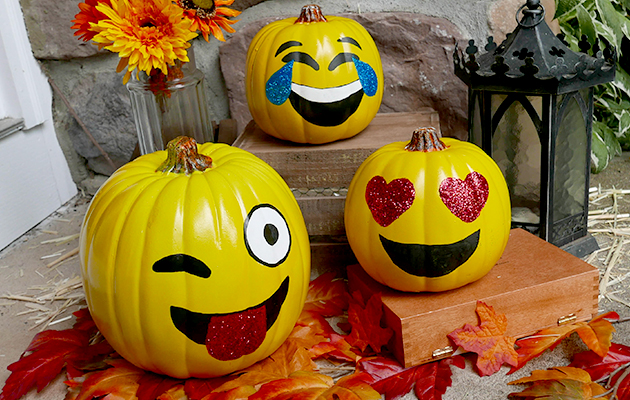
Create these cute mix and match Emoji Pumpkins just in time for Halloween fun! You can switch hats on the pumpkin faces to get unique looks!
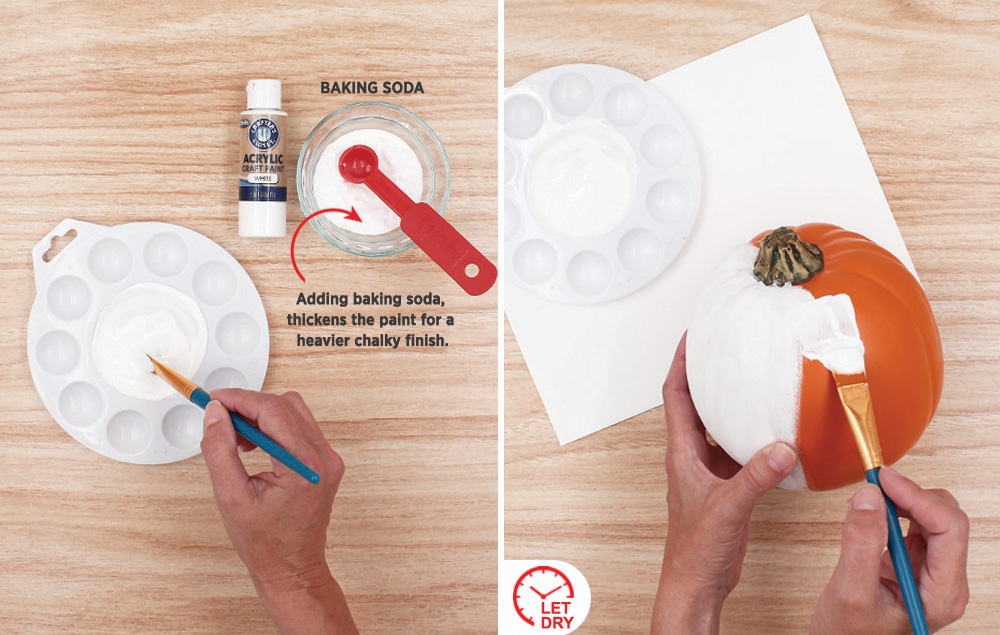
Step 1: Painting the pumpkins
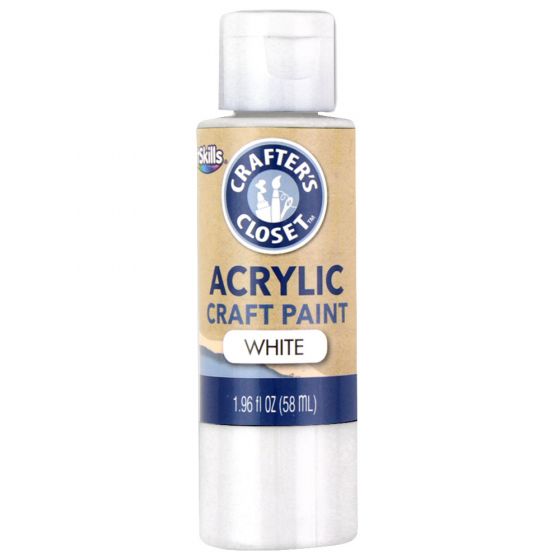
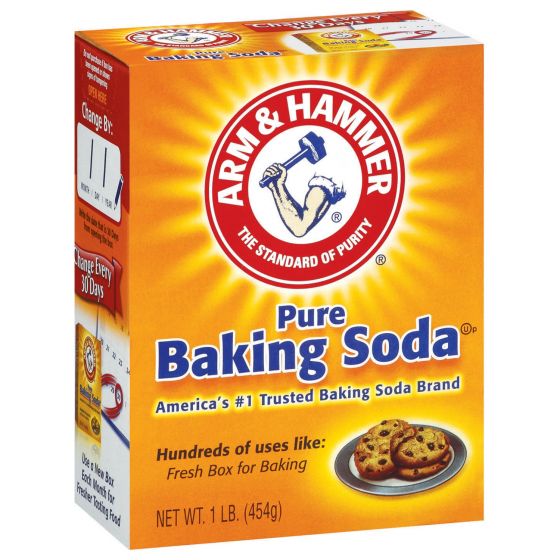
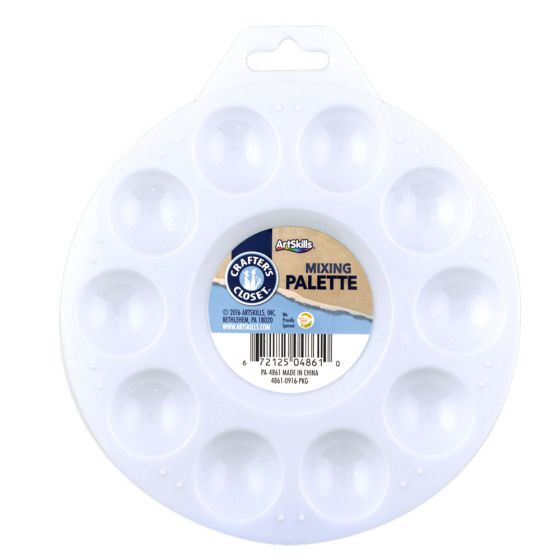
Squeeze two large dollops of white paint onto a paint palette. Mix in small scoops of baking soda, a little at a time, until you get a thick, smooth icing consistency. TIP: Mixing baking soda into acrylic paint thickens the consistency and gives a heavier, chalky finish.
Paint the pumpkin. Let dry. Add additional coats if needed.
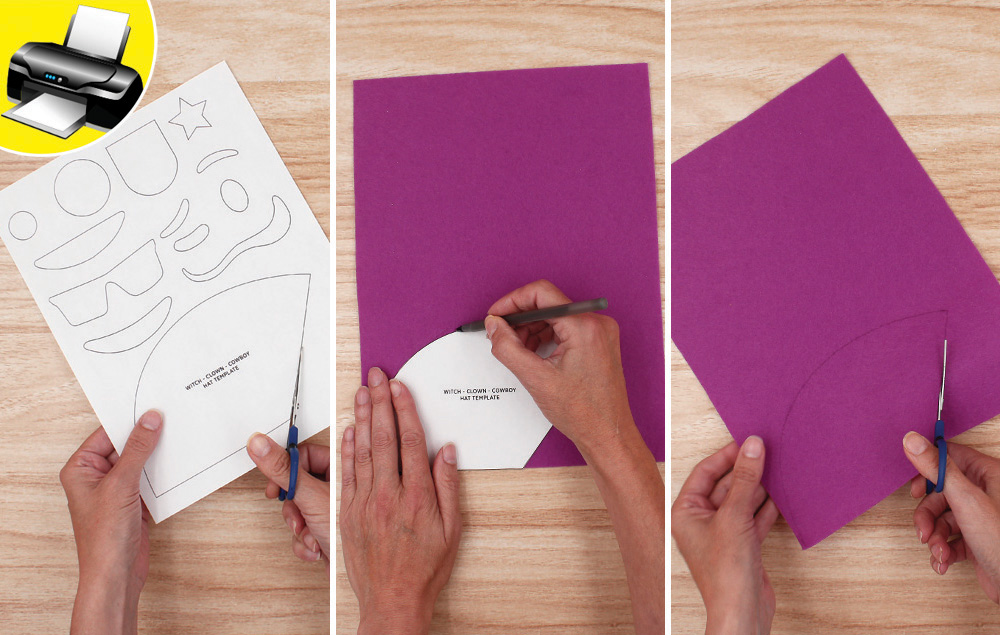
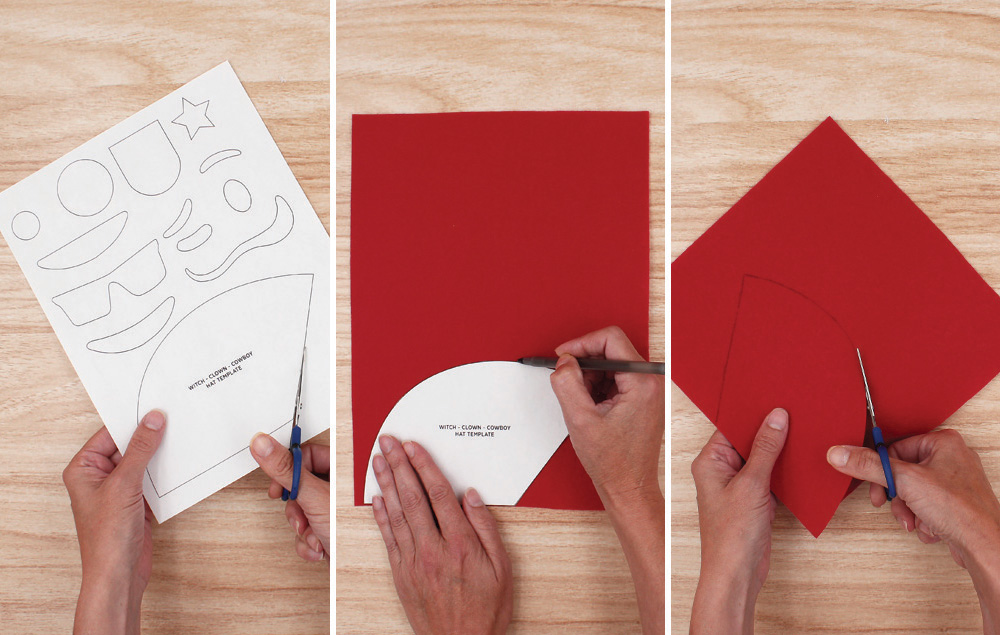
Step 2: Preparing the hat pieces
Print and cut out the hat template.
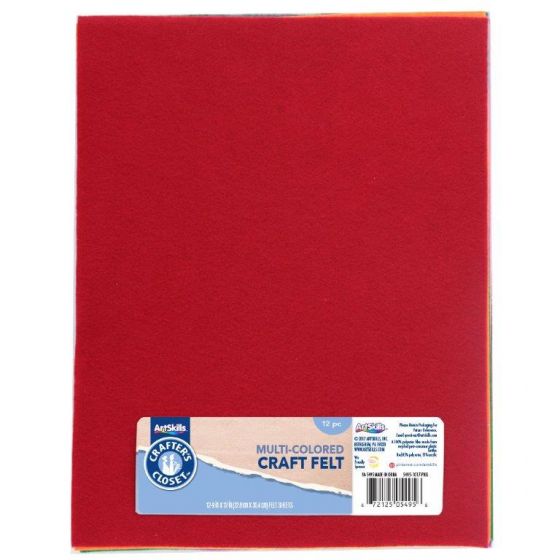
Trace hat template onto purple felt. TIP: trace your template pieces close to the edges of the felt. This will help save room for additional hat pieces.
Cut out the hat piece.
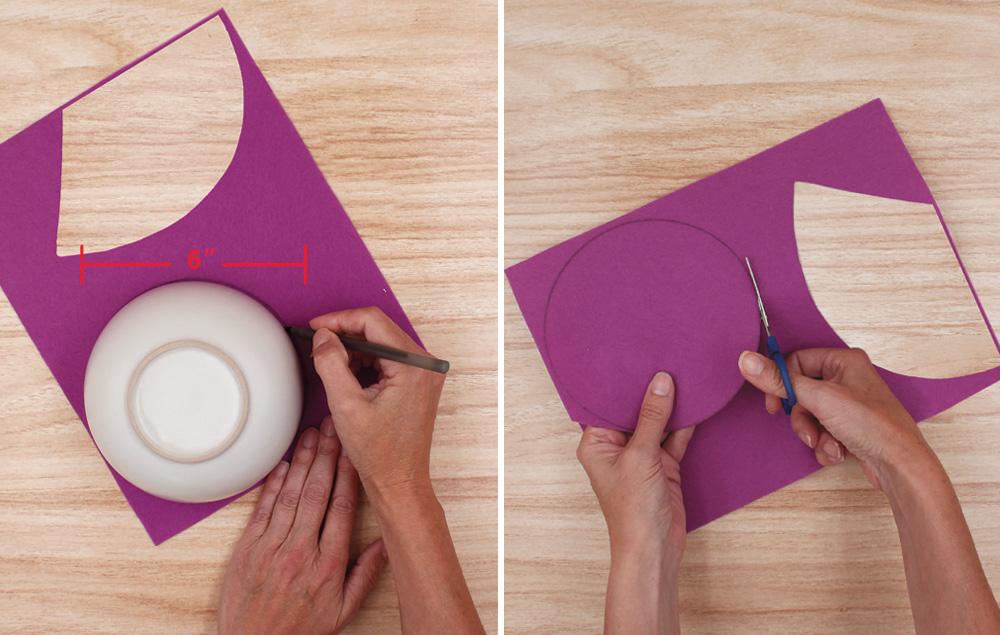
Step 3: Preparing the hat brim
Use a bowl to trace a 6” (approximate) circle onto the remaining purple felt.
Cut out the circle.
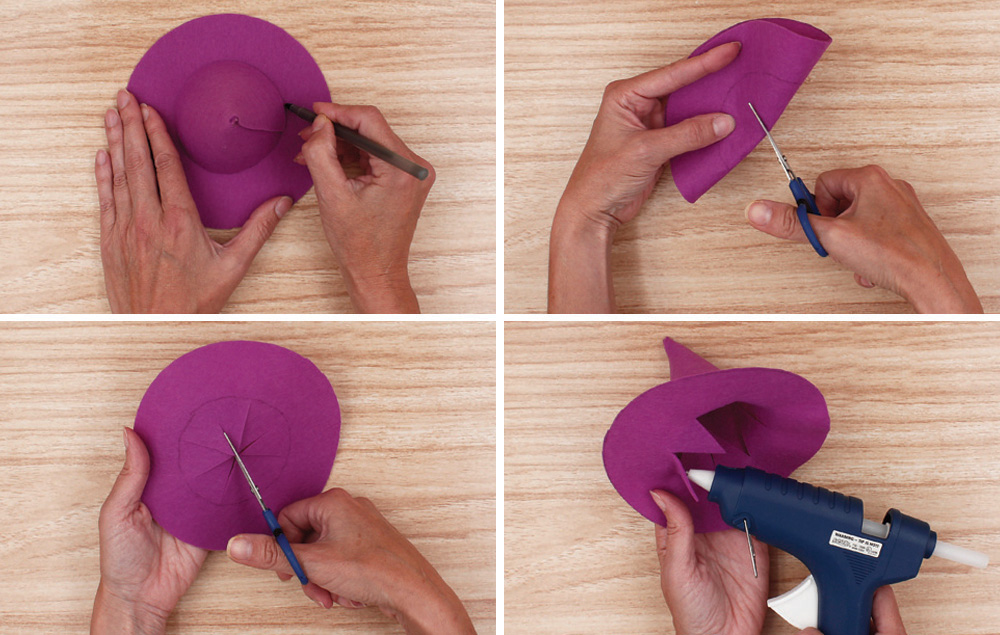
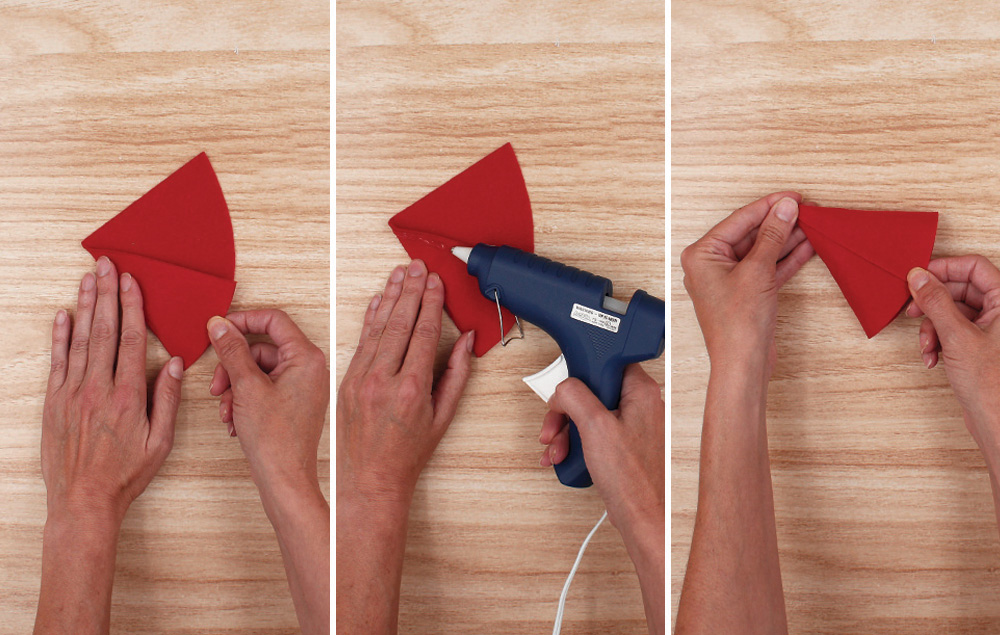
Step 4: Assemble the top portion of the hat
Fold in one third of the first hat piece.
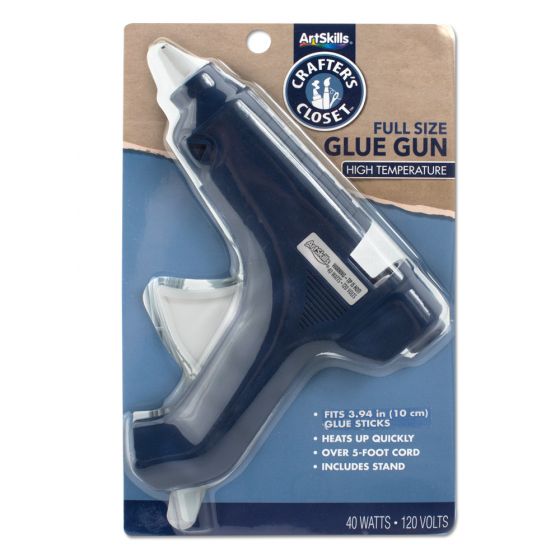
Run a line of hot glue down the folded edge.
Fold over the other third and press into the seam of hot glue to make a cone shape.
Step 5: Assembling the hat
Set the cone shape in the center of the circle and trace around the cone.
Remove the cone and fold the circle in half and snip a slit.
Open the circle and begin cutting the circle into 8 wedges. TIP: Do not cut past the circle you have traced.
Using hot glue, attach the wedges to the inside of the cone-shaped hat.
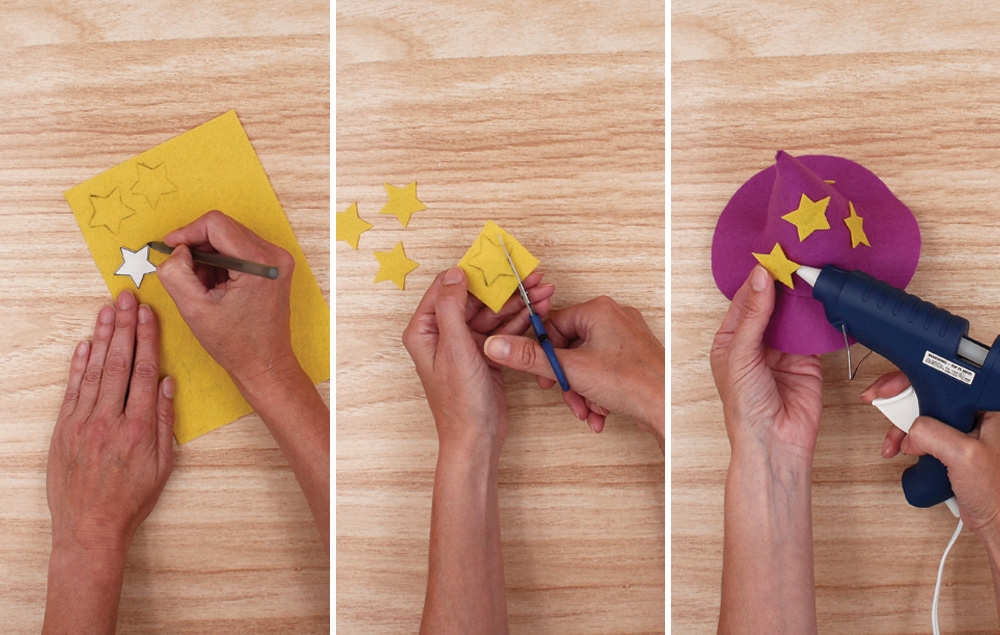
Step 6: Embellishing your hat
Trace four stars onto yellow felt.
Cut out the stars.
Glue the stars to your hat.
Step 1: Painting the pumpkins
Squeeze two large dollops of white paint onto a paint palette. Mix in small scoops of baking soda, a little at a time, until you get a thick, smooth icing consistency. TIP: Mixing baking soda into acrylic paint thickens the consistency and gives a heavier, chalky finish.
Paint the pumpkin. Let dry. Add additional coats if needed.
Step 2: Preparing the hat pieces
Print and cut out the hat template.
Trace hat template onto red felt. TIP: trace your template pieces close to the edges of the felt. This will help save room for additional hat pieces.
Cut out the hat piece.
Step 3: Assemble the hat
Fold in one third of the hat piece.
Run a line of hot glue down the folded edge.
Fold over the other third and press into the seam of hot glue to make a cone shape.
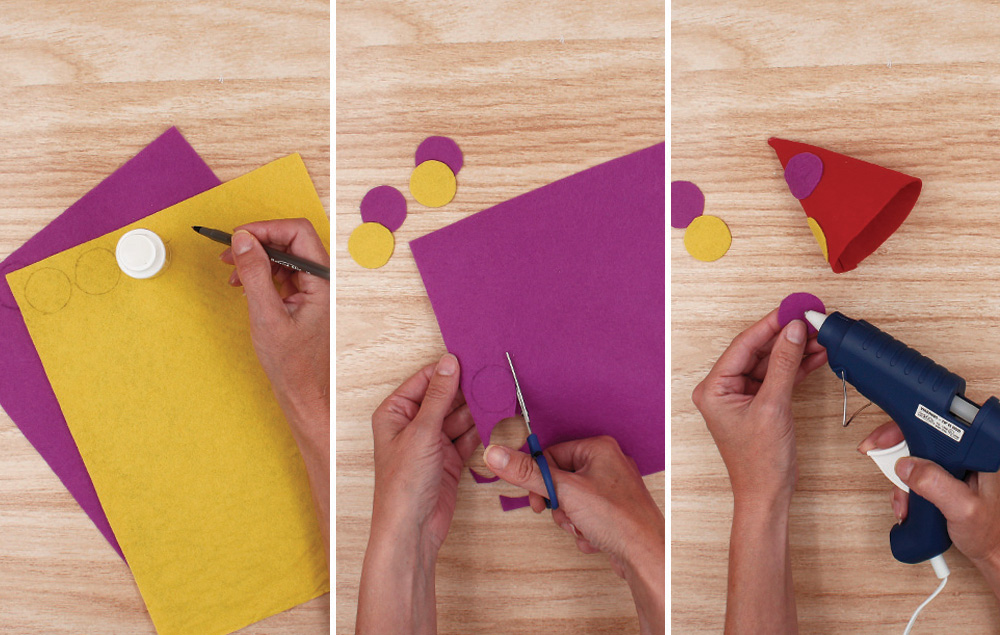
Step 4: Embellishing your hat
Trace five circles onto felt using the bottom of the paint bottle as a template.
Cut out the circles.
Glue the circles to your hat.
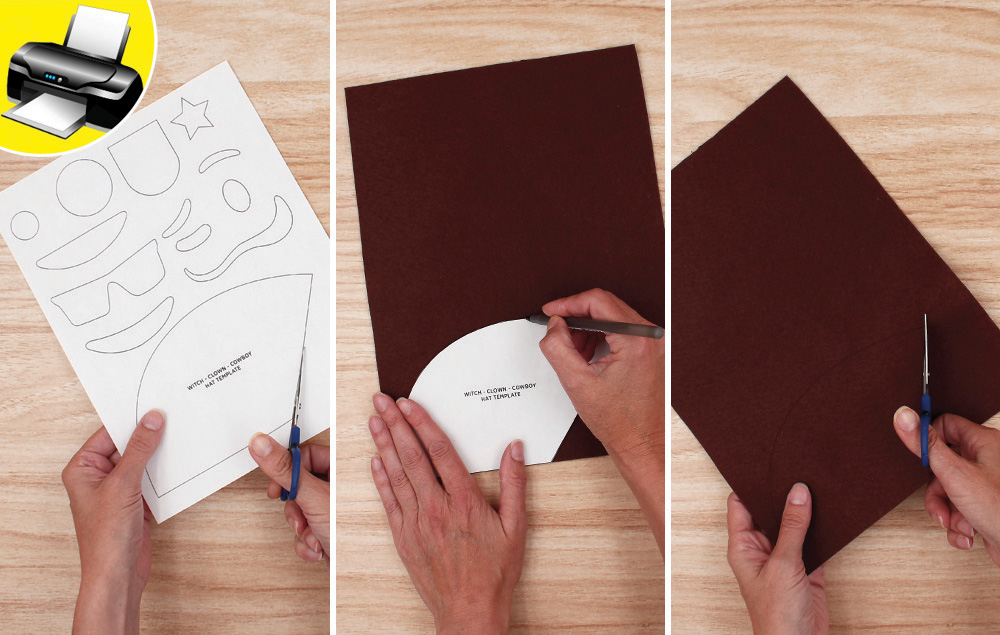
Step 1: Preparing the hat
Print and cut out the hat template.
Trace hat template onto brown felt. TIP: trace your template pieces close to the edges of the felt. This will help save room for additional hat pieces.
Cut out the hat piece.
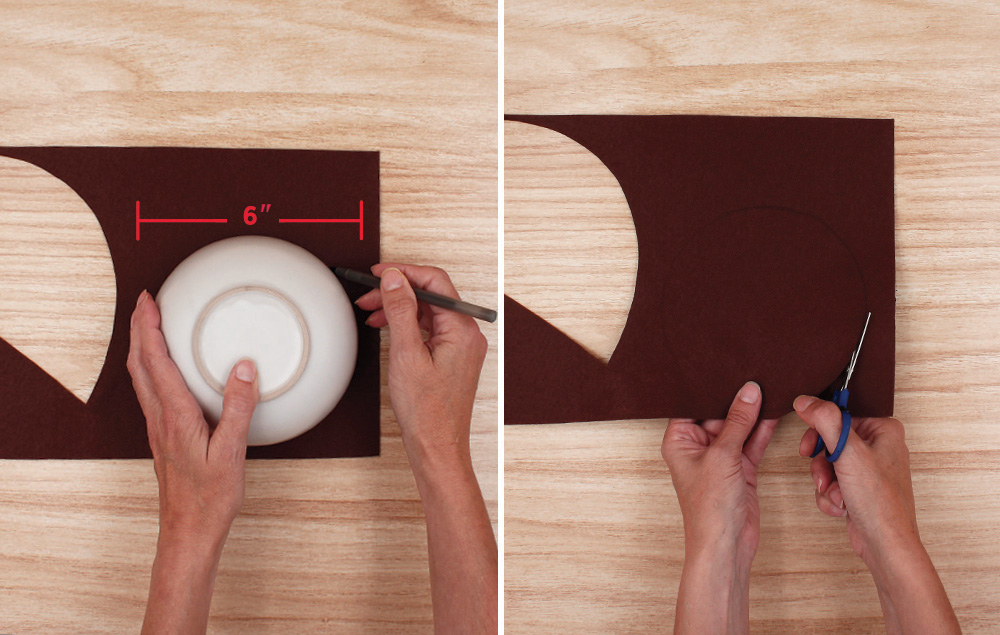
Step 2: Preparing the hat brim
Use a bowl to trace a 6” (approximate) circle onto the remaining brown felt.
Cut out the circle.
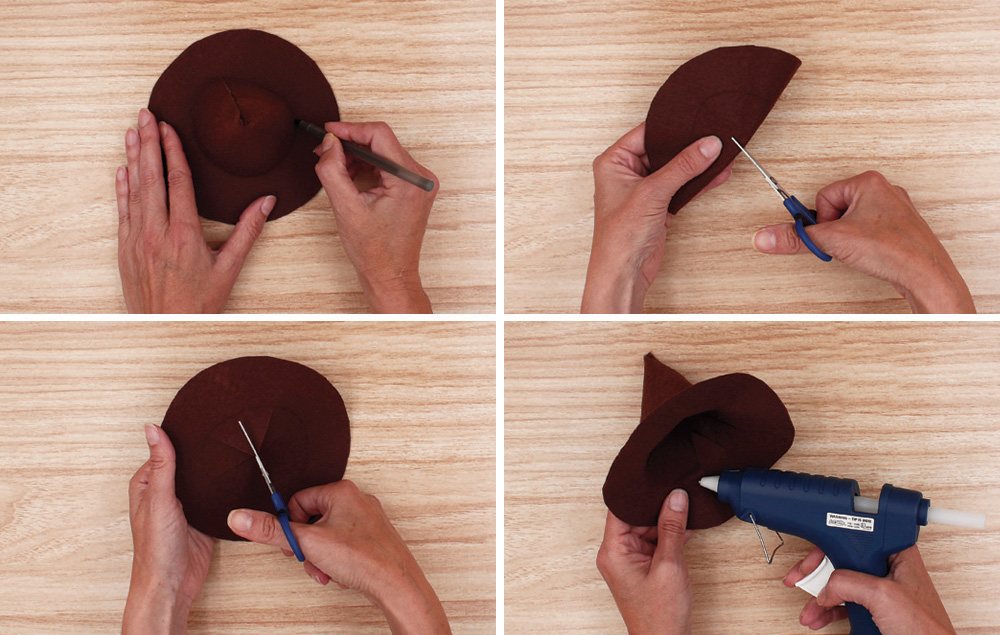
Step 3: Assemble the top portion of the hat
Fold in one third of the first hat piece.
Run a line of hot glue down the folded edge.
Fold over the other third and press into the seam of hot glue to make a cone shape.
Step 4: Assembling the hat
Set the cone shape in the center of the circle and trace around the cone.
Remove the cone and fold the circle in half and snip a slit.
Open the circle and begin cutting the circle into 8 wedges. TIP: Do not cut past the circle you have traced.
Using hot glue, attach the wedges to the inside of the cone-shaped hat.
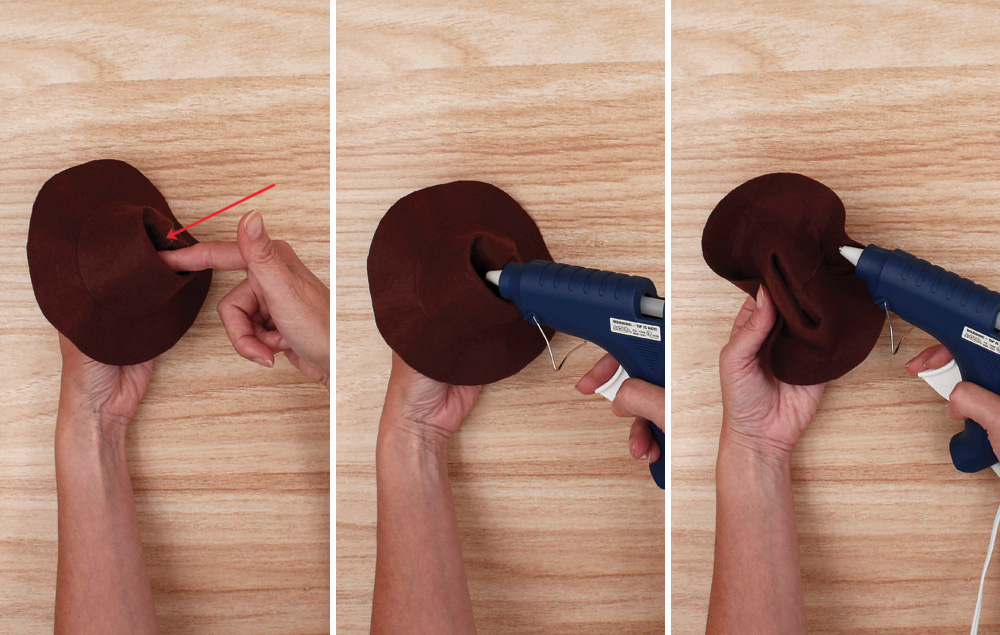
Step 5: Adding details on the hat
Once the cowboy hat is assembled, take your finger and poke the tip of the cone piece into the hat to make a crease.
Add hot glue down into the crease and pinch together.
Fold the brim up on one side and secure it with hot glue. Repeat on the other side.
Step 6: Embellishing your hat
Trace a star onto yellow felt.
Cut out the star.
Glue the star to your hat.
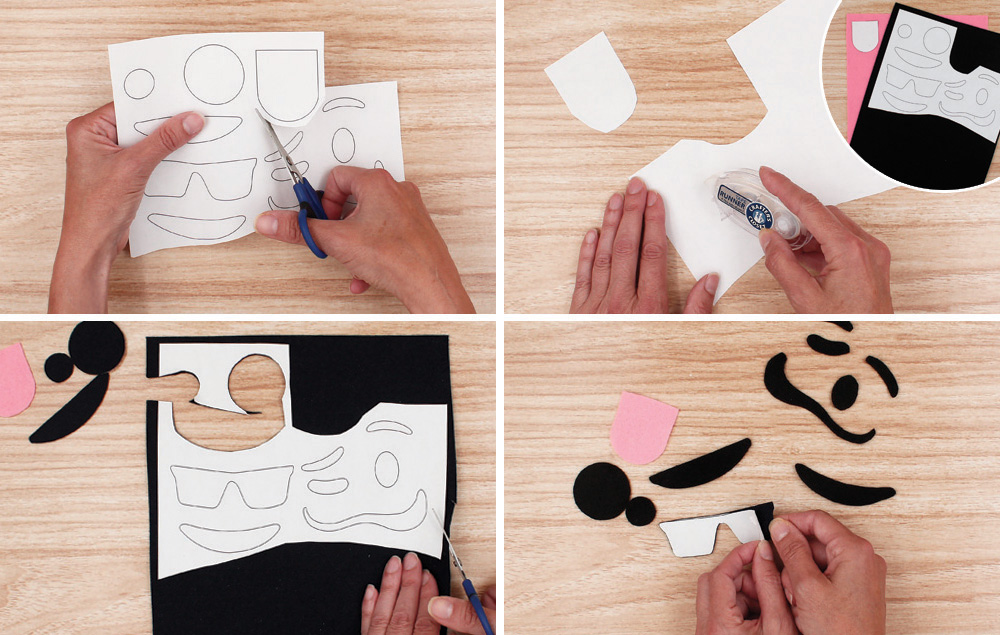
Step 1:
Cut the tongue from the face template sheet.
Use a tape runner and run multiple lines of tape on the back of the emoji face template pieces. Stick the faces to black felt and the tongue to pink felt.
Cut the out the faces. TIP: Cut through the paper and felt together. This is the easiest way to cut felt.
Remove the paper templates from the felt pieces.
Step 2:
Hot glue the faces onto the pumpkins.