Beautiful, cozy fall décor that is made from old sweaters! Try trendy colored sweaters for a fun twist!
Step 1: Preparing the Large Pumpkin
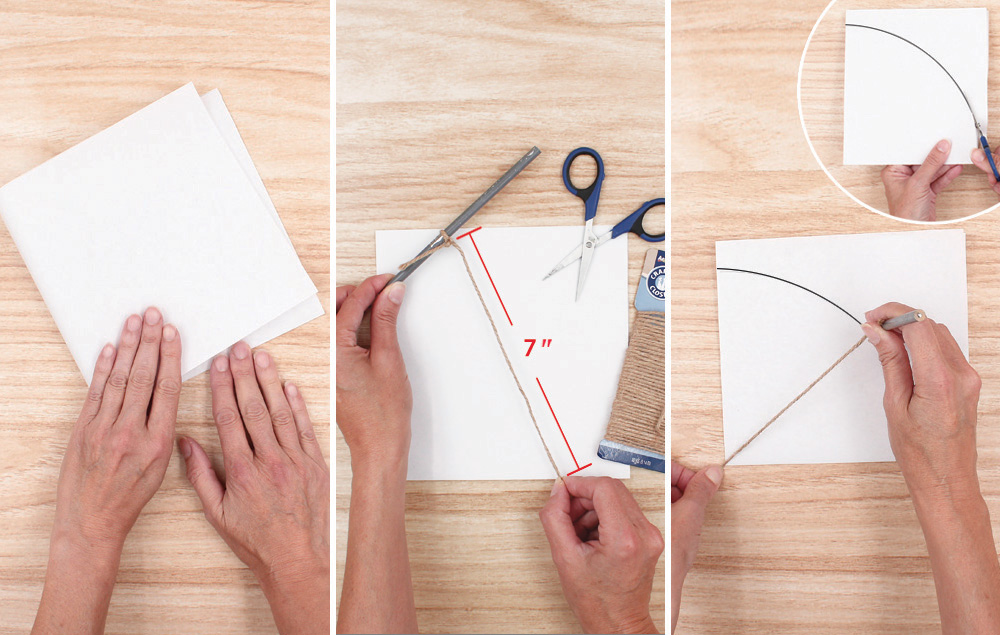
Fold a 15" square piece of scrap paper or newspaper in half, and then in half again.
Tie jute around a pencil, pull taut, measure 7", and then cut.
Use your finger to hold down the cut end of the jute at the folded end of the scrap paper. Pull tight to draw an arc with the pencil. Cut out along the pencil line.
Step 2: Cut out the Large Pumpkin
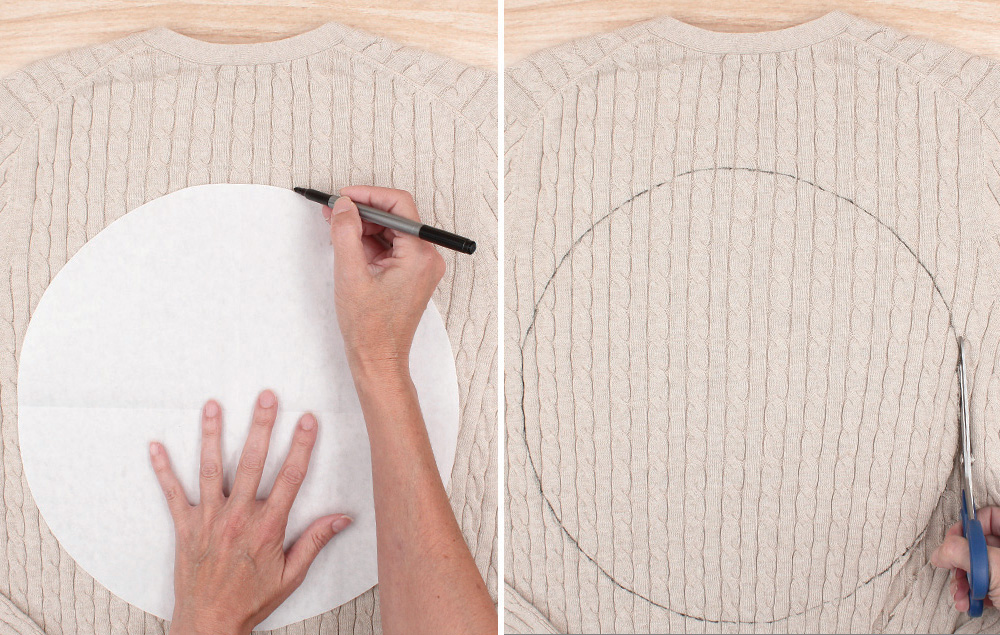
Lay a sweater flat, open the circle template and place it on top of the sweater. Trace the circle onto the sweater with a black marker.
Cut out the circle from the sweater.
Step 3: Making the Large Pumpkin
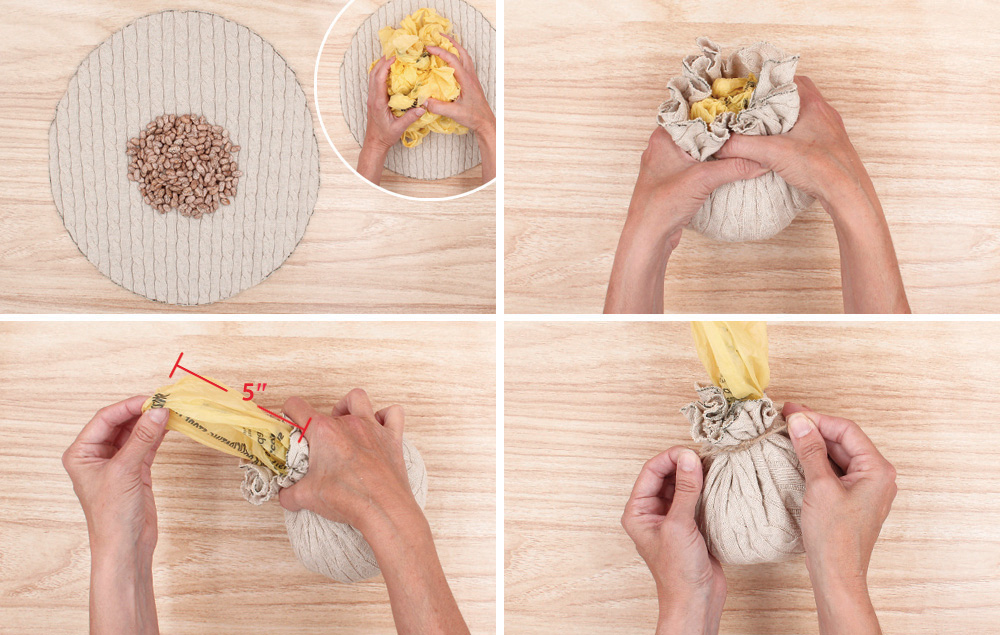
Place a large handful of dried beans in the center of the circle. This will weight the bottom of the pumpkin. Add about eight crumpled plastic grocery bags on top of the dried beans to create a filler.
Gather the sweater circle up around the filler and bunch together at the top.
Pull out one of the plastic bags through the opening at the top so approximately 5" is exposed. This will be used to make the stem.
Tie a ‘collar’ around the neck of the pumpkin with approximately 8" of jute. Note: Set large pumpkin aside for now.
Step 4: Preparing the Small Pumpkin
Lay a sweater flat. Cut a 7 ½" length from the end of a sleeve.
Turn the cut sleeve inside out and tie the cuff end with approximately 6" of jute.
Step 5: Making the Small Pumpkin
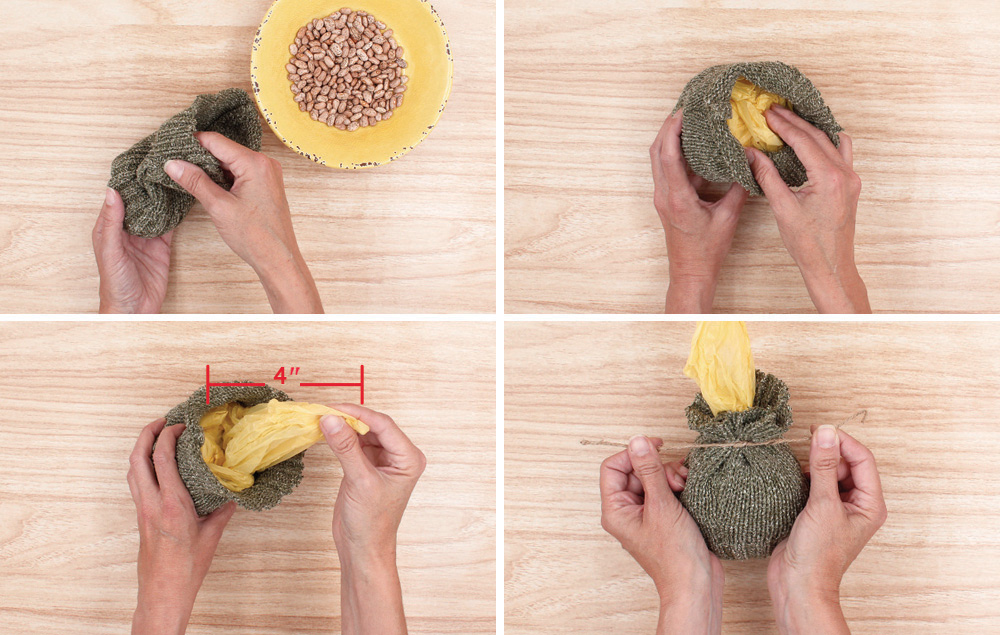
Turn the sleeve right side out so that the knot is hidden inside. Place one to two inches of dried beans in the sleeve. This will weight the bottom of the pumpkin.
Crumple three plastic grocery bags and push them into the sleeve to make a filler.
Pull out one of the plastic bags through the opening at the top so approximately 4" is exposed. This will be used to make the stem.
Tie a ‘collar’ around the neck of the pumpkin with approximately 8" of jute.
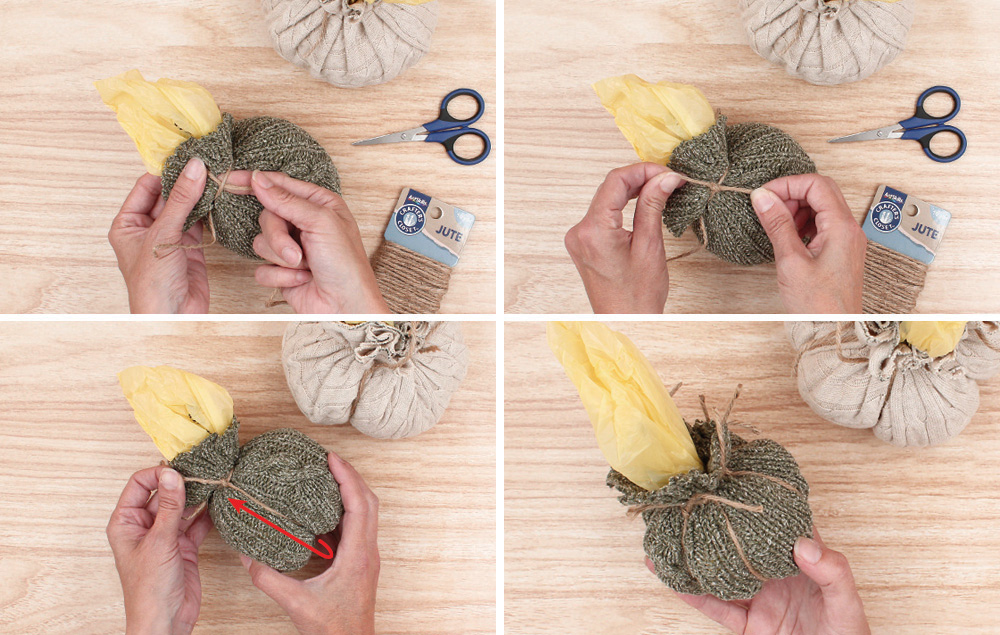
Step 6: Sectioning the Large and Small Pumpkins
Note: Complete the following steps for both the large and small pumpkins
Take the end of a length of jute and loop it under the existing jute collar around the neck of the pumpkin. Use your finger to push it under.
Tie a knot to secure it in place.
Pull the loose end of jute tight around the pumpkin to the opposite side. Loop the end under the collar on the other side and tie a knot to secure it in place.
Repeat the process two more times to create six sections around the pumpkin. Note: You will have loose ends of jute sticking out.
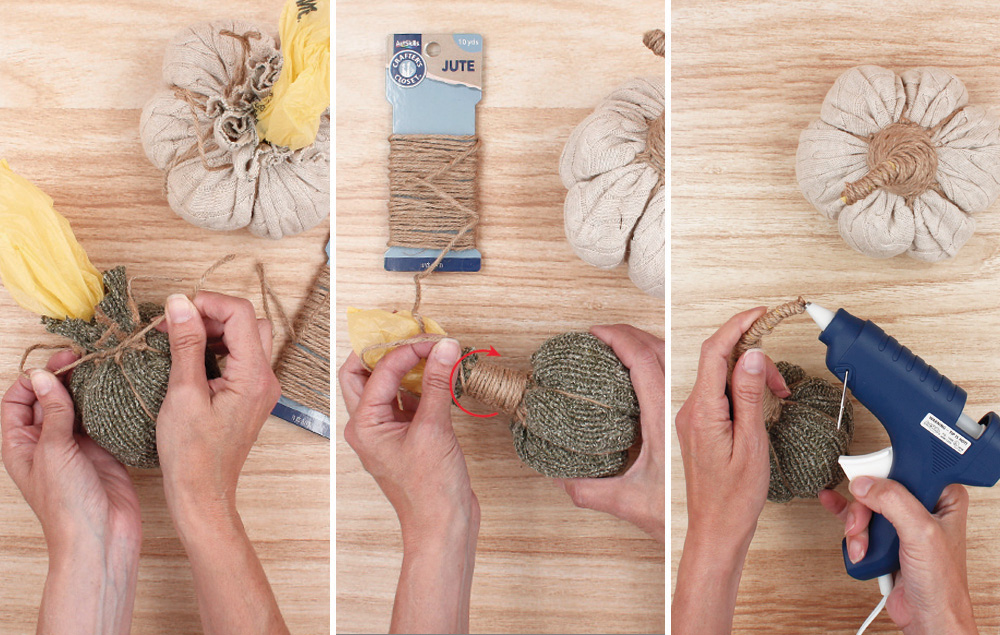
Step 7: Making the stem
Tie jute around the base of the stem and knot in place.
Wrap the jute tightly around the stem until the sweater and bag are covered. Tip: Be sure to gather up all the loose jute ends as you are wrapping. Cut the jute when the stem is completely wrapped.
Hot glue the end of the wrapped jute to secure it in place at the tip of the stem.
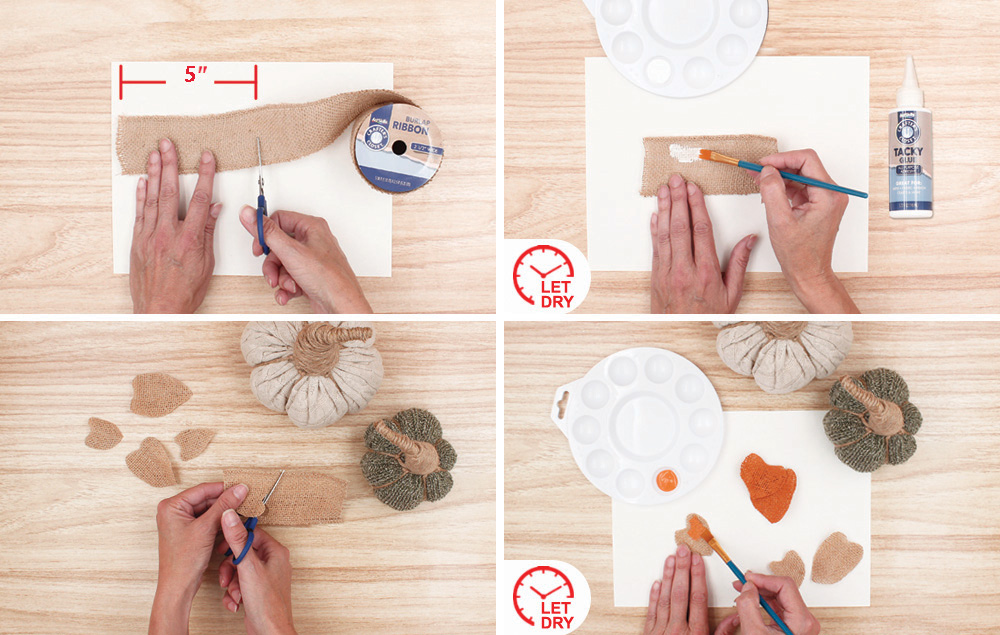
Step 8: Making the leaves
Cut a 5" length of 4" wide burlap ribbon.
Coat with tacky glue and let dry.
Cut out heart-shaped leaves in various sizes from the dried burlap.
Optional: paint a few leaves orange.
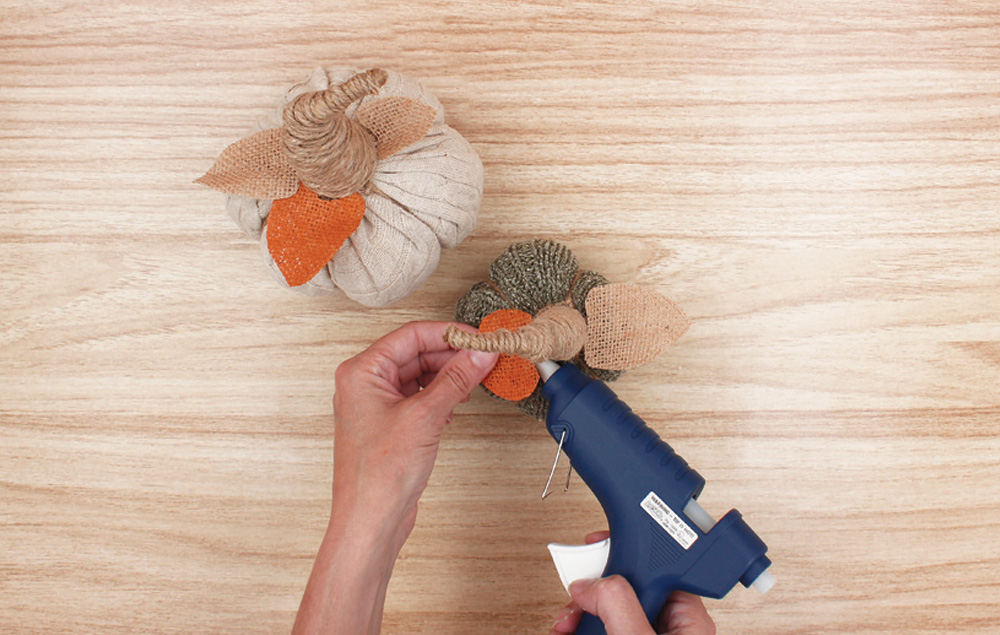
Step 9: Glue on the leaves
Hot glue the leaves to the pumpkins.