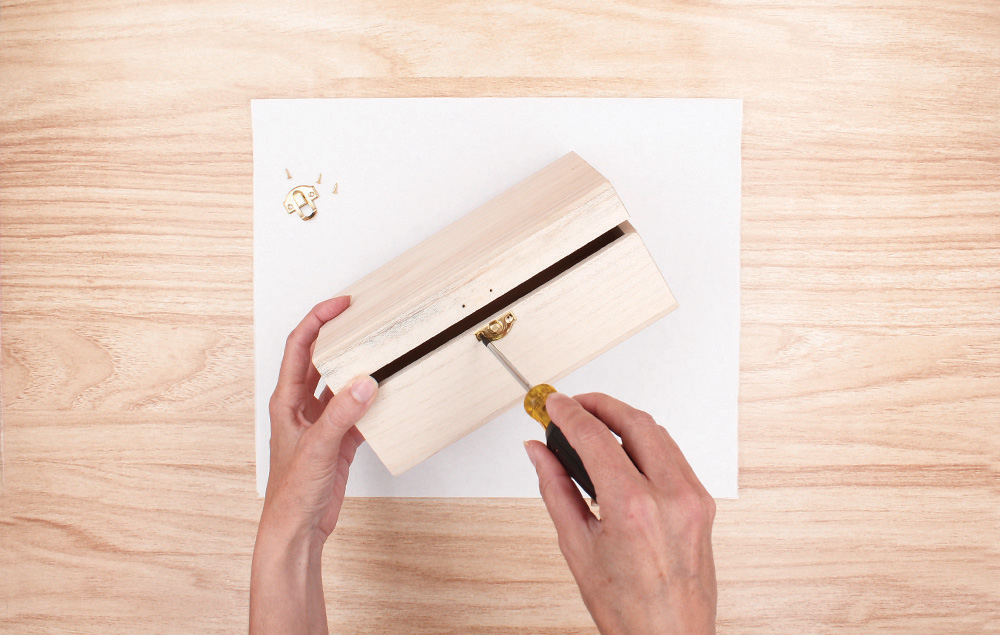
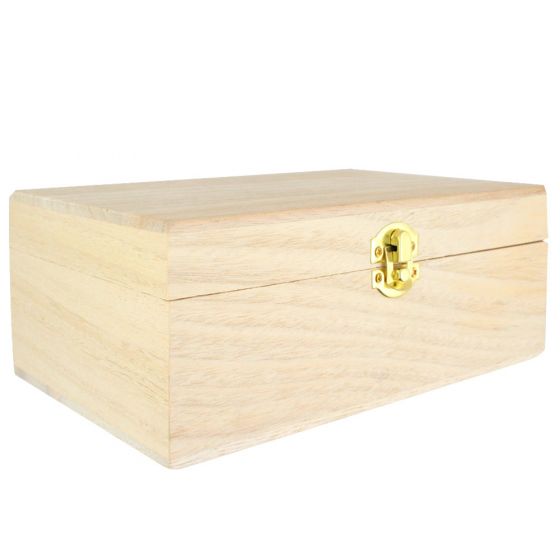
Step 1: Prep Box
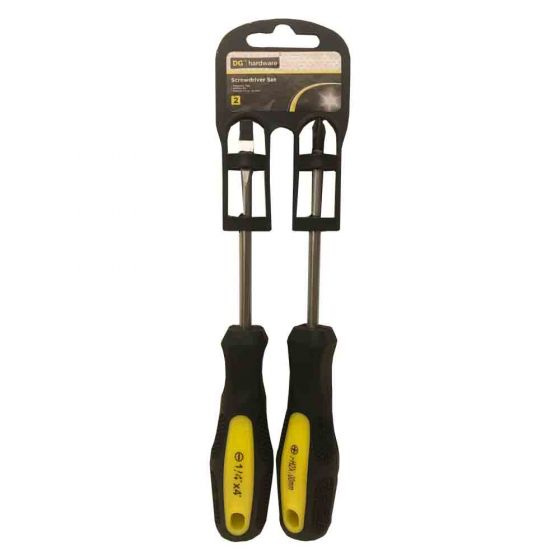
Remove the clasp with a Phillips head screwdriver.
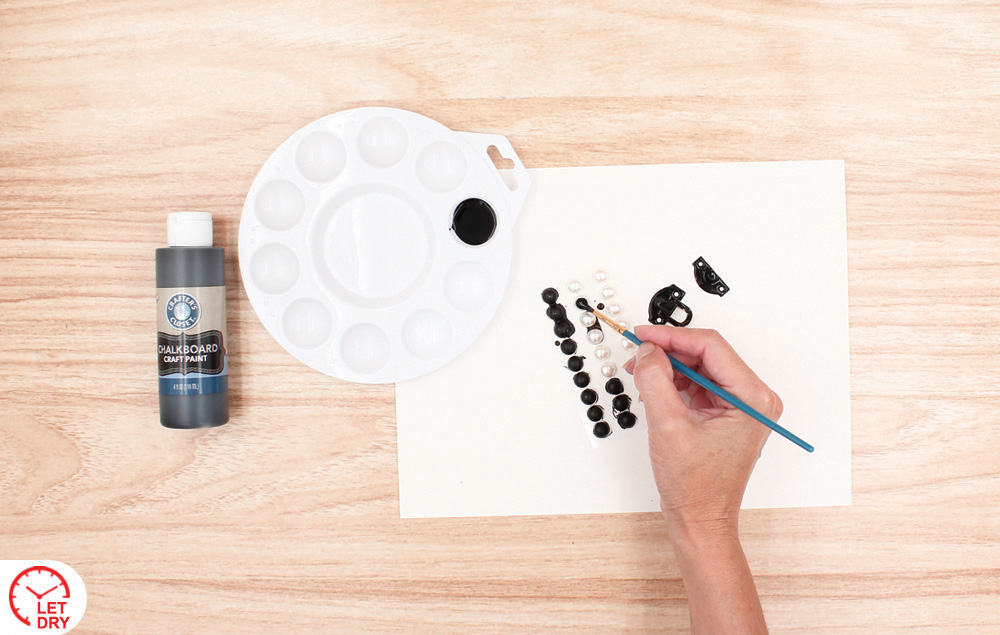
Step 2: Painting pearls and clasp
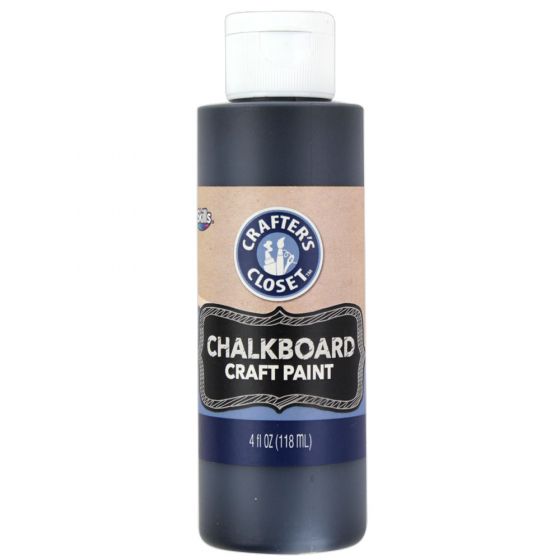
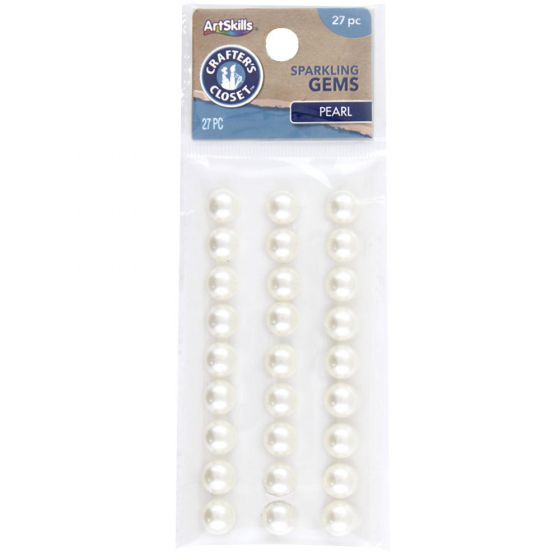
Use black chalkboard paint to liberally coat the pearls and the metal clasp. Let dry.
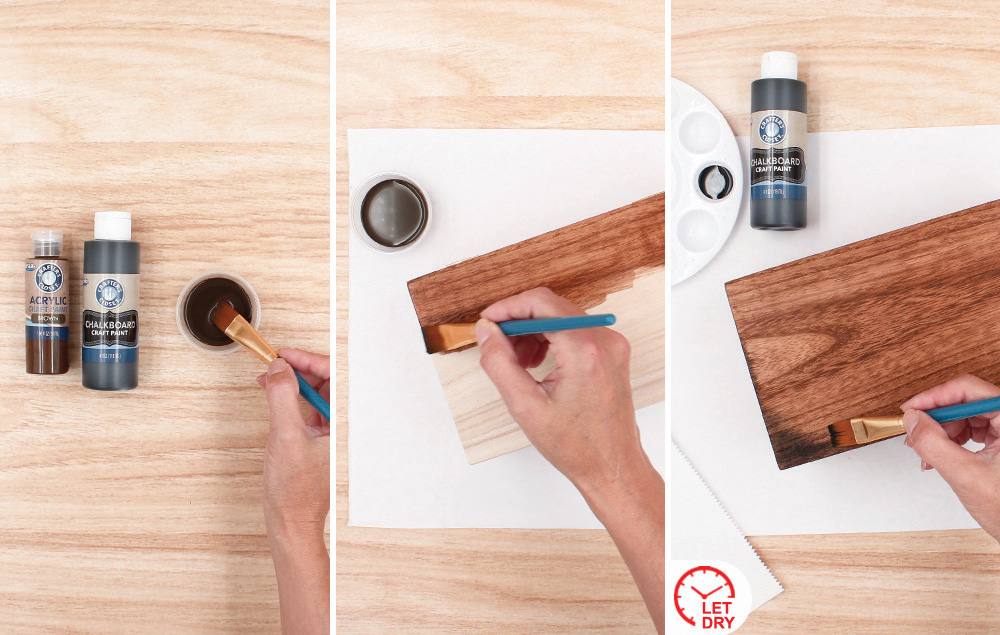
Step 3: Staining the box
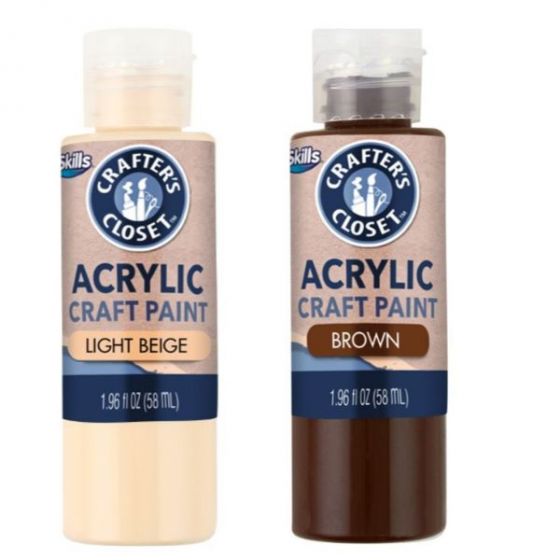
Mix a large dollop of brown paint with a small amount of black chalkboard paint and 2 tablespoons of water to make a thin stain.
Brush the stain on the box. Repeat for desired darkness.
Use black chalkboard paint and dry brush around the edges of the box to make it look aged. Wipe with a paper towel. Let dry.
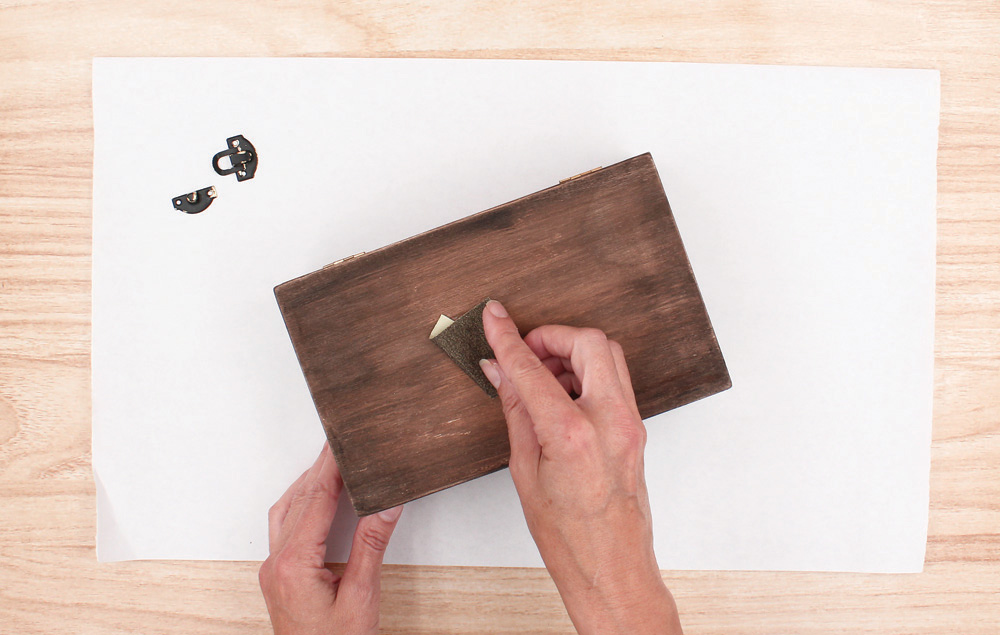
Step 4: Distressing the box
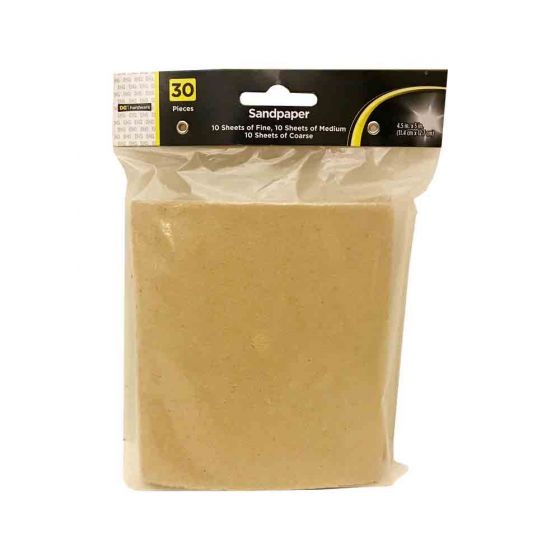
Use sandpaper to distress the box and metal clasp. Rub the sandpaper to lightly remove some of the paint.
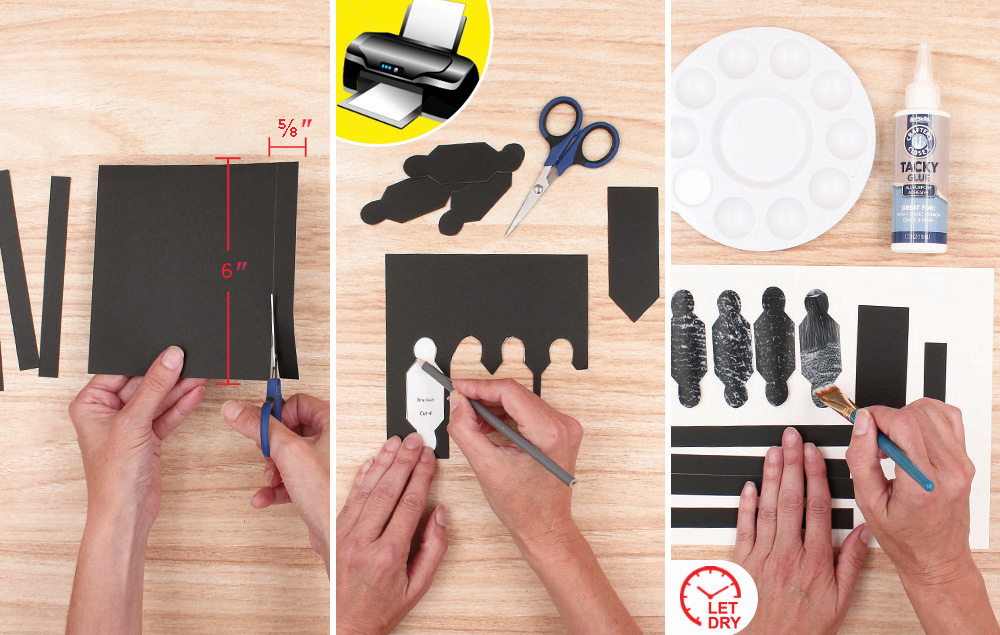
Step 5: Creating the box embellishments
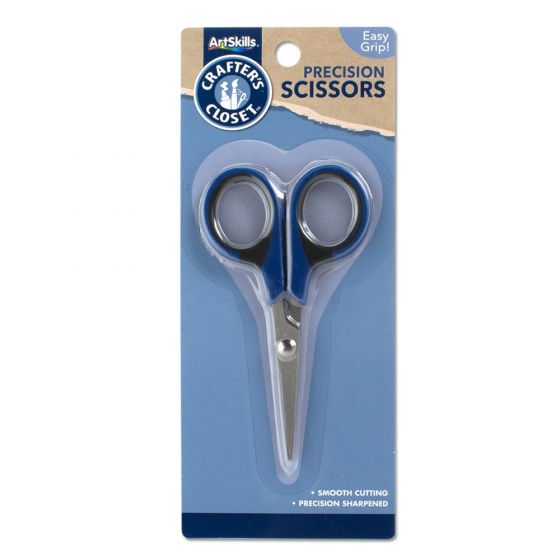
Cut a black cardstock square into six ⅝" x 6" strips.
Print out the template and cut out the bracket and buckle. Trace the bracket and buckle templates onto black cardstock and cut them out. You will need four brackets and one buckle.
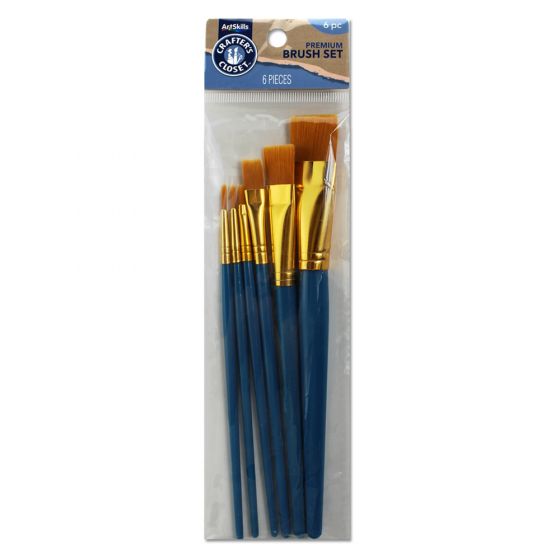
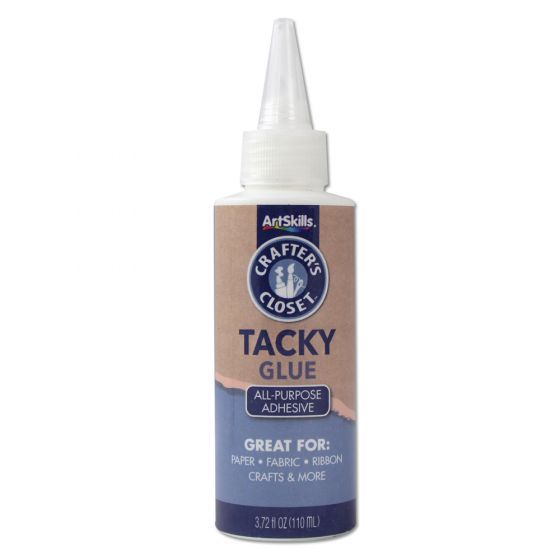
Coat the six strips, four brackets and one buckle with a layer of tacky glue. Tap the bristles of a paint brush on the wet tacky glue to create a texture. Let dry.
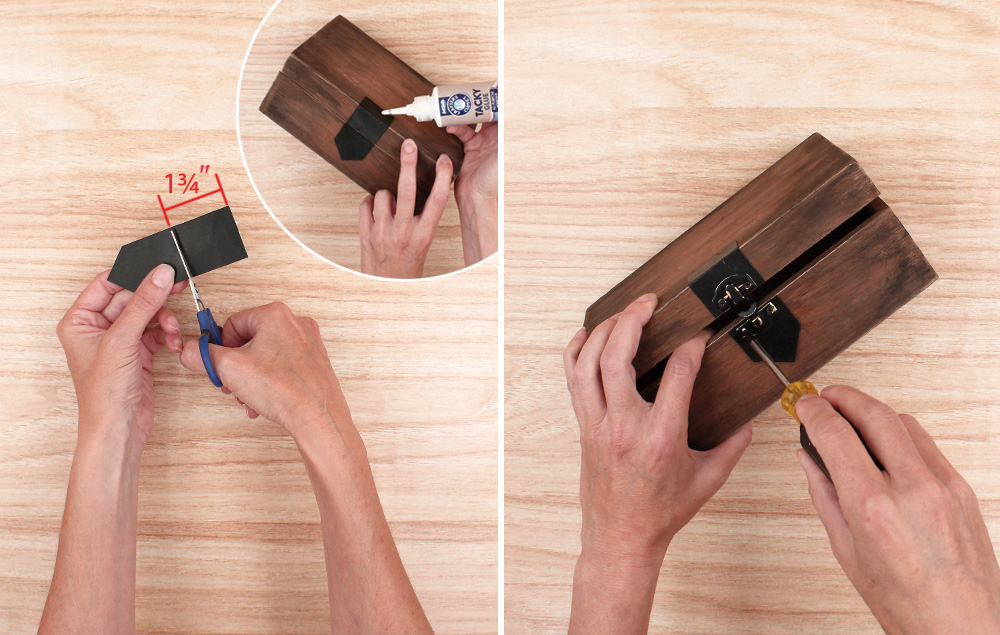
Step 6: Preparing the buckle
Cut 1 ¾" off the buckle and fold the cut piece in half. Glue the folded piece onto the lid of the box, centered in the middle, with half on the top and half on the front of the lid. Glue the remaining buckle to the lower front of the box.
Use a Phillips head screwdriver to put the clasp back on.
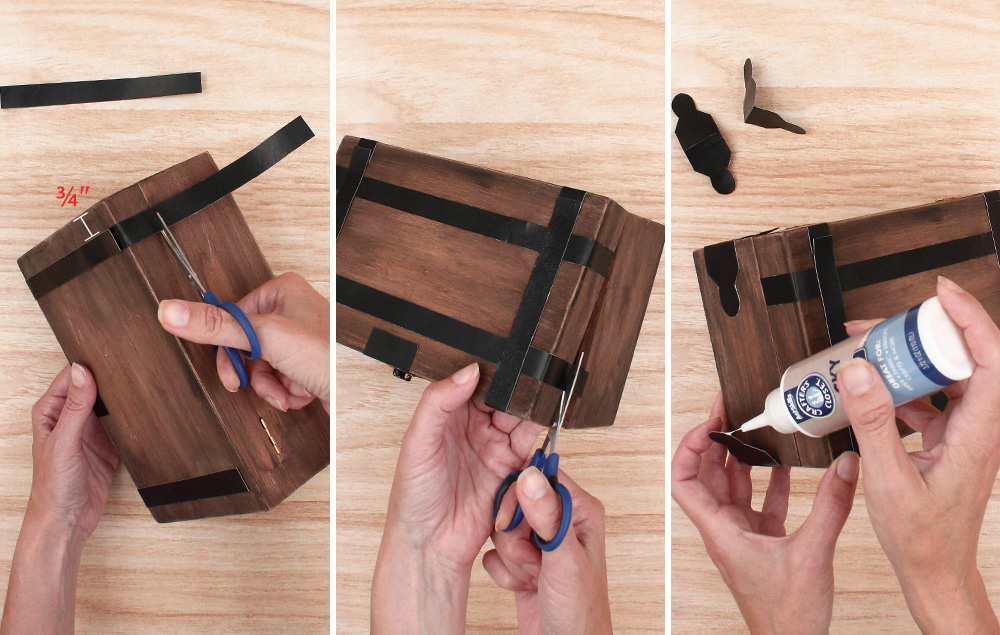
Step 7: Adhering the straps and brackets
Measure ¾" from the side edges of the lid and adhere the front-to-back straps. Note: Only place glue on the center and ends of the straps. (You will need to tuck under other straps in the next step.) You will have to piece together a few straps. Wrap the straps over the sides of the lid and trim.
Tuck the side-to-side straps under the front-to-back straps and glue them in place. Piece them together, using the front-to-back straps to hide the seams. Wrap the straps over the sides of the lid and trim.
Fold the brackets in half and glue them to the four corners.
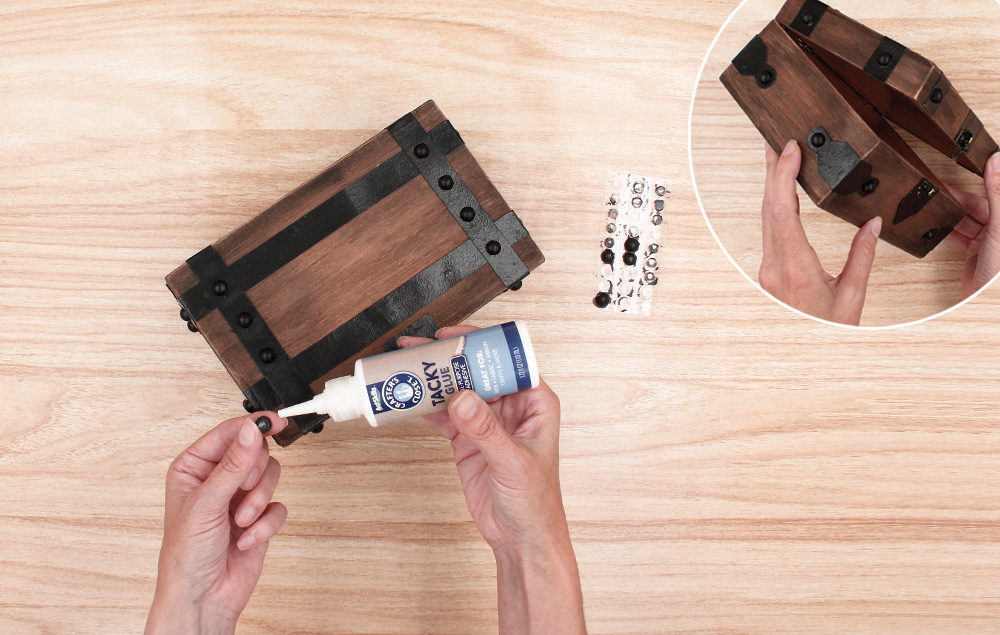
Step 8: Adding the Embellishments
Glue the black-painted pearls onto the straps and brackets. Evenly space the pearls on the lid straps and place a pearl on the rounded area of each buckle.
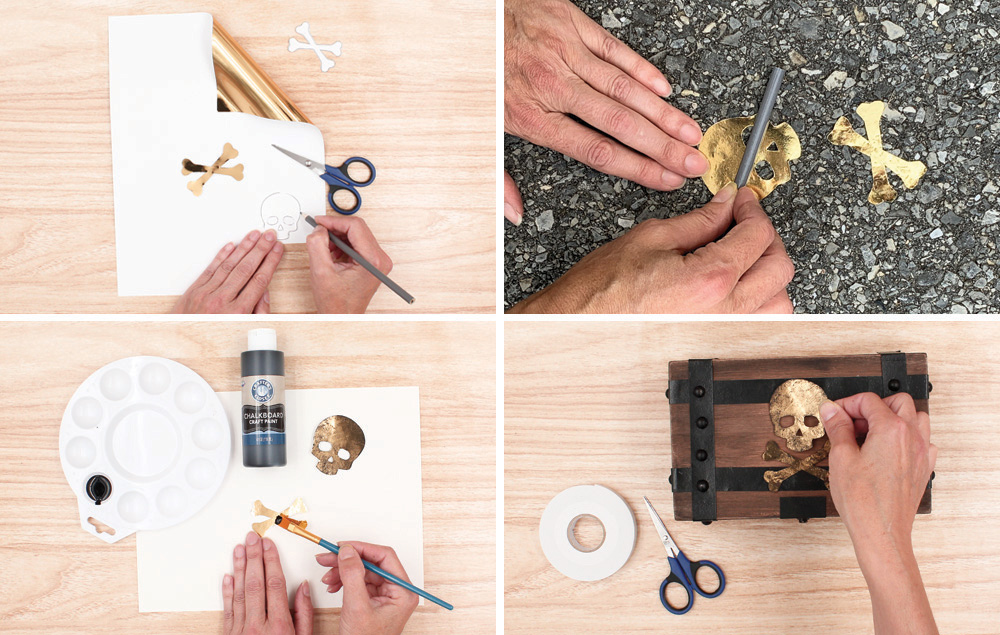
Step 9:
Cut out the skull and crossbones template. Trace onto gold foil paper and cut out the pieces.
To get the hammered metal texture, lay foil paper pieces on concrete or macadam surface and rub with the side of a pencil.
Dry brush black chalkboard paint on the foil pieces and wipe off some paint for a distressed look.
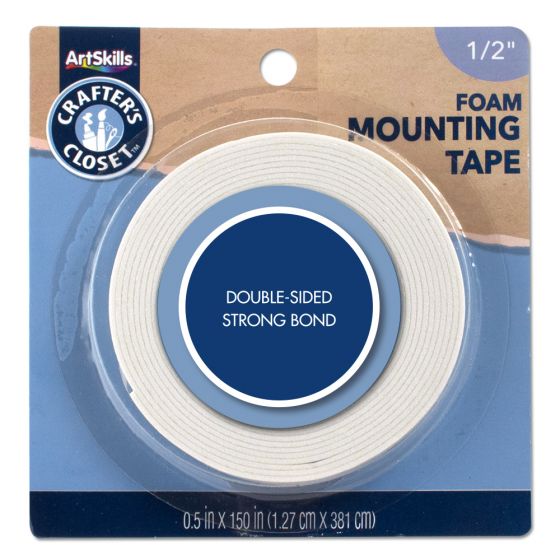
Adhere the skull and crossbones to the lid of the box using foam mounting tape.
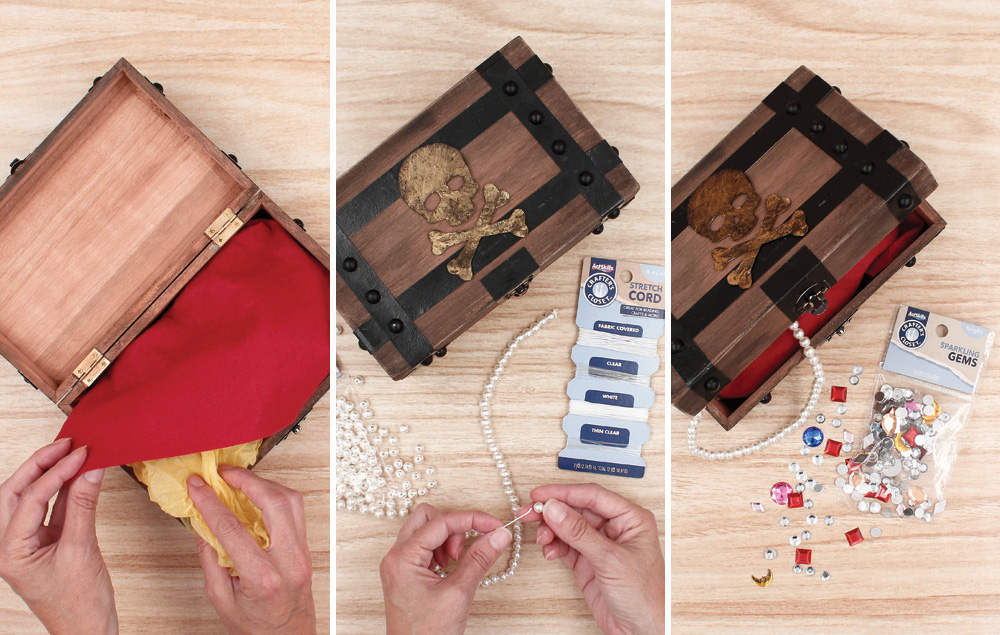
Optional Decorative Steps:
Use a piece of red felt inside the box as a liner. Tip: You can tuck a plastic grocery bag underneath as a filler.
Make a necklace by stringing pearl beads together.
Sprinkle assorted gemstones around your Treasure Chest for a finishing touch.